

Instructions adapted from https://www.instructables.com/id/Wax-Seals-From-a-Laser-Cutter/
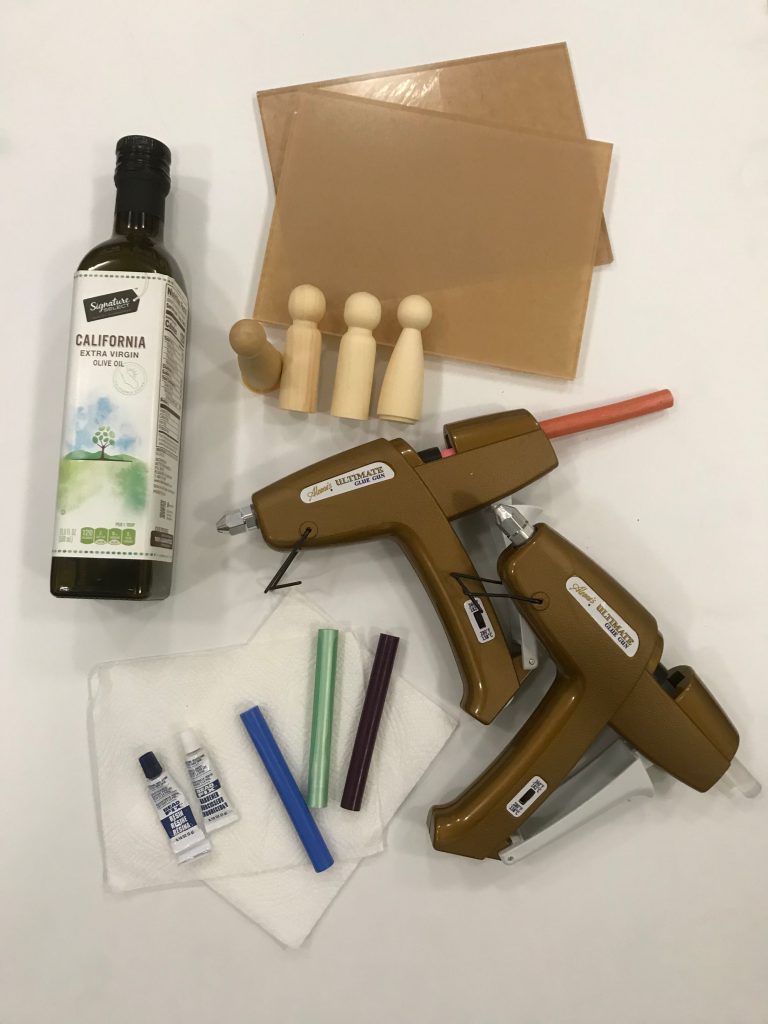
Supplies
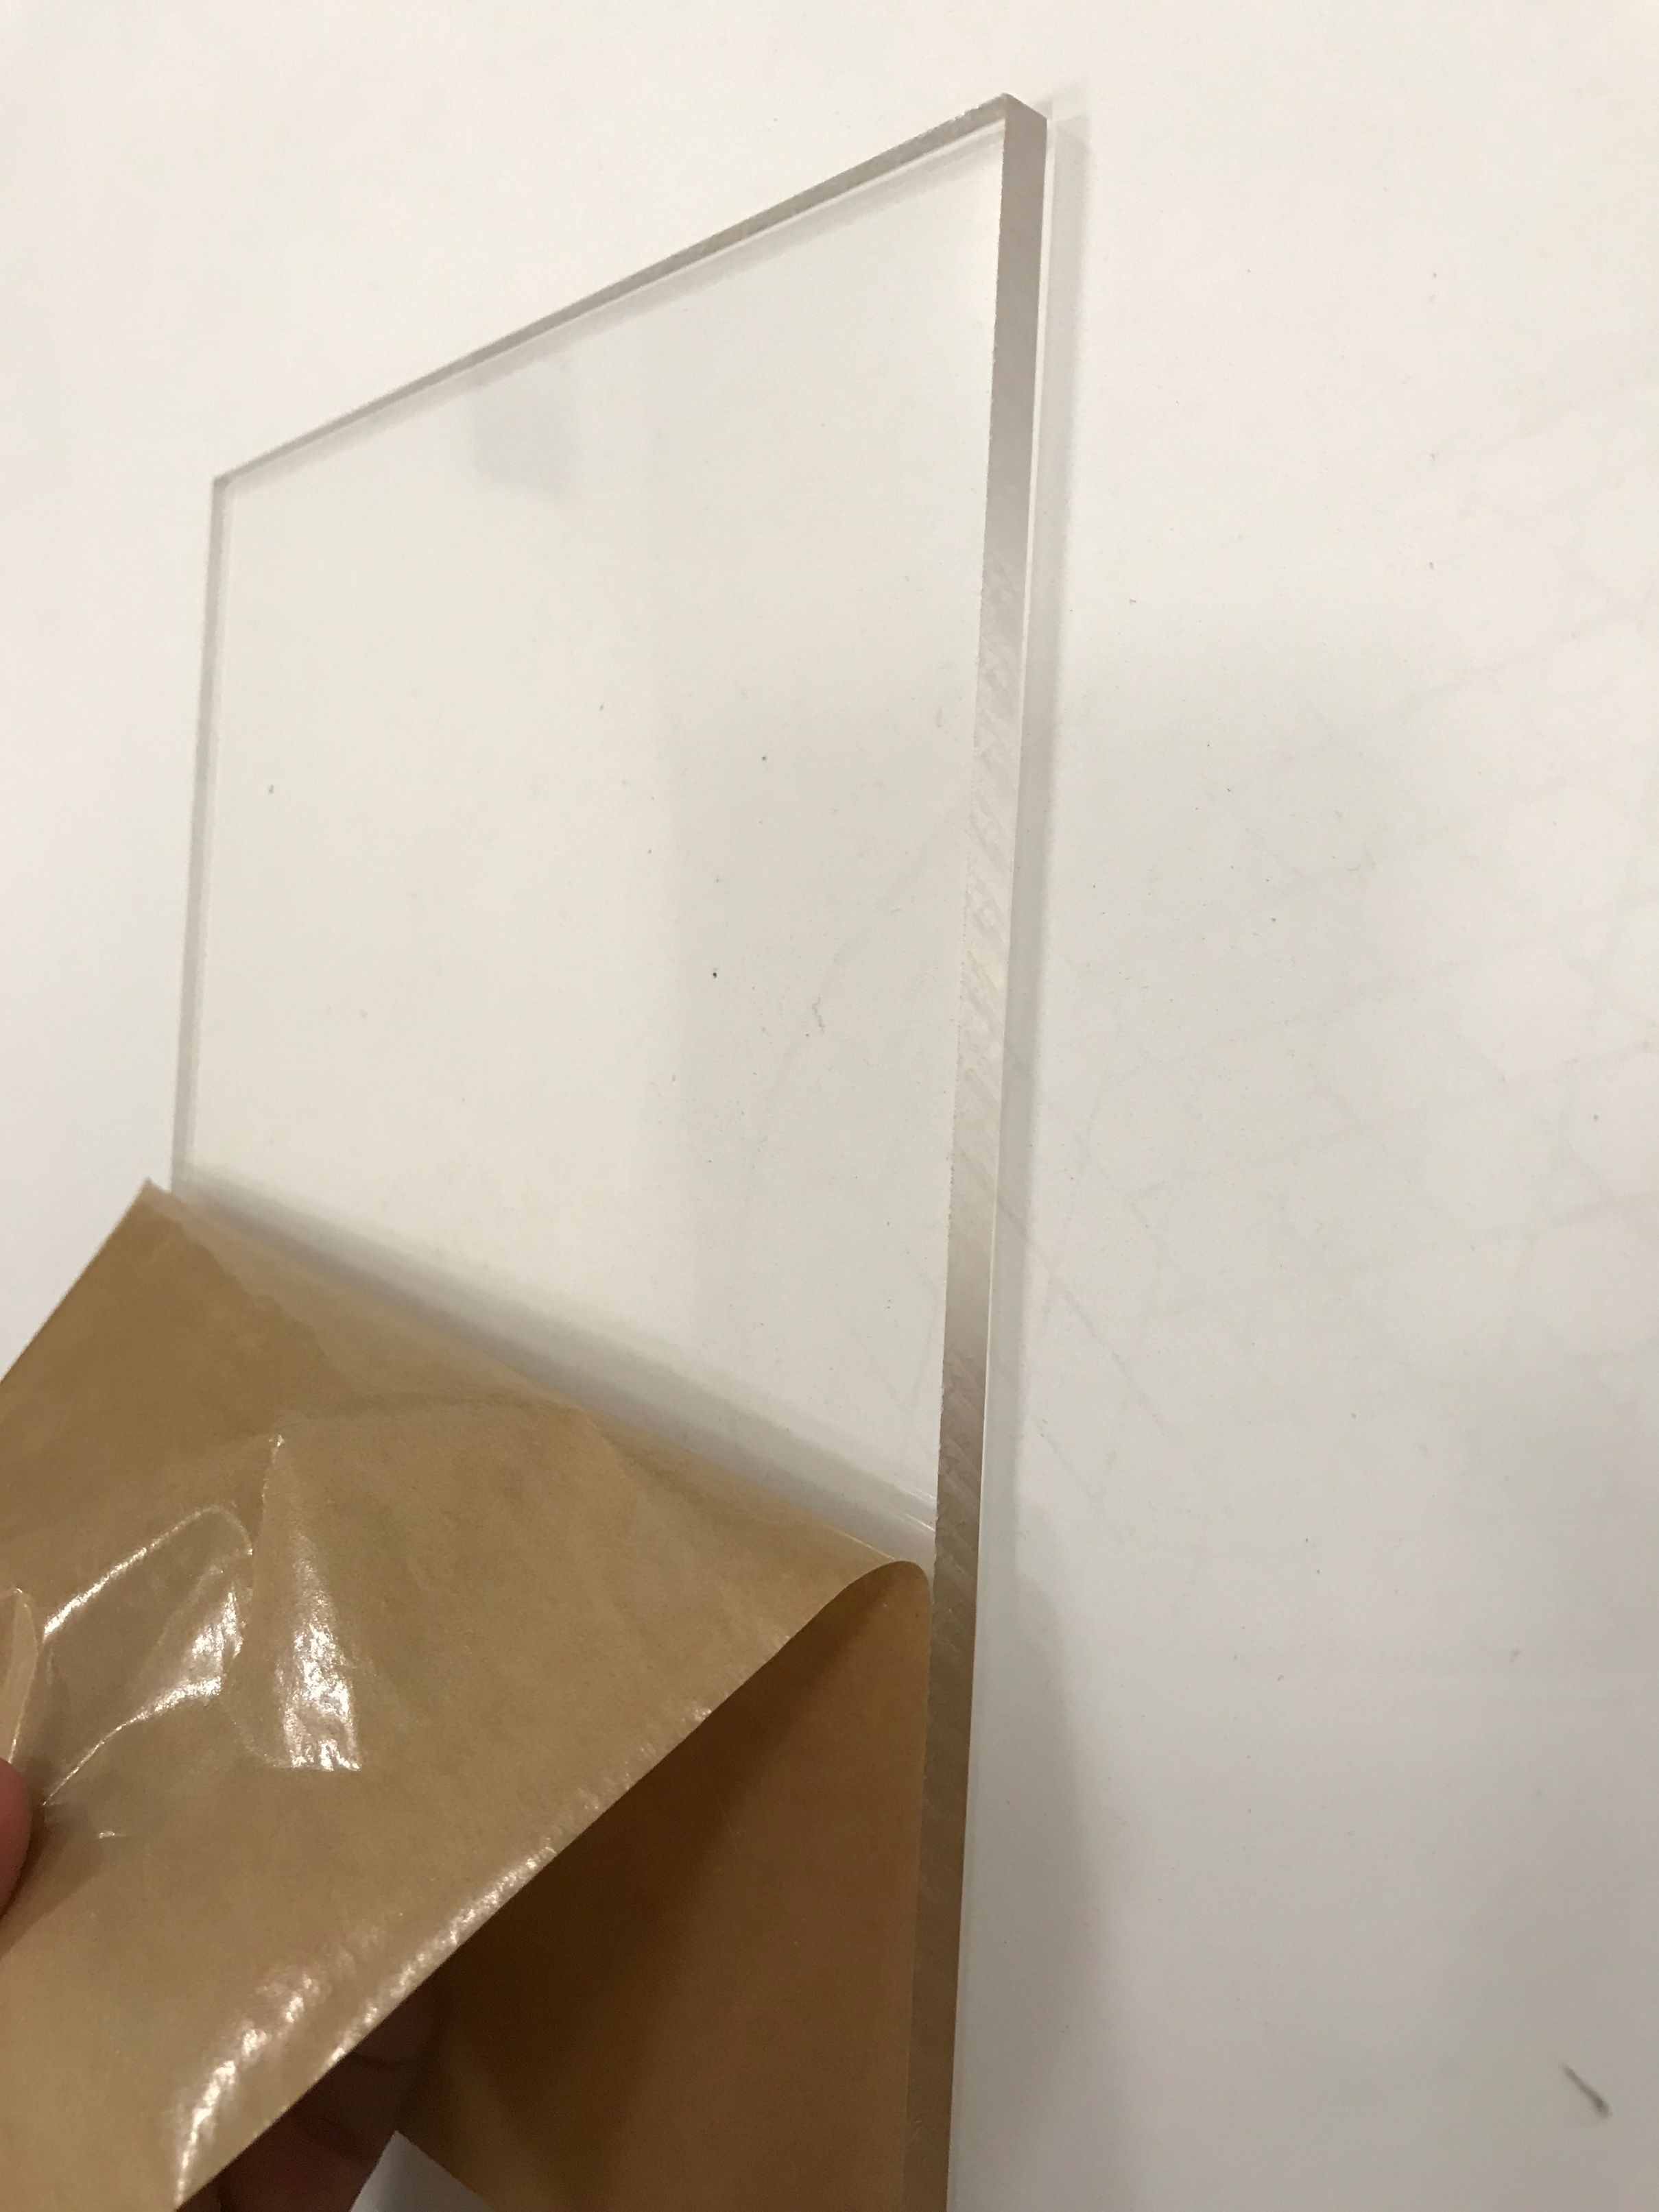
- Thick acrylic to laser cut – 4.5 mm or thicker
- A peg, bobbin, or any other item with a flat end to use as a handle
- Hot glue or 2-part epoxy glue
- Sealing wax
- Nonstick spray or oil
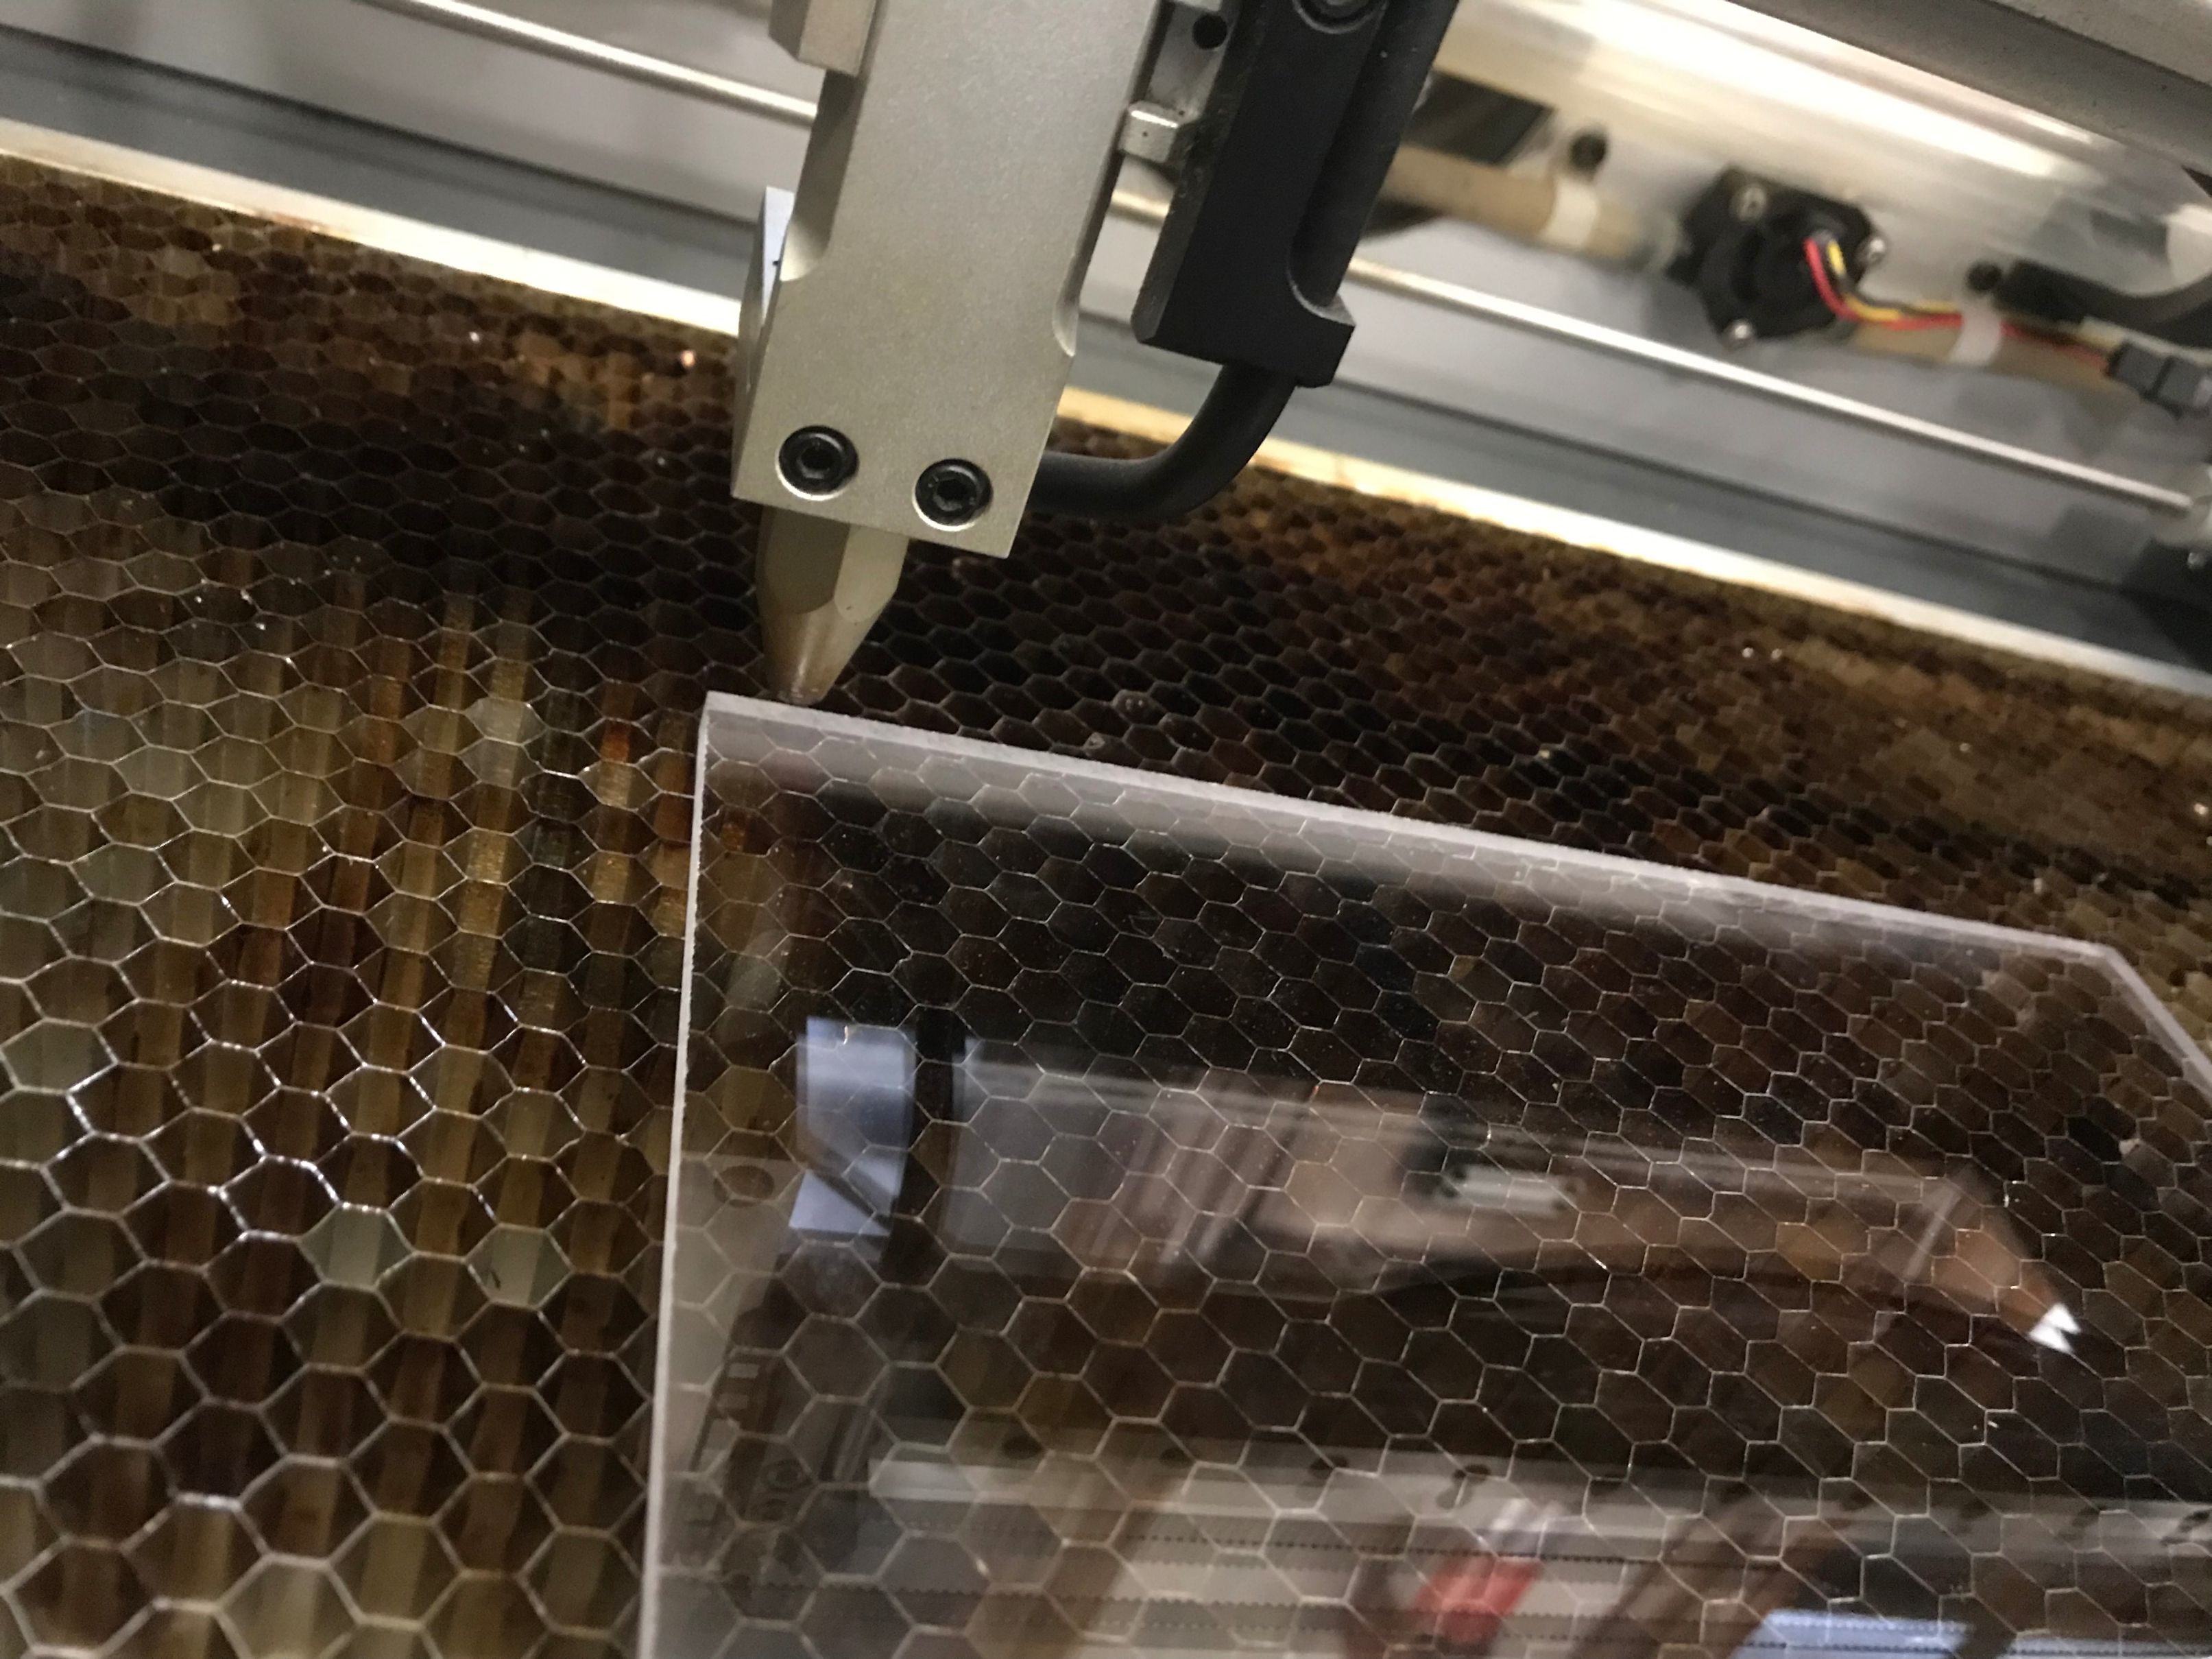
- Laser cutter or Carvey
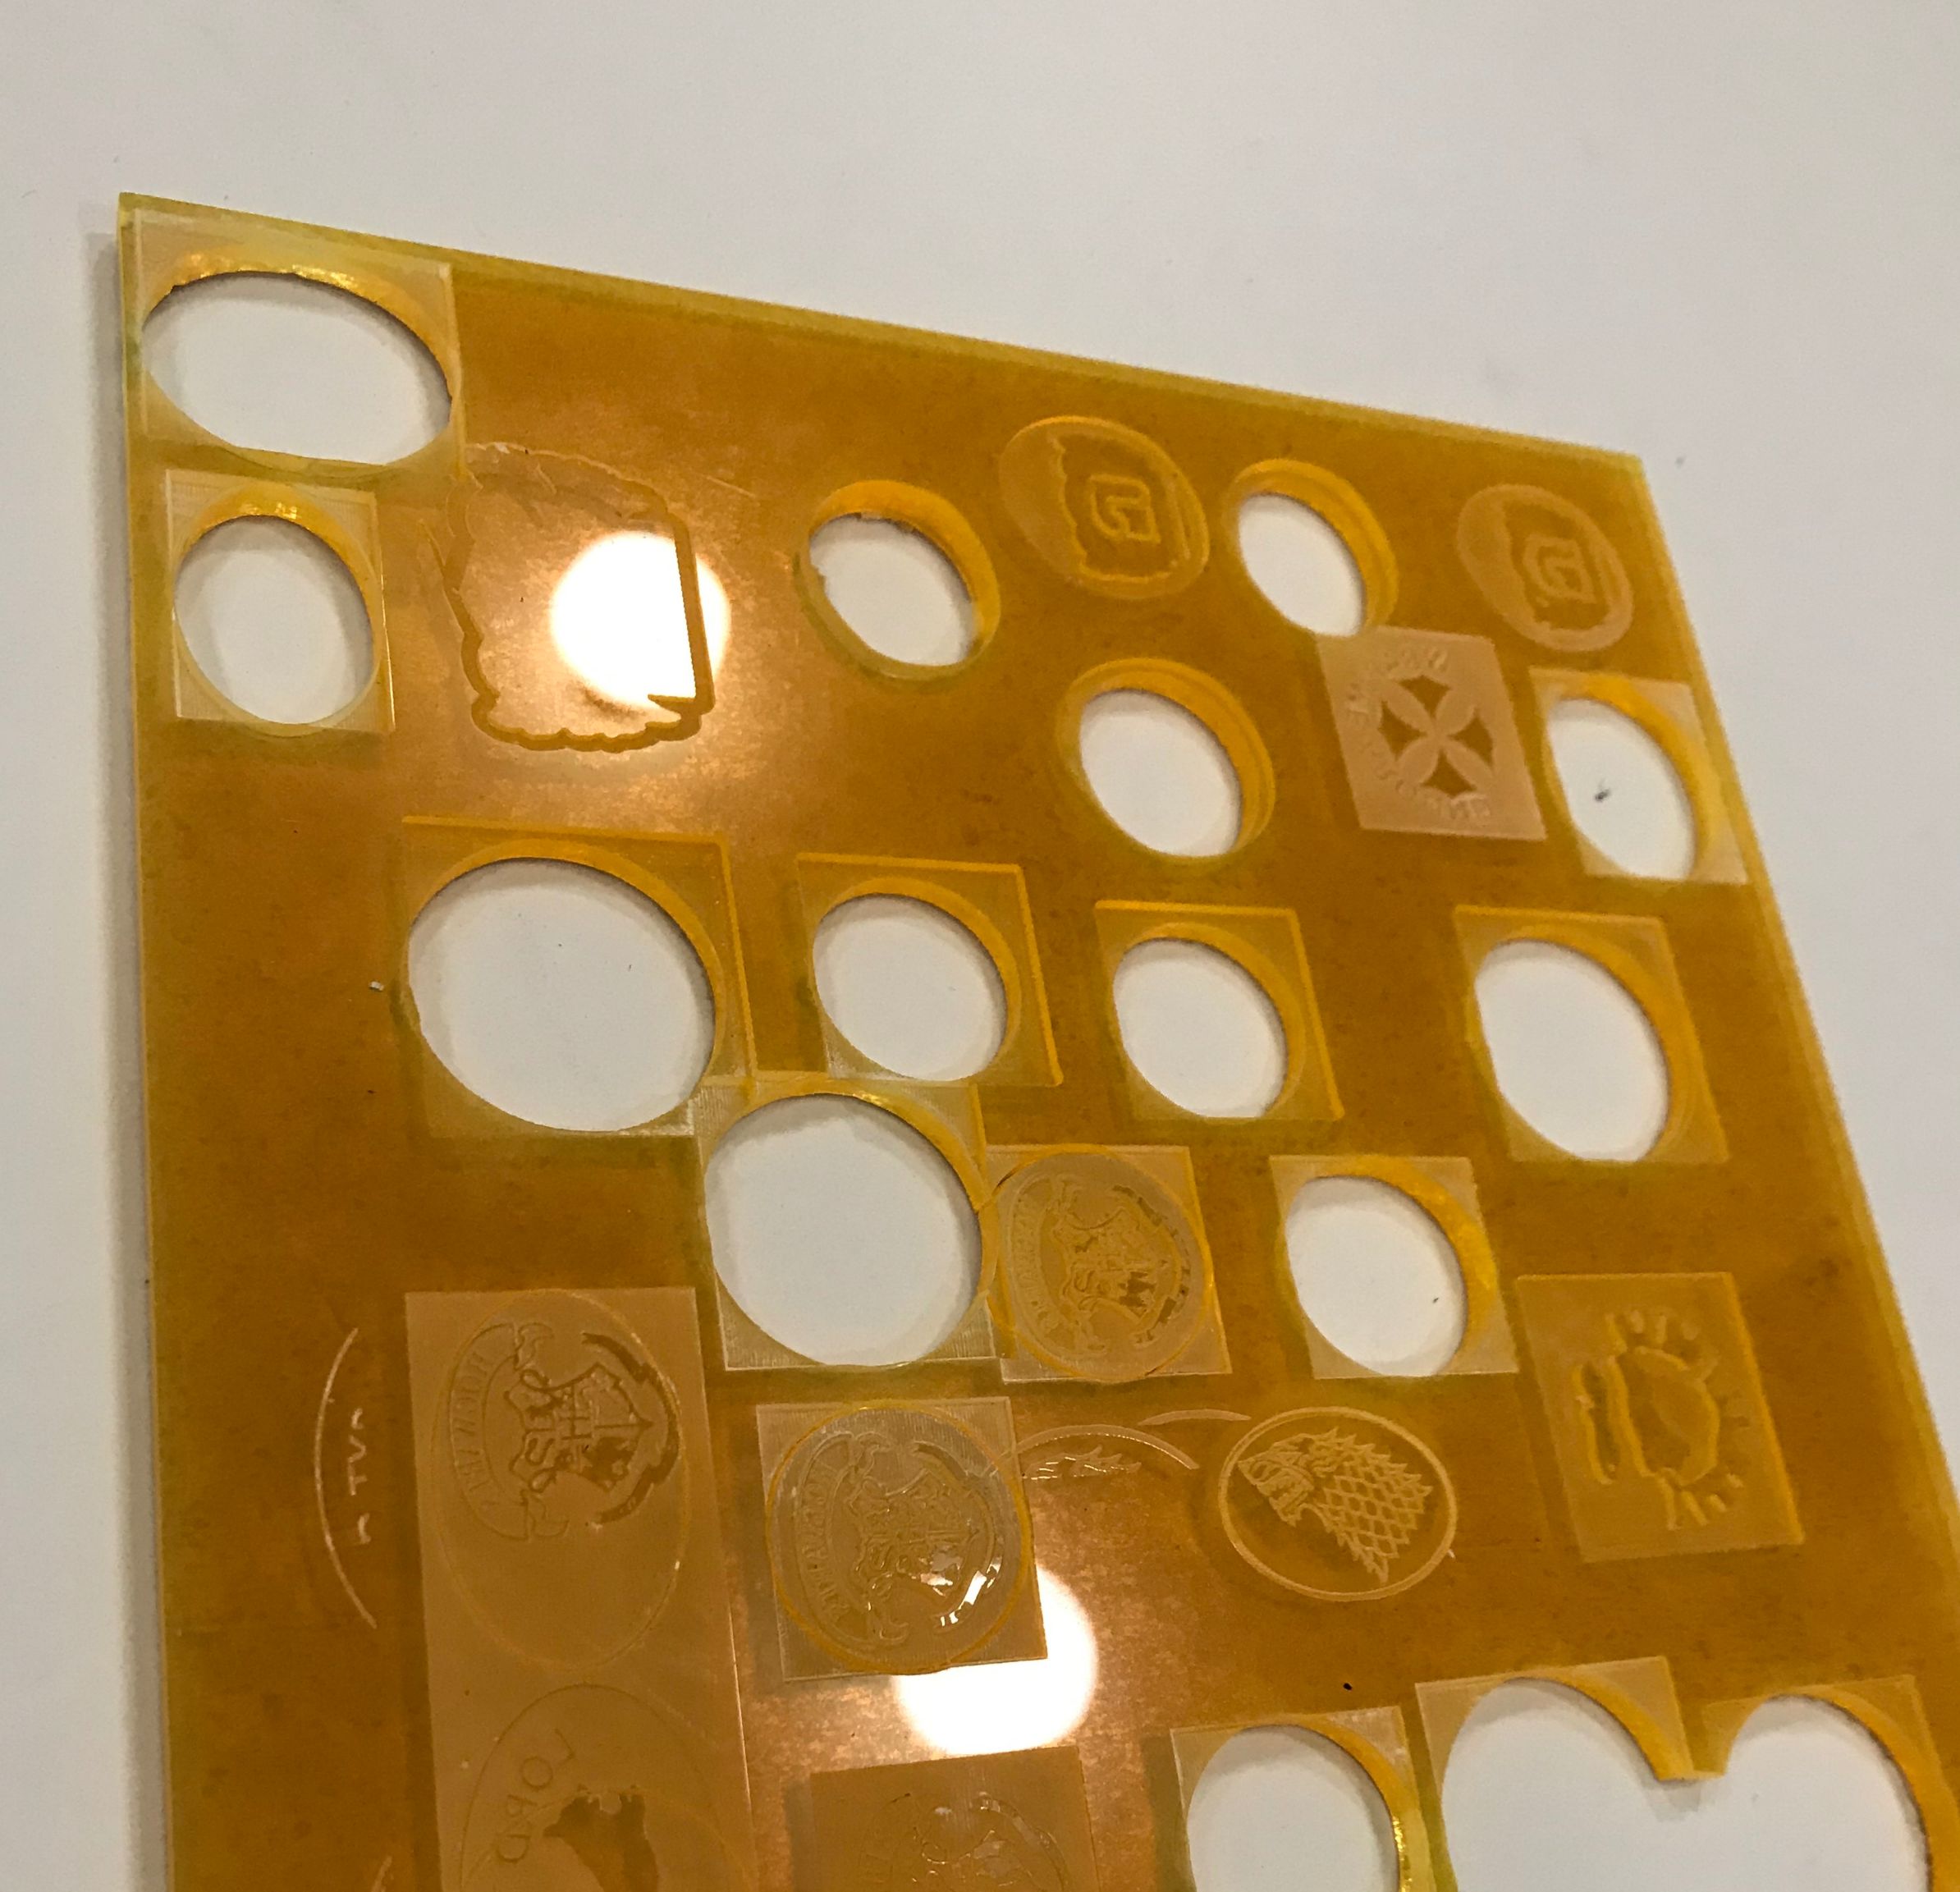
Make your design
Clipart: https://openclipart.org/search/?query=heraldry
Fonts: https://fontlibrary.org/en/search?category=blackletter
Inkscape: https://inkscape.org
- File: Document properties to change units
- For text wrapping–Text: Put on Path
- To rotate around shape, move the plus sign to the middle
- To remove shape, select Path: Object to Path
- Flip horizontally
- For shape outline: right click – Fill and Stroke
- Remove Fill; add stroke – in a different color
Retina Engrave (laser cutter)
- Our laser cutter in the library’s Innovation Lab is a Full Spectrum Laser H-Series 20 x 12
- Check the box for “ignore thin vector lines”
- From Inkscape: print to Full Spectrum Engineering Driver (best to make it the size you want in Inkscape before exporting)
- Invert
- Raster Mode – 4 passes (There’s no automatic setting for the passes; you’ll have to do it manually.) [see first video below]
- Raster then Vector [see second video below]
- Set Vector Layers Speed at 50, Power at 100, Passes at 6
Easel: easel.inventables.com
- Machine: Carvey
- Material Type: Cast Acrylic
- Bit: 1/16 in.
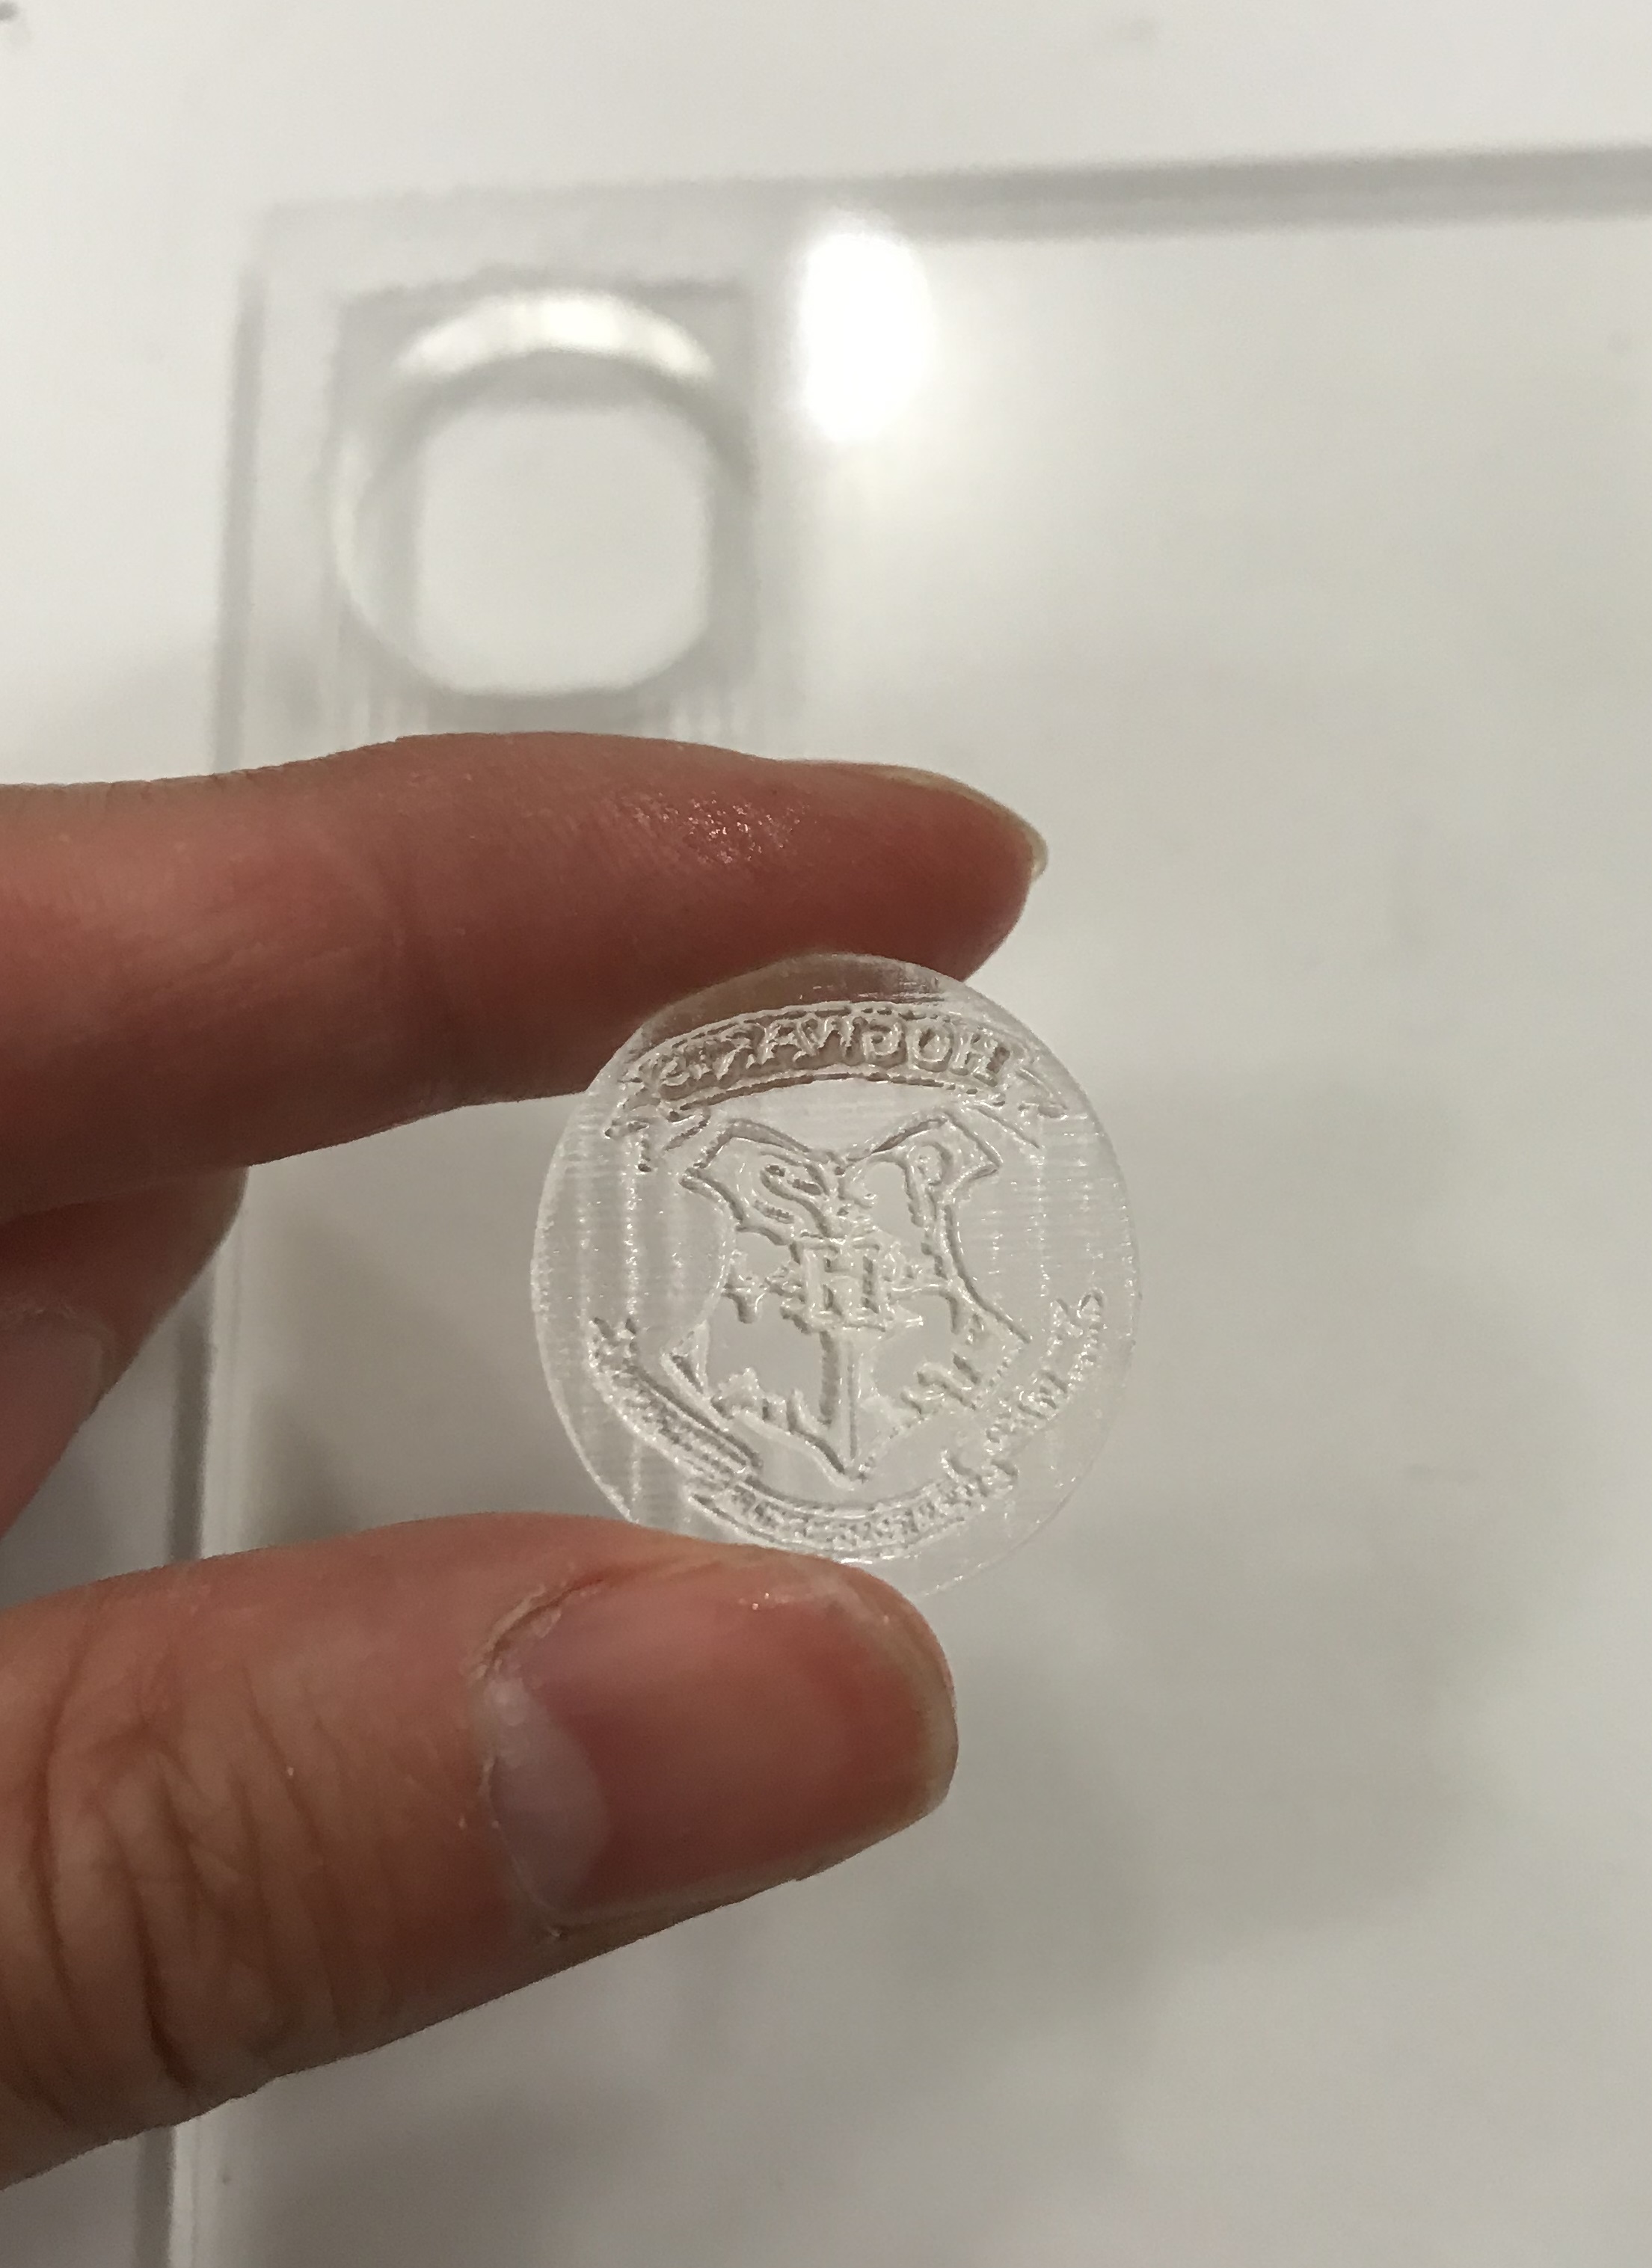
- Import or create design
- Select everything in your design and click Apps, then Stamp Maker
- Gray area Cut: select between 0 and -1/16 “ (approx. -1/32”)
You can resize your gray area (if you want round edges, select Shape: Edit Points) - Cut a shape: select -¼” depth (or full depth of the material)
Make a shape around your design (make sure your shape is fully inside the gray area)
Uncheck Use Tabs
Size is approx. between 0.9-1.0 inch
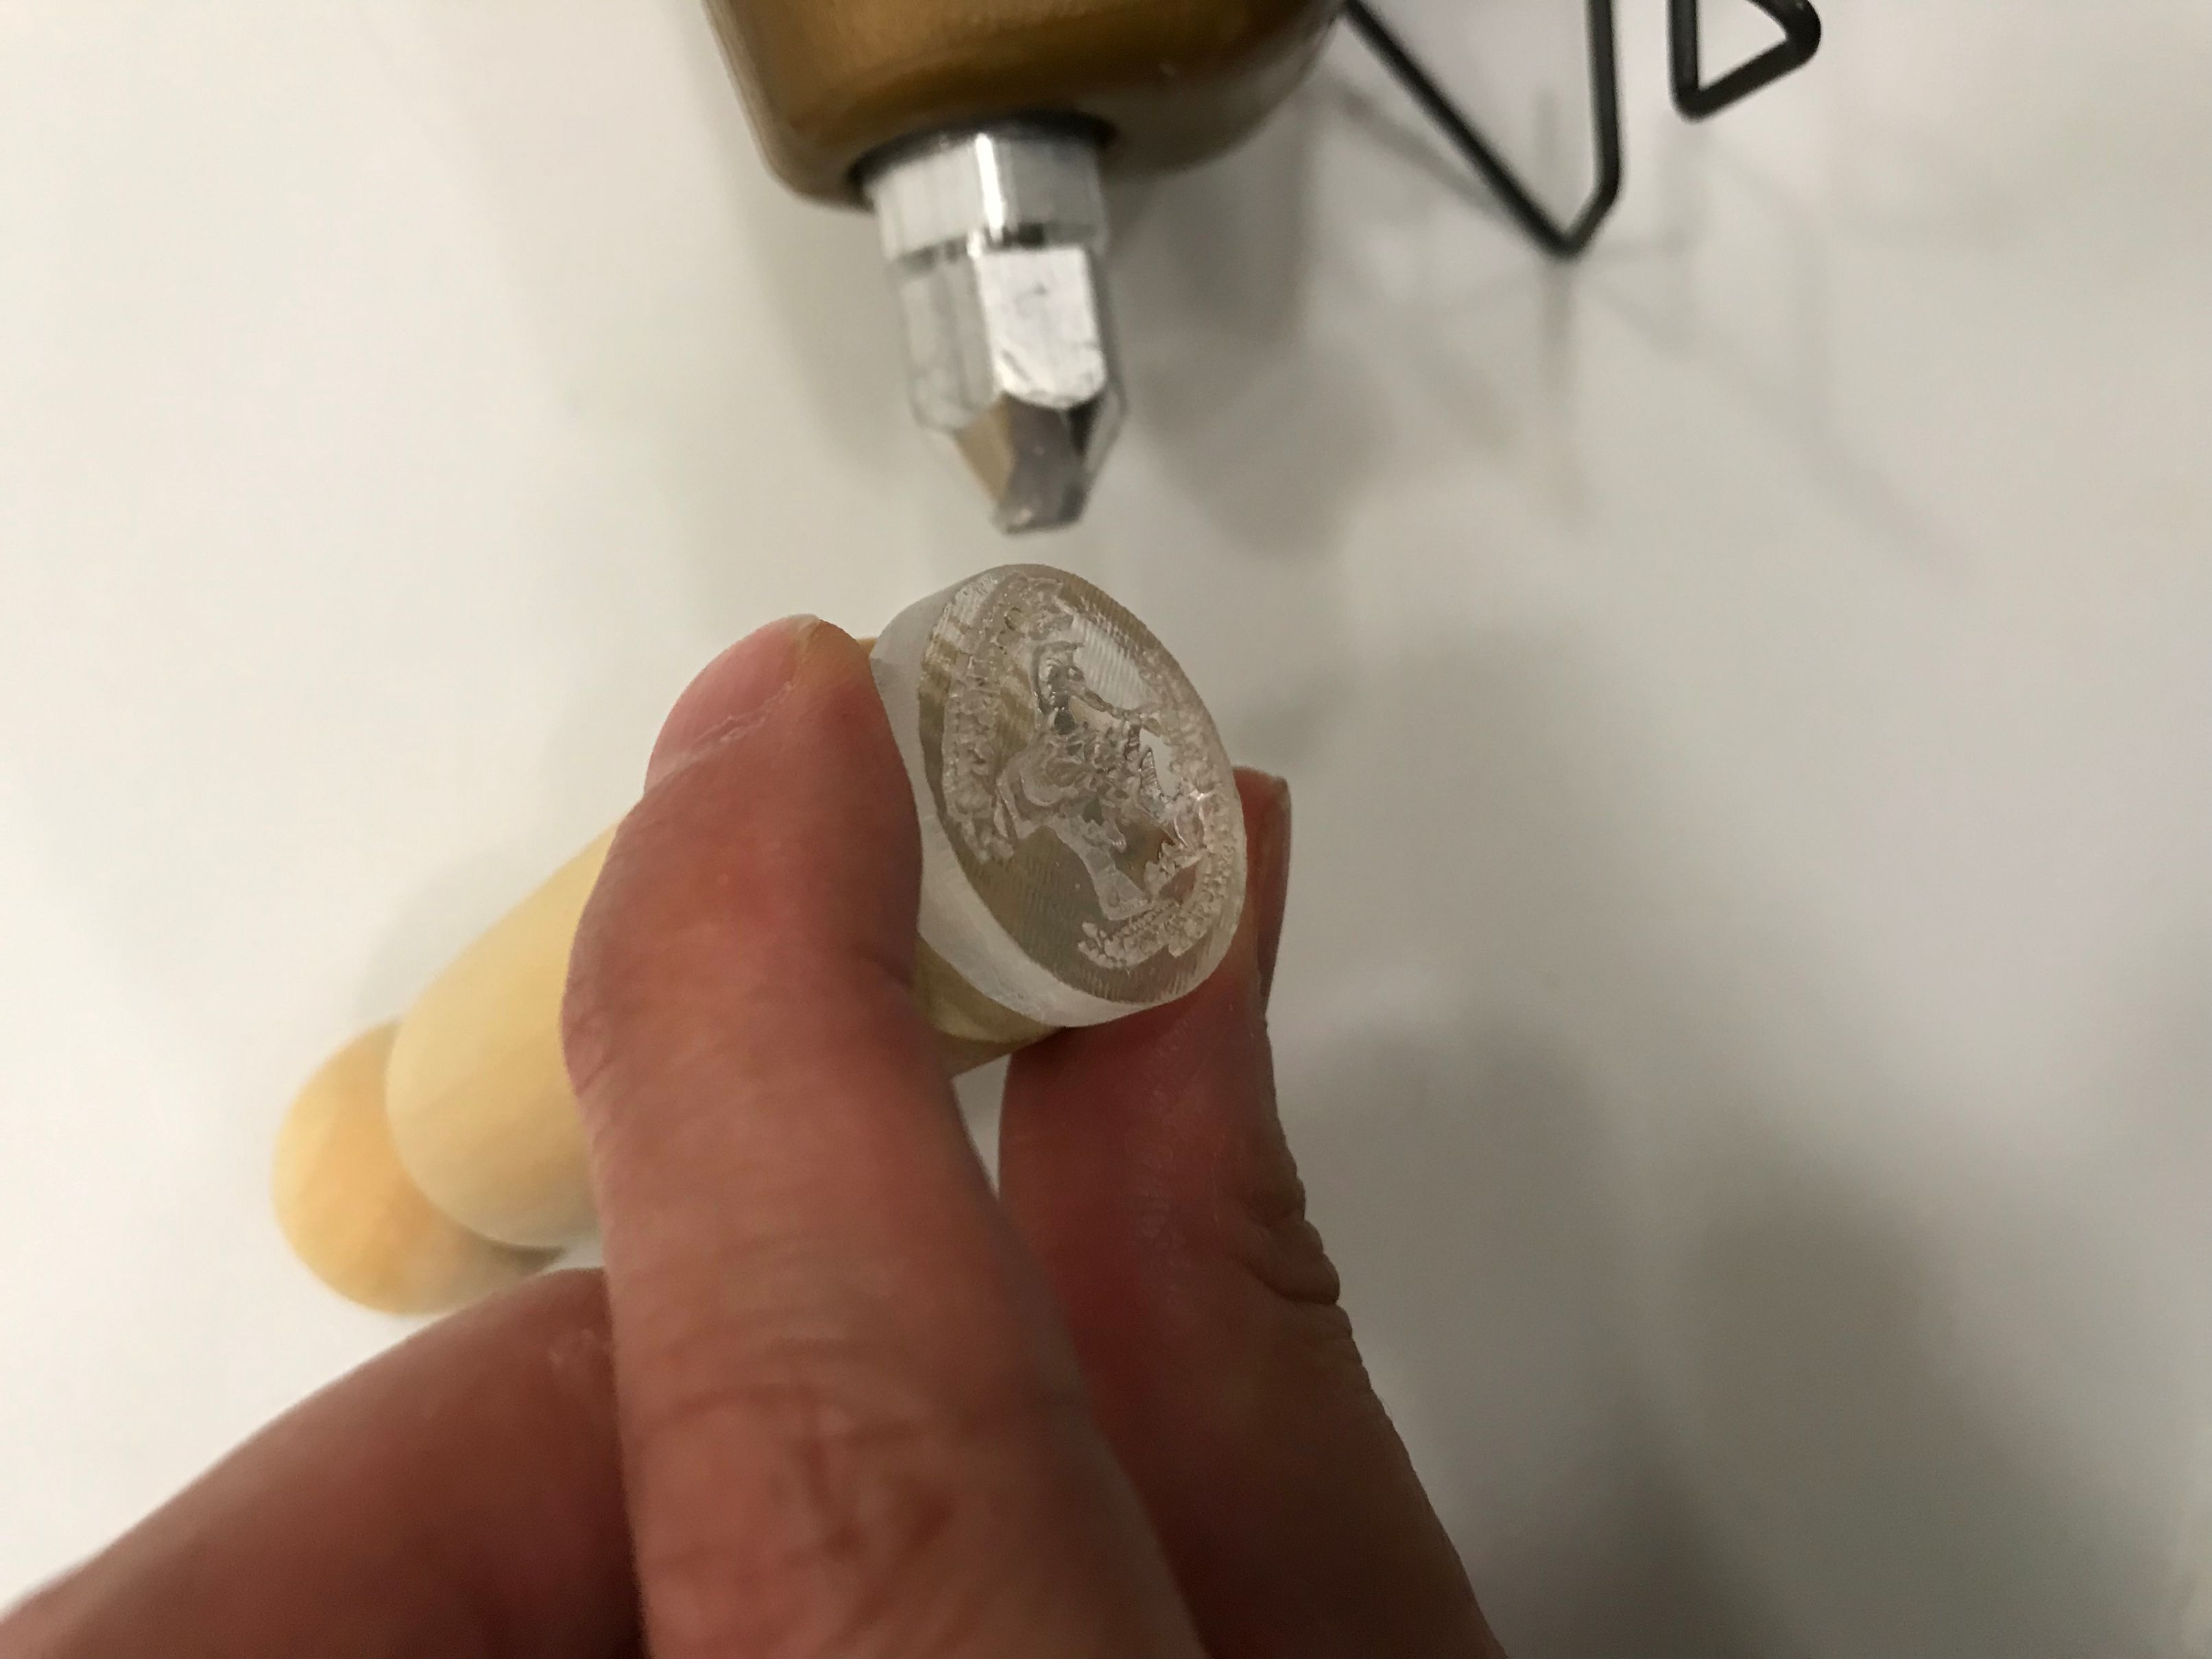
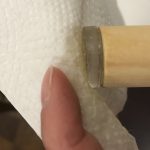
Assembling your seal
- Glue the acrylic to the peg handle
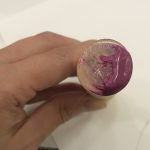
Using the seal
- Use oil or nonstick spray each time you use your seal
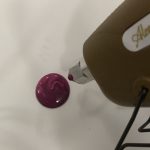
- Melt wax, about a nickel size
- Stamp your pre-oiled seal onto the wax
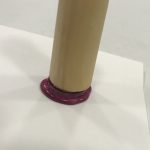
- Wait about 5-10 seconds as the wax is starting to harden—
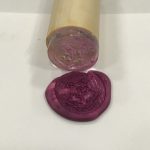
- But before it hardens completely, remove the seal
- Repeat the steps each time you use the seal
Where to get supplies
- Acrylic—Inventables (inventables.com)
- Pegs, glue—Michaels craft store (michaels.com)
- Sealing wax–Vroman’s Bookstore: 695 E Colorado Blvd, Pasadena (vromansbookstore.com)
- Sealing wax—Nostalgic Impressions (nostalgicimpressions.com)
You can make one at the library’s Innovation Lab! Click on the link below to find out how you can use the lab.