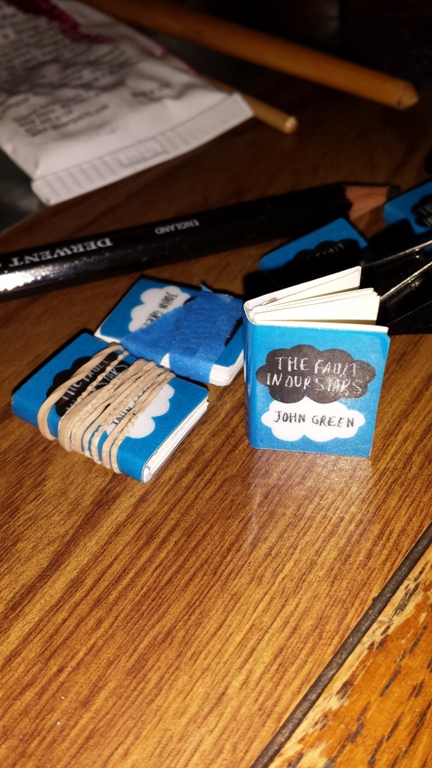
Want to make your own mini book charm? Here’s how!
You can use the charms for key chains, jewelry, pins, or magnets.
Supplies & equipment needed:
- Bookbinding glue
- Small binder clips
- Wax paper
- Scissors
- Ruler
- Plain paper
- Template for book covers
- Laminator and laminating sheets
- (optional) Crop-A-Dile and eyelets
1. Create your book cover graphic.
- Book cover images plus a matching color (for the back of the mini book)
- Cover portion measures approximately 1″ x 5/8″ inch
- Entire template measures approx. 1 x 1.5 inch
- Print out your graphic in color
2. Cut out each cover.

3. Laminate the covers.
4. Cut out the laminated covers close to the edge. You may also want to dull the corners (round the corners).
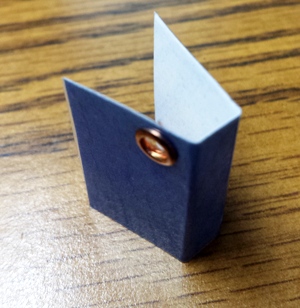
5. [optional] Add an eyelet (using a Crop-A-Dile).
6. Fold the book spine.
It’s easiest to fold the front cover first, then the spine, and finally the back cover. When creating your templates, add a bit more color to the back cover portion; you can always trim off the extra later.
7. Cut paper into 1″ strips.
Any kind of paper will work. I use resume paper scraps or plain printing paper.
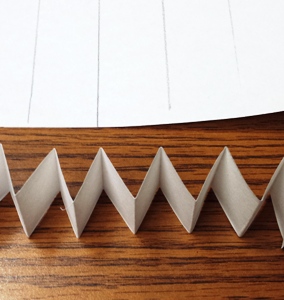
8. Fold the paper strips accordion style into 1″ x 0.5″ folds.
Make sure you gather enough to fill the mini book.
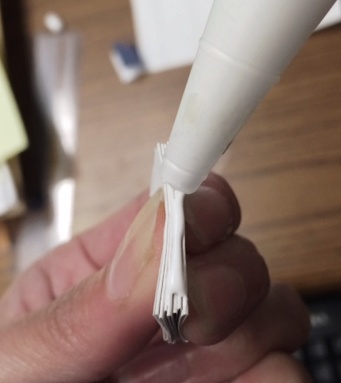
9. Press one side of the paper together and spread bookbinding glue on the edge.
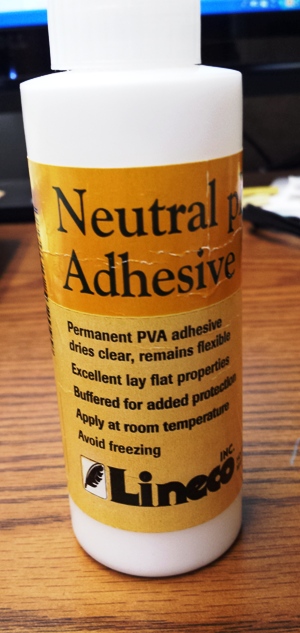
You can find this glue at an art store (like Blick). Any brand is fine; the glue should dry clear and remain flexible.
10. Before the glue dries, press the pages into the book cover.
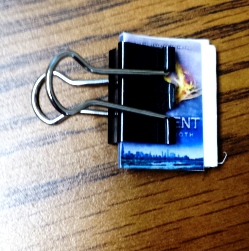
11. Clip together the finished book to dry.
12. After it’s dry, you can trim the pages to fit.

