Personalize a metal box for yourself or as a gift. To personalize the box, you’ll first add your drawings, then use a simple battery powered salt water solution, etch in your design.
Supplies:
- permanent markers
- metal boxes or plates, silver finish (Bead Landing metal sheets work really well; tins purchased for this program are from Allstate Can Corp.)
- 9 volt batteries
- 2 alligator clip wires
- salt
- water in a little cup
- cue tips
- nail polish remover
- napkins
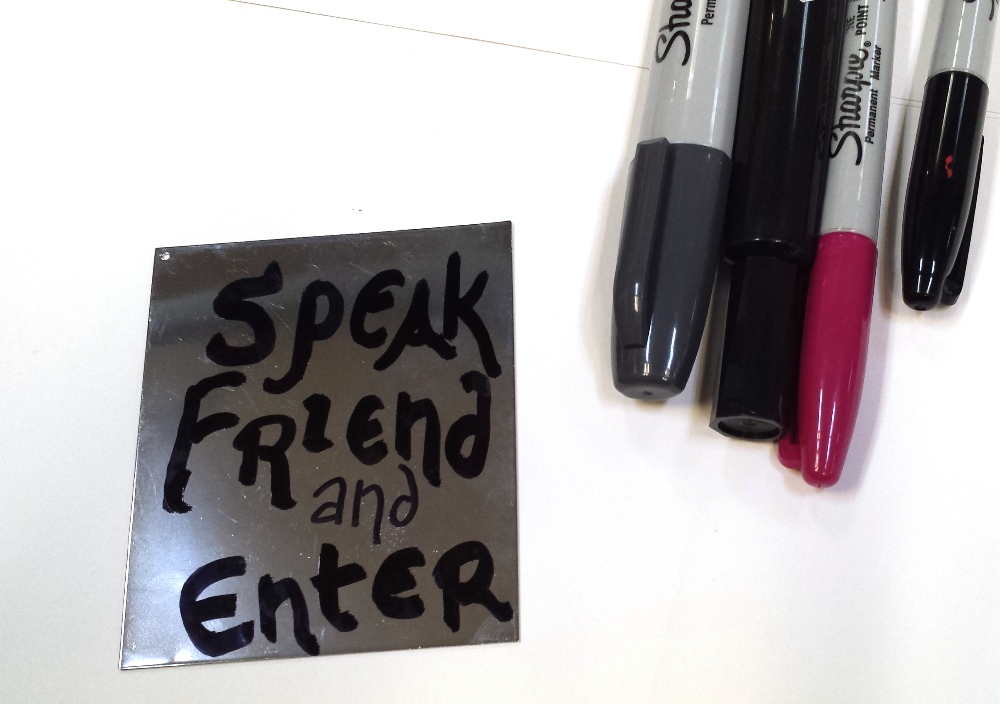
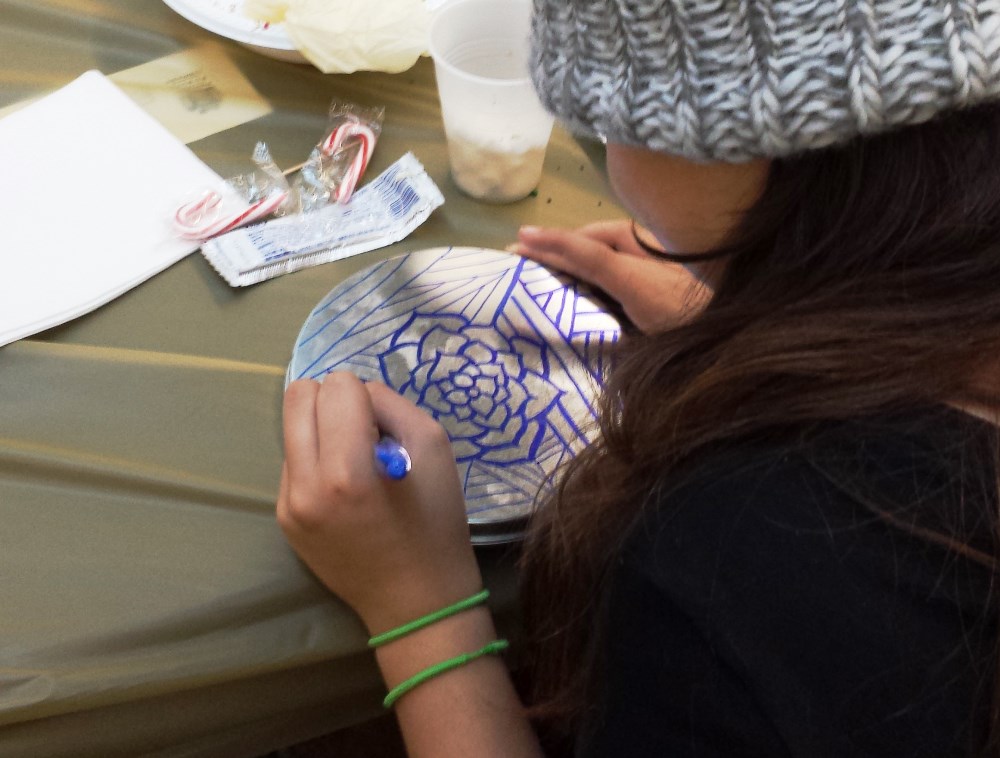
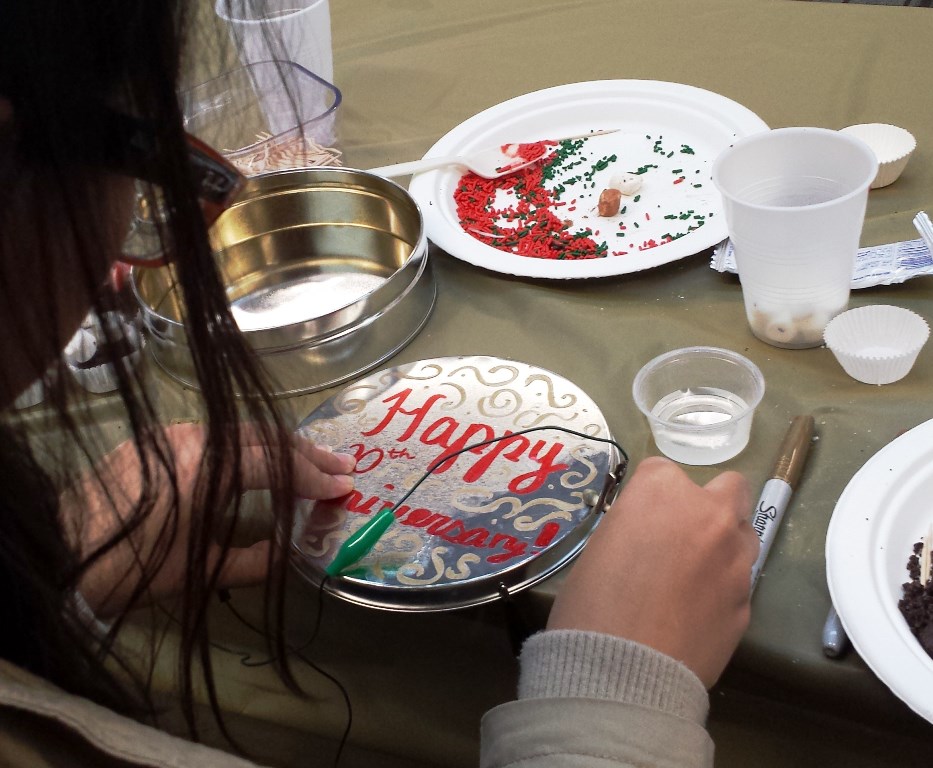
Step 1 ~ Draw or write your design with permanent marker. One marker coat is best. Remember: whichever area is covered with marker are the areas that are NOT going to be etched. So if you actually want the words to be etched (and not around it), make sure you’re outlining the letters.
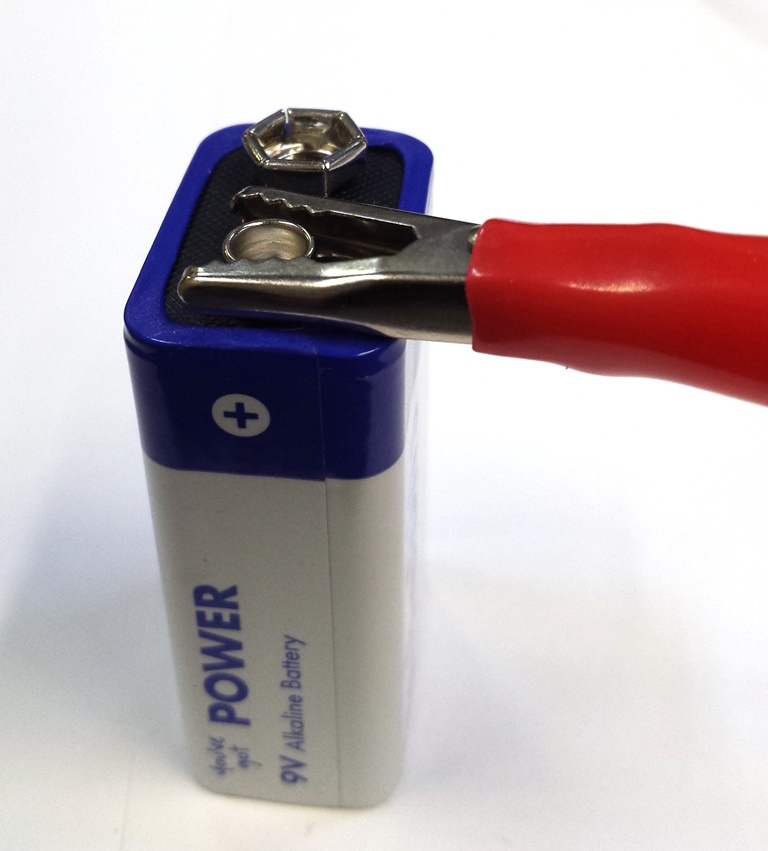
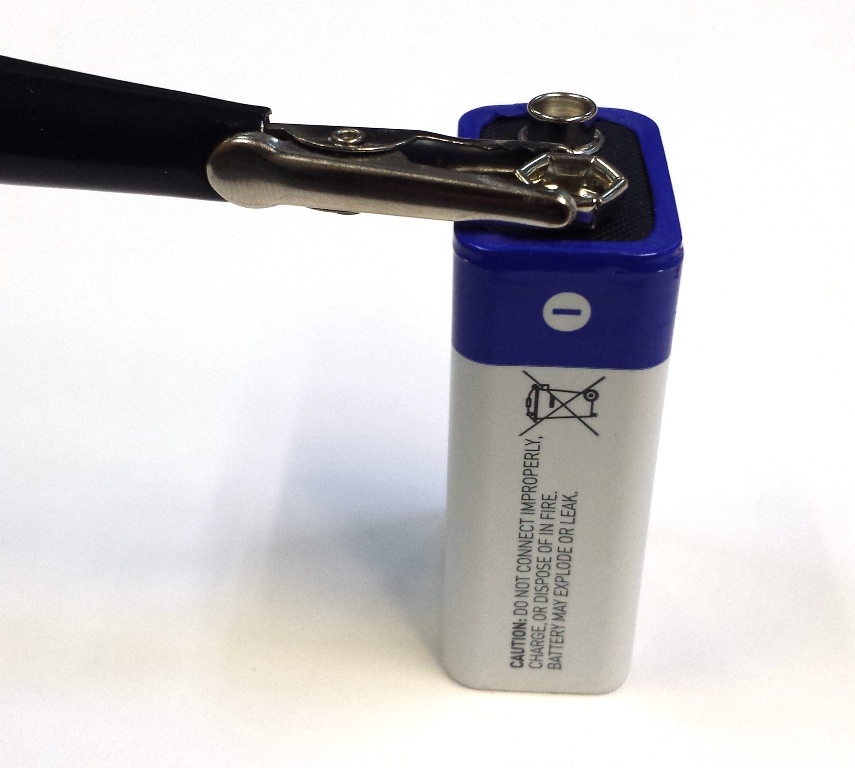
Step 2 ~ Using a set of alligator clip wires, attach one clip to the positive battery side…

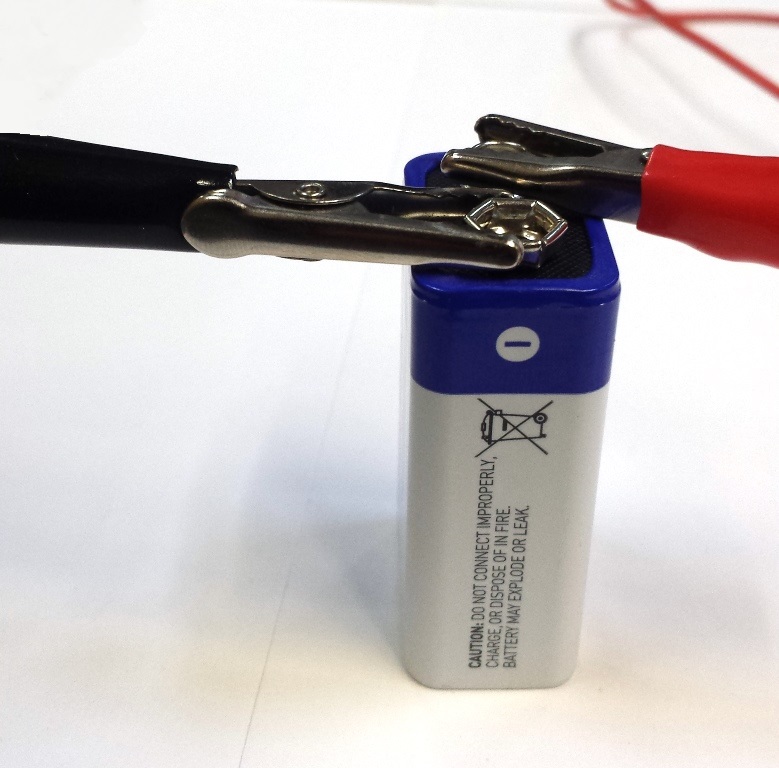
Step 3 ~ …and clip the other side to the metal you are etching.
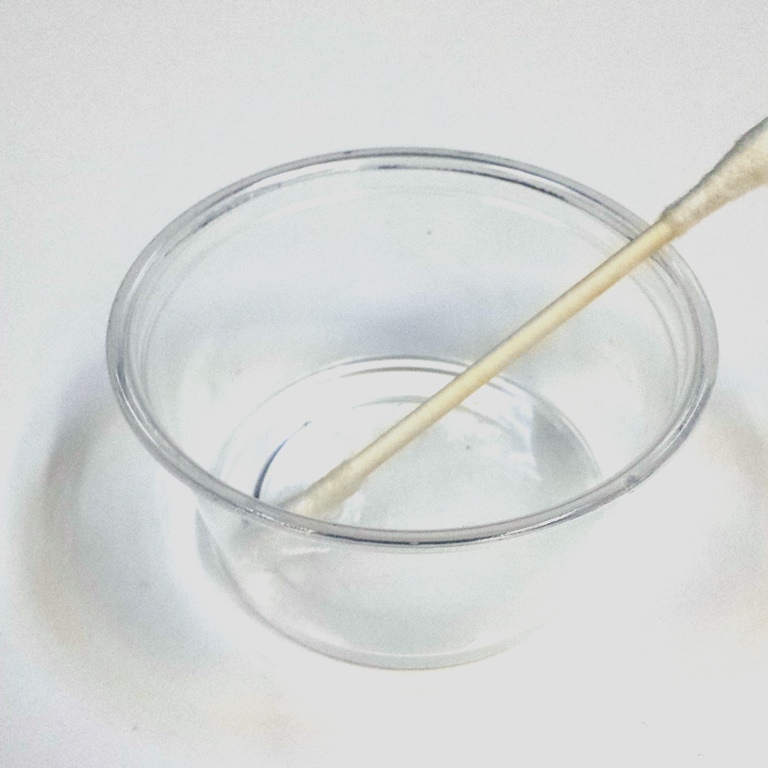
Step 4 ~ Mix salt water solution using about 1 part salt to 3 parts water. Submerge the cue tip into the solution covering the entire tip (about 1 inch up).
Step 5 ~ Using another set of alligator clip wires, attach one clip to the negative battery side…
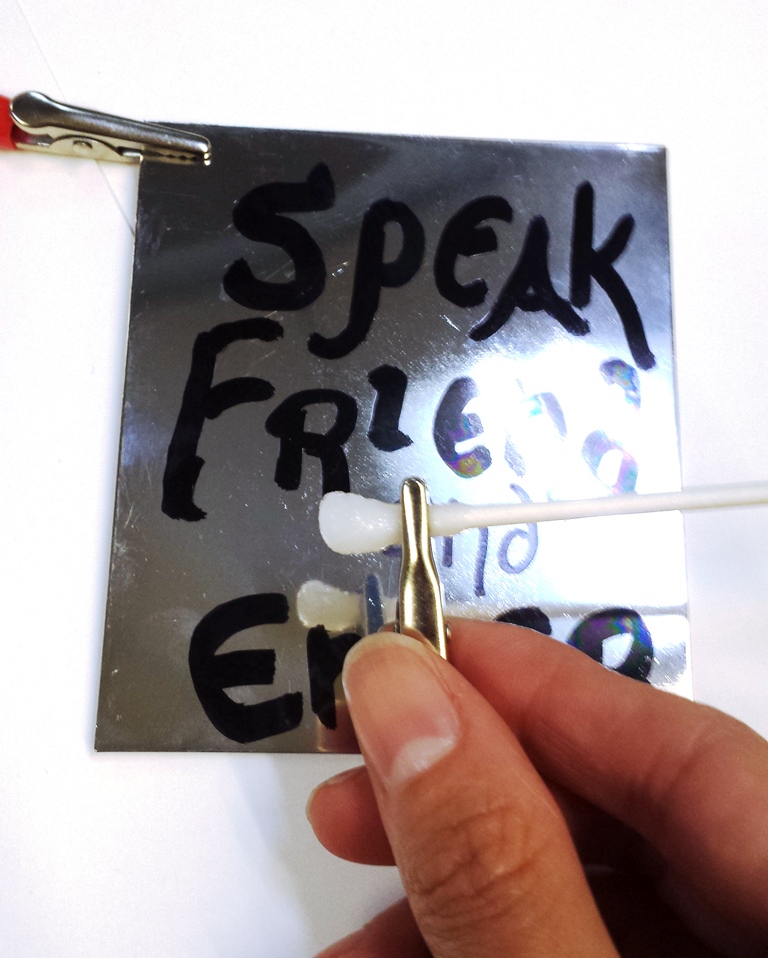
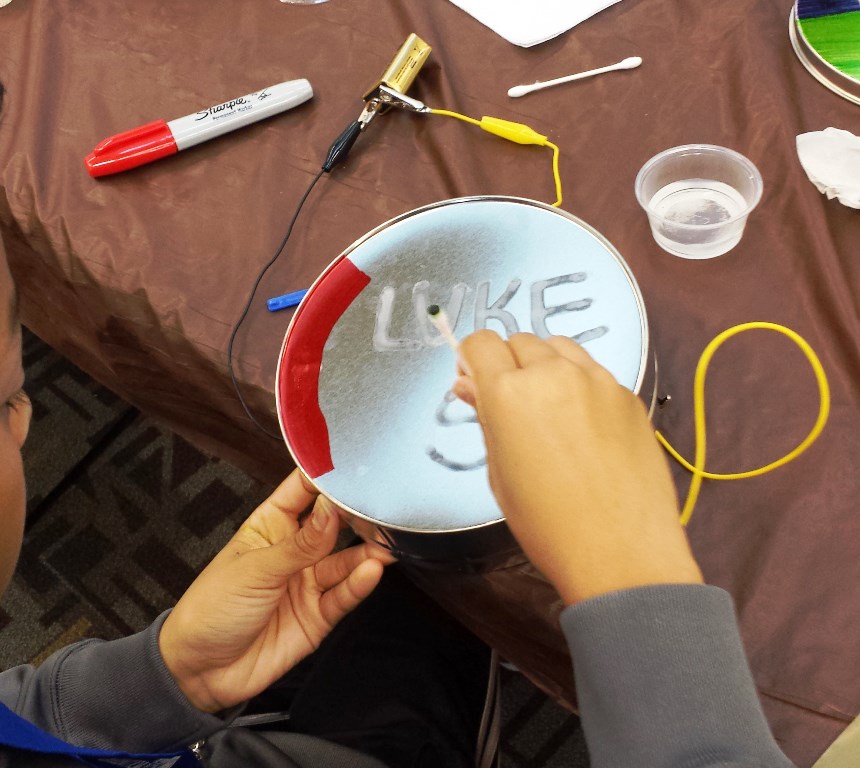
Step 6 ~ …and clip the other side directly on the wet cue tip.
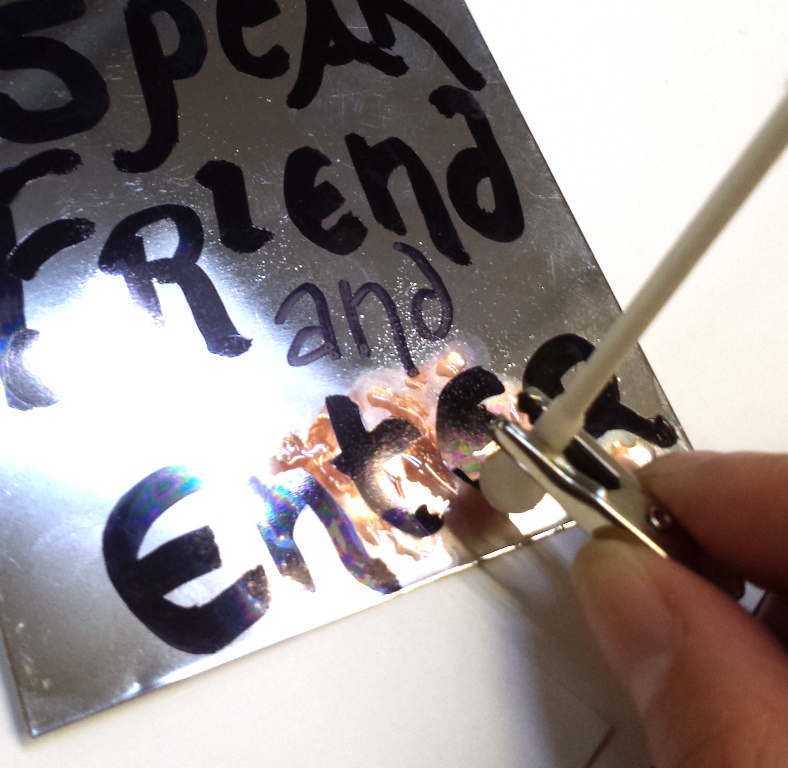
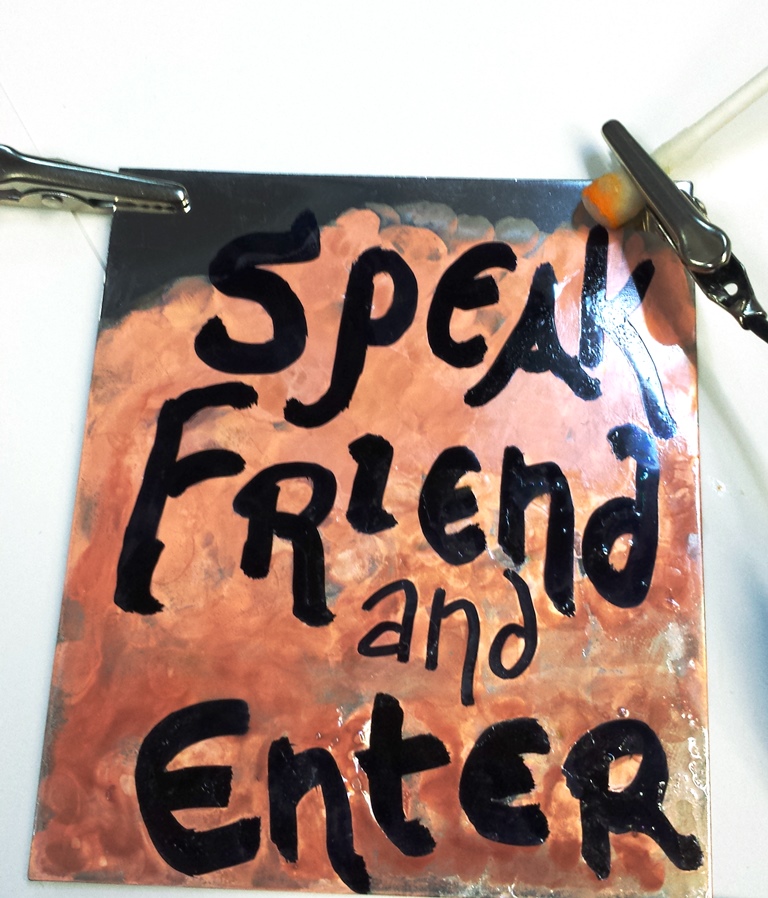
Step 7 ~ Tap the wet cue tip along the metal. You’ll start to notice a difference in color. Depending on the type of metal, you’ll either see it turn to copper or darken to black.
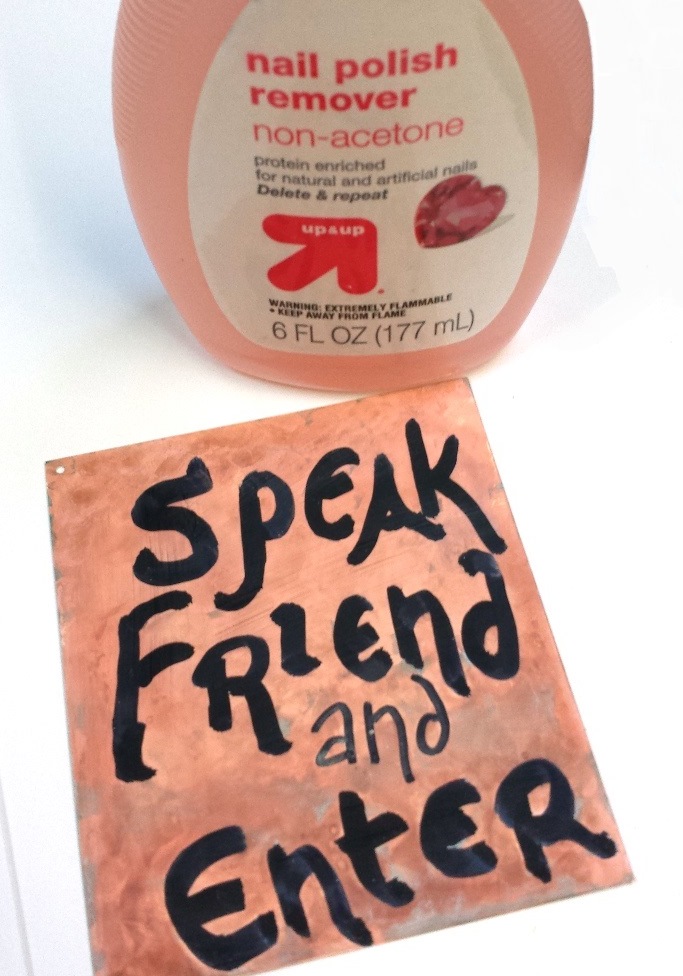
Step 8 ~ After you’re done etching, detach all the wires. Then dry the excess water off the metal. Using a dab of nail polish, remove the permanent marker.
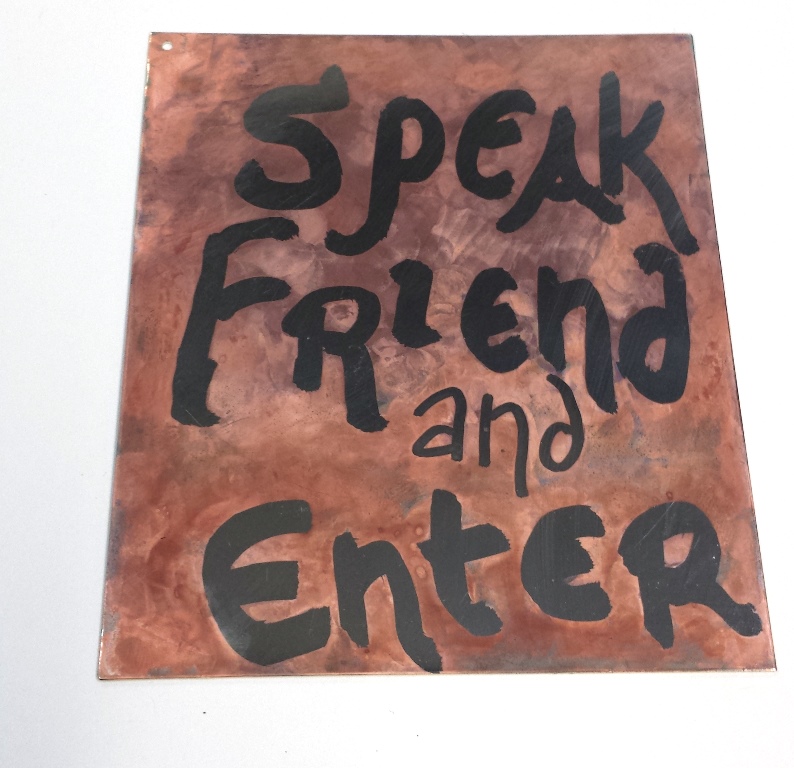
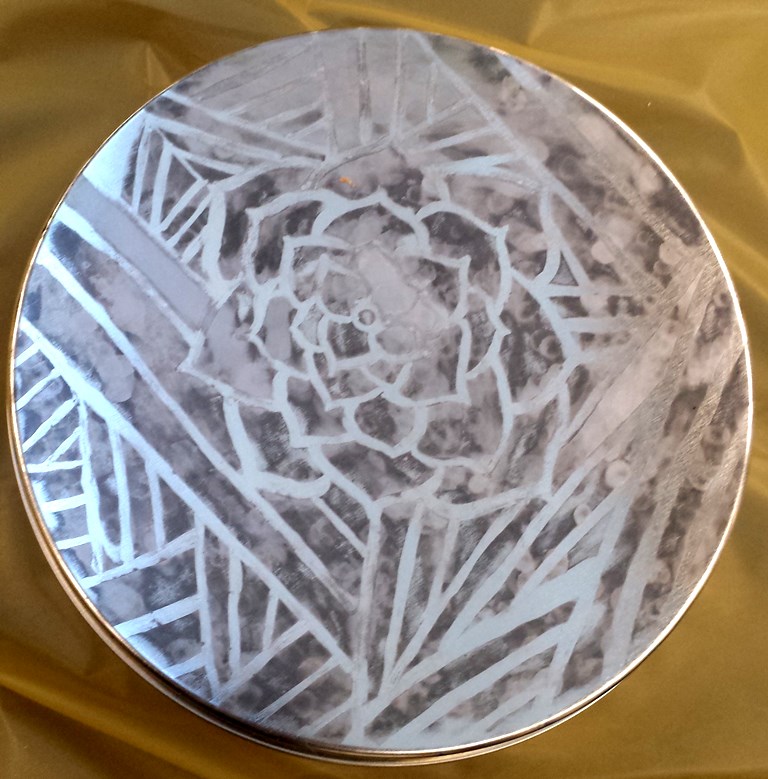
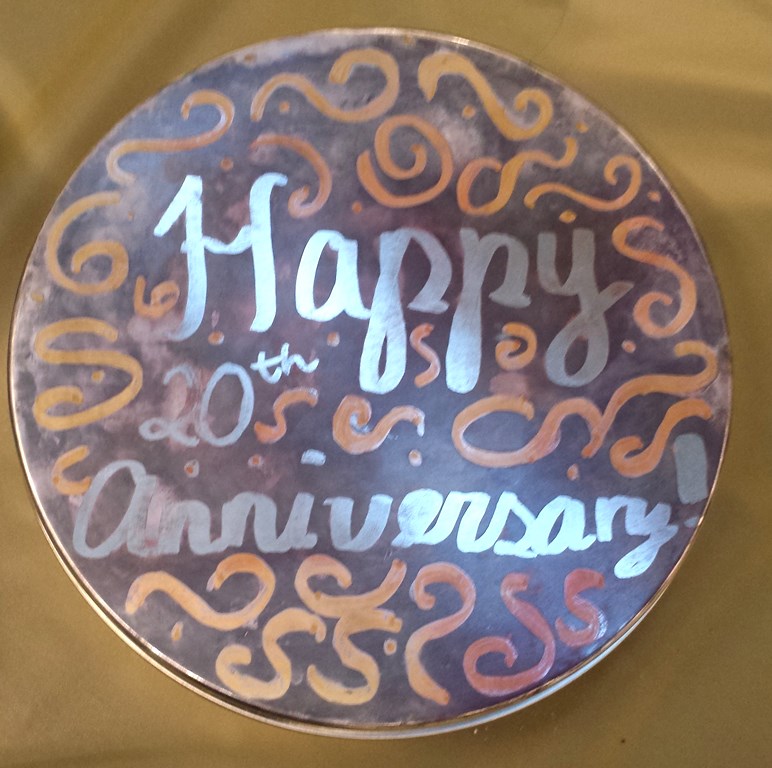
Check out some of the teens’ designs