
Winter Break activities featured several nostalgic ideas, as selected by the Teen Advisory Board. First up is DIY Snow Globes! Teens selected their jars, glitter, and figurines; some created their own figures with foam, and some personalized it with paint.
Supplies:
- jars
- glitter/snow
- distilled water
- hot glue or super glue
- paint (acrylics) for anything that goes inside the water
- puffy paint for outside the jar
- permanent markers (Sharpies in every color)
- foam in various colors
- stickers, jewels
- figurines (waterproof only)
Method:
- Selected jars, glitter, and figurines
- Create decor with foam or paint; use acrylic paint for anything that goes inside the jar. Make sure everything fits inside the jar!
- Glue your items on the inside lid of the jar.
- Wait for everything to dry.
- Fill the jar with distilled water and a small amount of glitter/snow (remember, a little goes a long way).
- Add 3 drops of glycerin.
- Screw on the lid tightly.
- Decorate the outside of the jar if you want.
Here are a few ways other ways:
http://www.marthastewart.com/273254/snow-globes
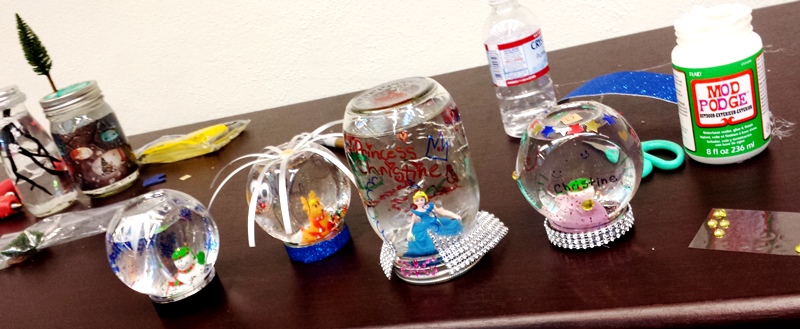
Examples:
Some snags:
1. Some of the mason jars did not seal well. Some initial designs had glue, paint, or tape too far at the edge of the mason jar lids (the orange ring part). The ones that wanted to preserve their design had to clean out that area of all gunk and materials. If the lid is lifted even a millimeter, the jar will leak.
The jars that were made specifically for snow globes sealed much better. They were plastic and purchased from Oriental Trading; the only problem is, they are a bit small.
2. Sometimes after filling the jars, the water became cloudy. This happens because either (1) paint/glue did not dry, or (2) the figures/materials used are not waterproof. Some things to keep an eye out for.
3. I provided 2 kinds of glue: super glue and hot glue. I think super glue works better, but it takes a lot longer to dry. Hot glue dries a lot quicker, but sometimes did not adhere the figurines well. And, a couple of teens burned themselves.
4. Any kind of paper (like stickers) used inside the jar must be “sealed” with Mod Podge and dried before filling with water (a thin coat is fine). I would also recommend decorating the outside or top of the jars.
This activity is not recommended for kids under the age of 12… Even some of the older ones found this craft difficult and needed a lot of guidance. And the jars from Oriental Trading were marked for ages 14 and up.
For a much easier workshop, provide lots of figurines and remove the other craft supplies; you’ll also need jars that seal really well. Larger plastic jars would be perfect. This limits their creativity, but creating small figures out of foam can be really difficult.
For young kids, a teen or adult will need to glue the figures into the jars for them.
This activity can range anywhere from 10 minutes to 2 hours (even longer for some designs). Most will finish within an hour.
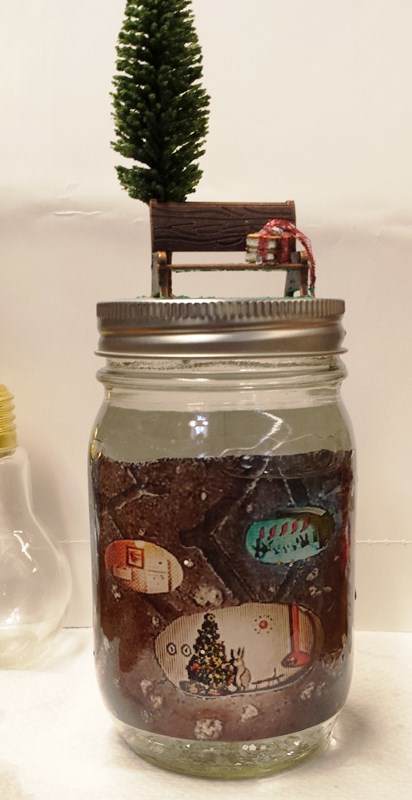
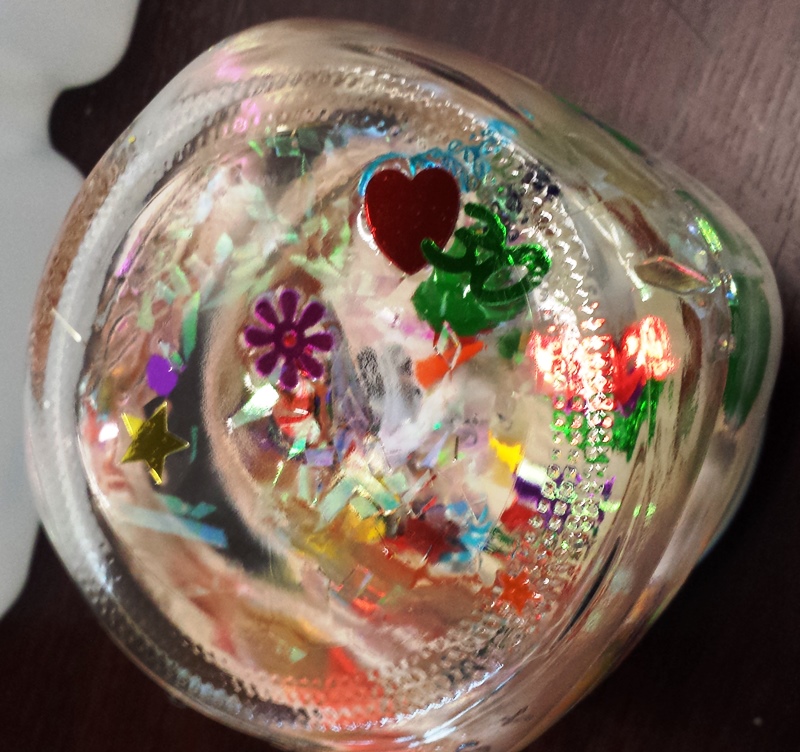
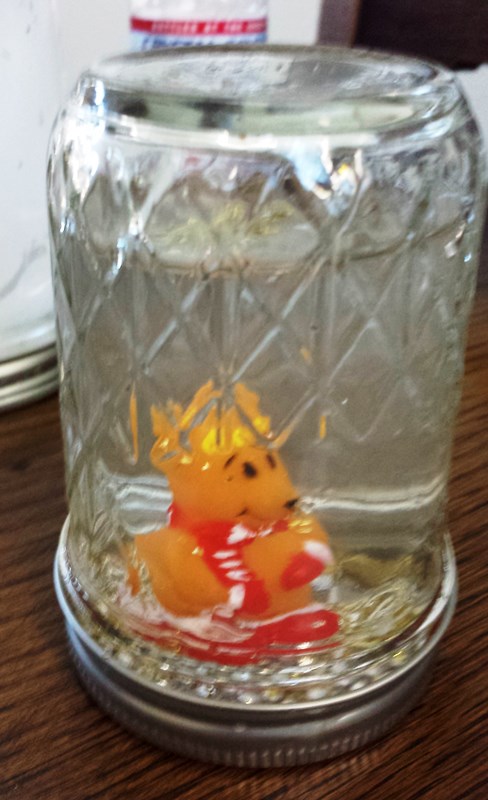
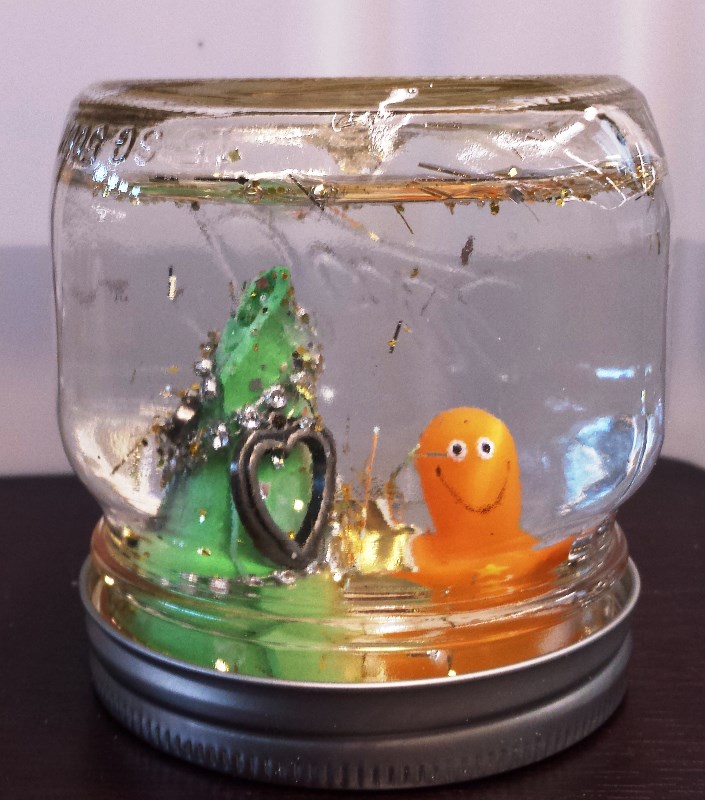
Here are the creations:
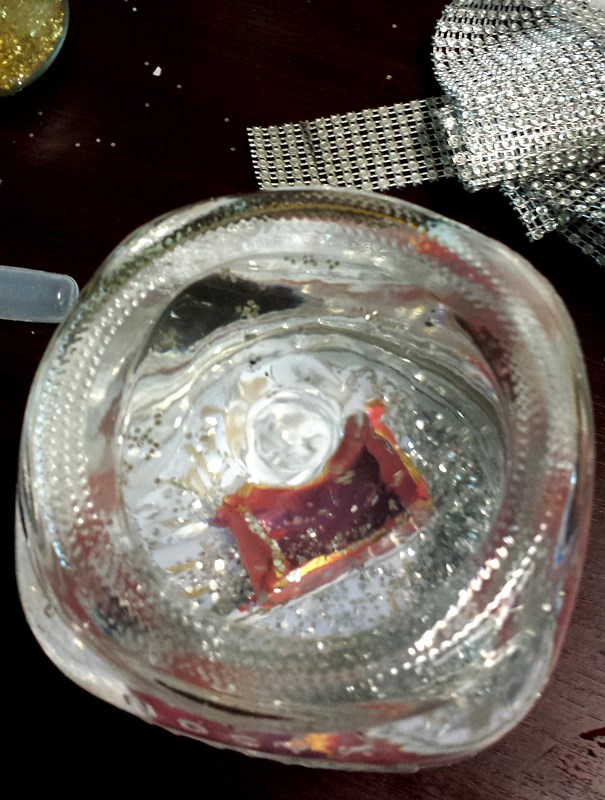
(some photos were taken before the finishing touches)
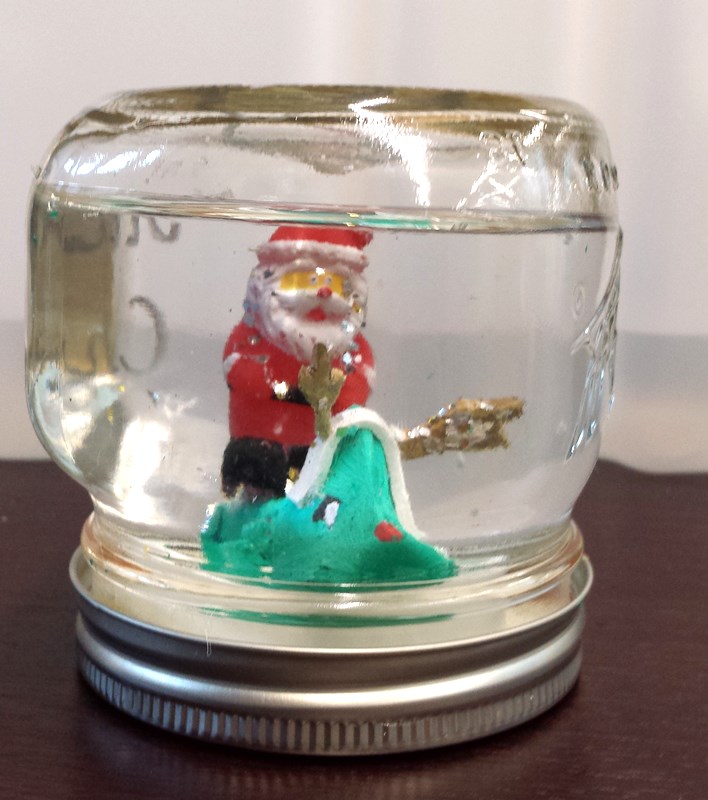
Santa on chameleon by Sasha G., age 16
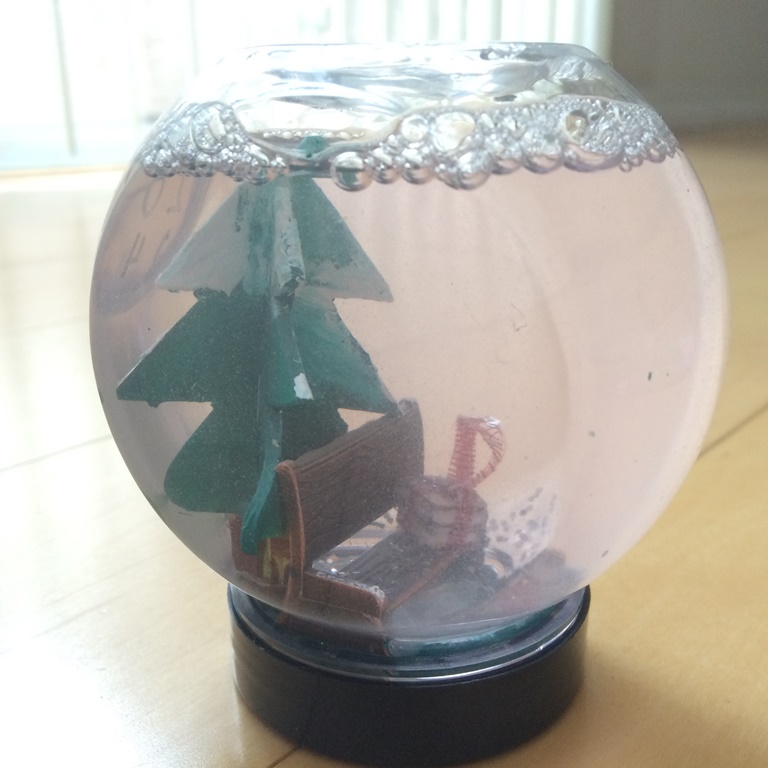
Santa’s sleigh by Mariah D. age 16
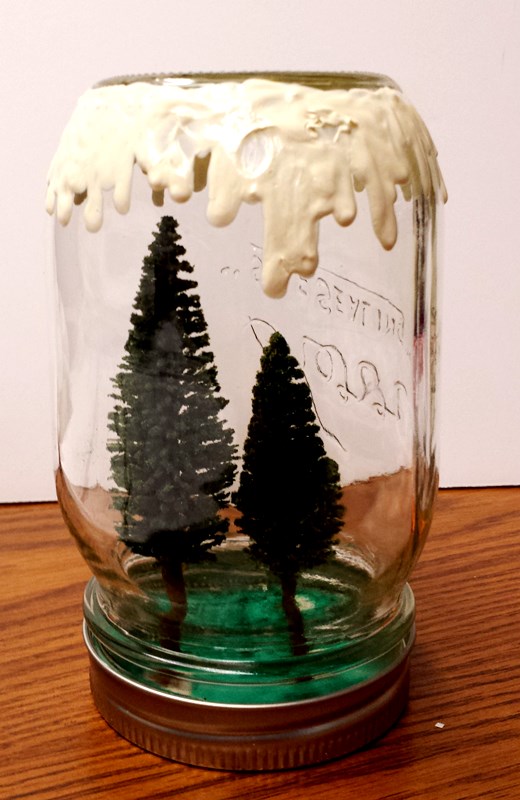

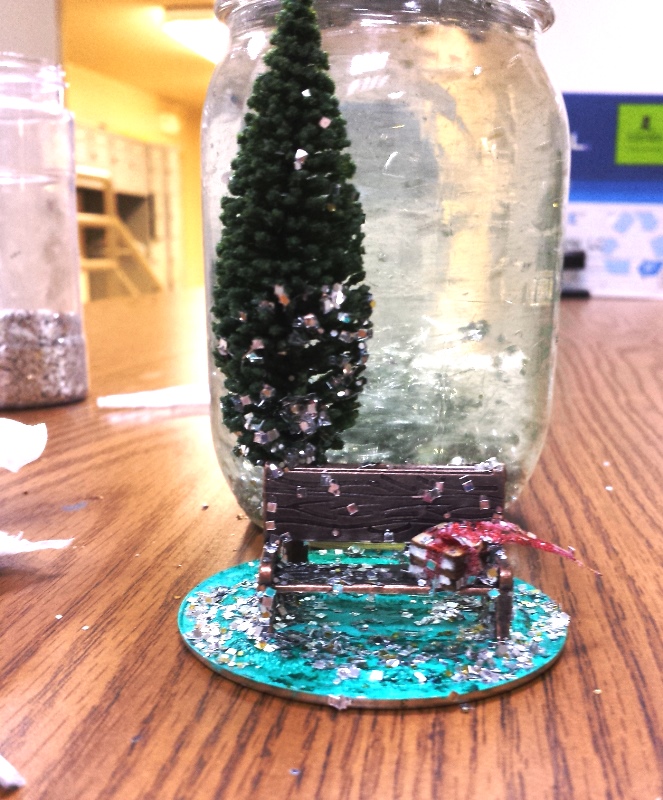
snow on jar by Simone L. age 16; trees by Jane Gov
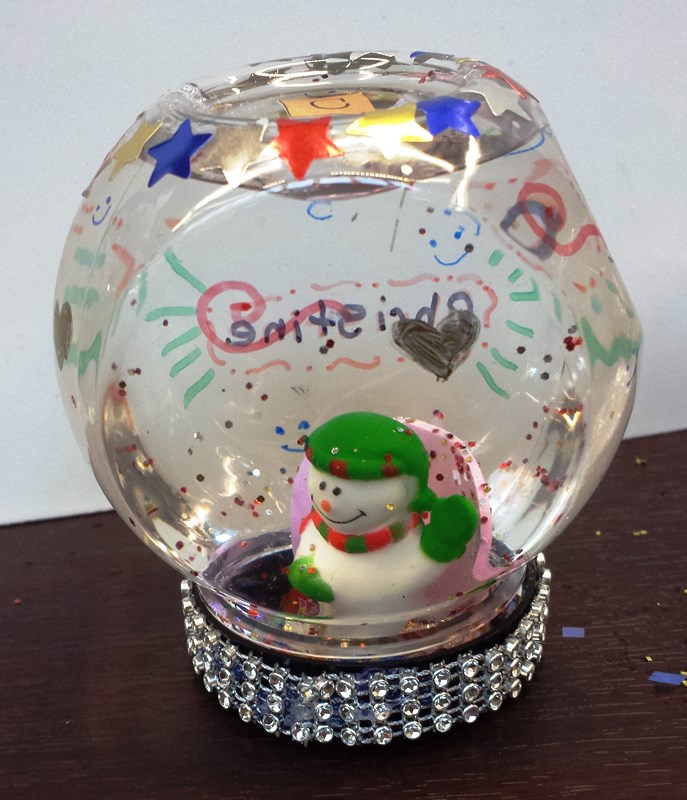
snowglobe by Christine A., age 14
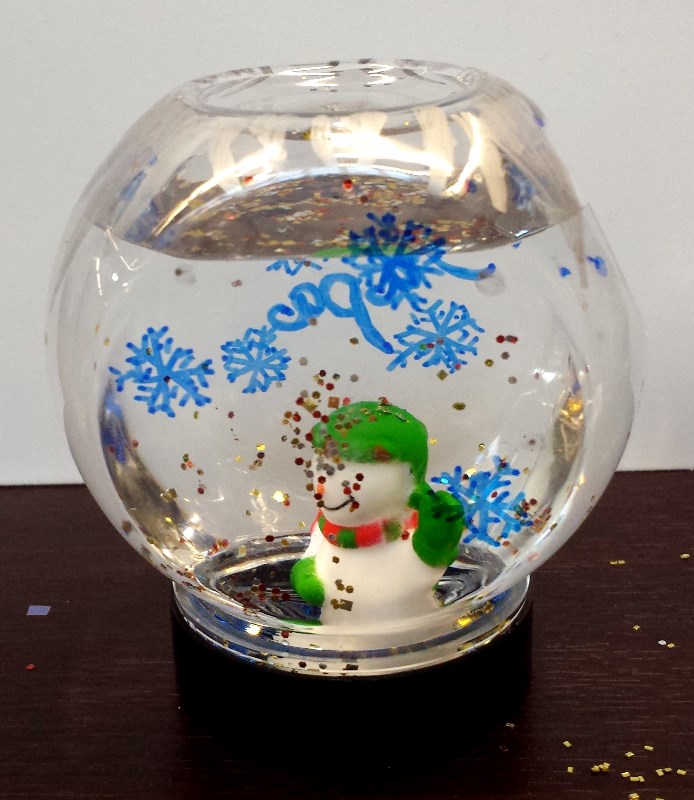
Snowman by Amy S., age 15
Snowman by Christine A., age 14

Snowmen toasting by Charlie C., age 13

Superman by Sam M., age 13
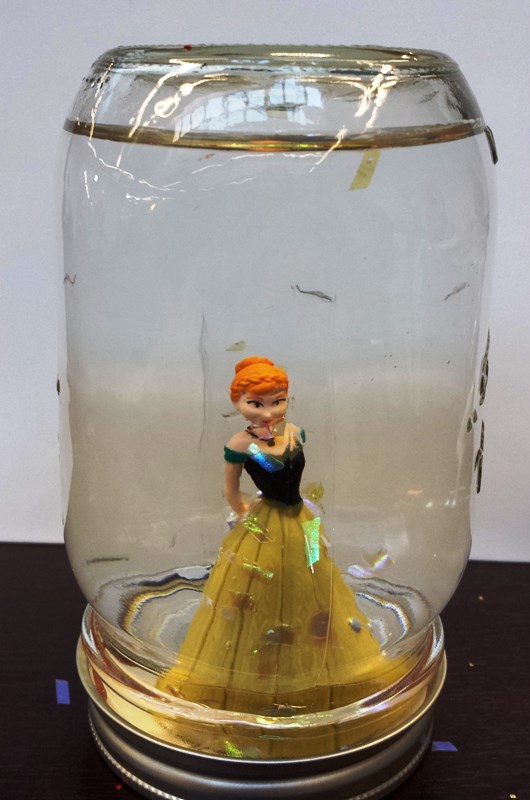
Anna by Dante F., age 12
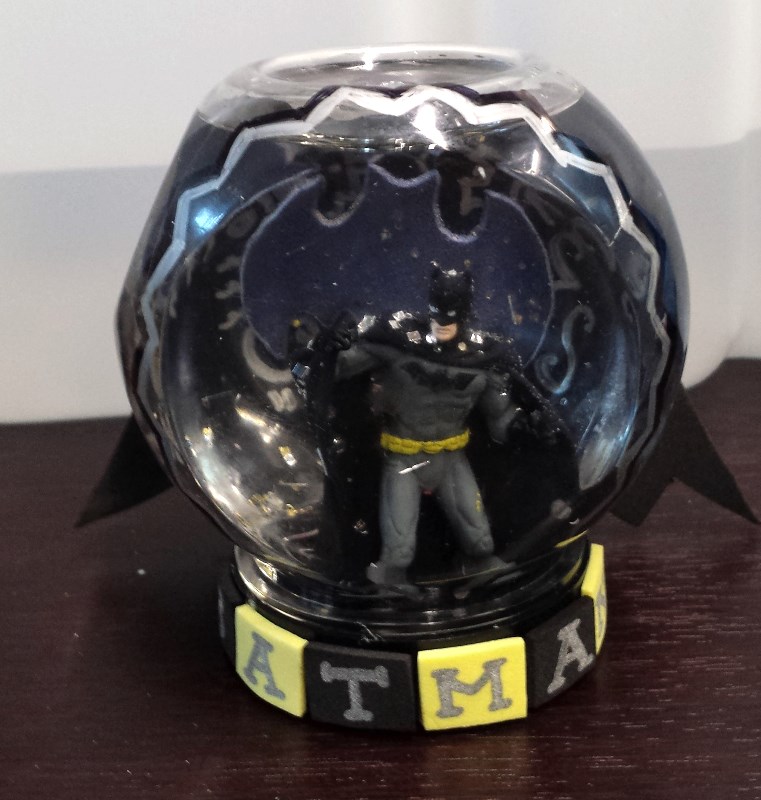
Batman by Sofia P., age 14
Bear by Simone L., age 16
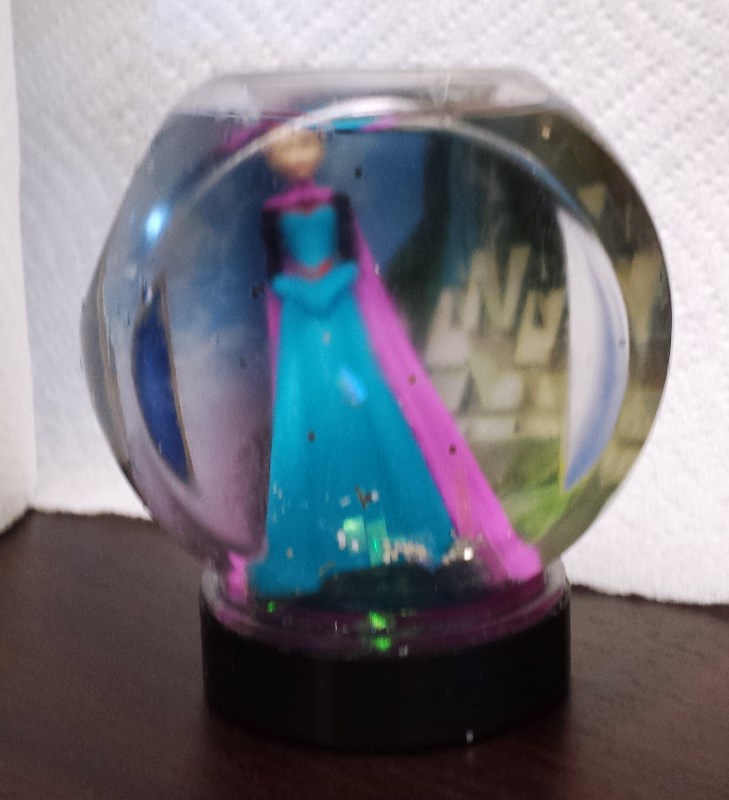

Elsa by Brandon D., age 13
Elza by Lauren S., age 13
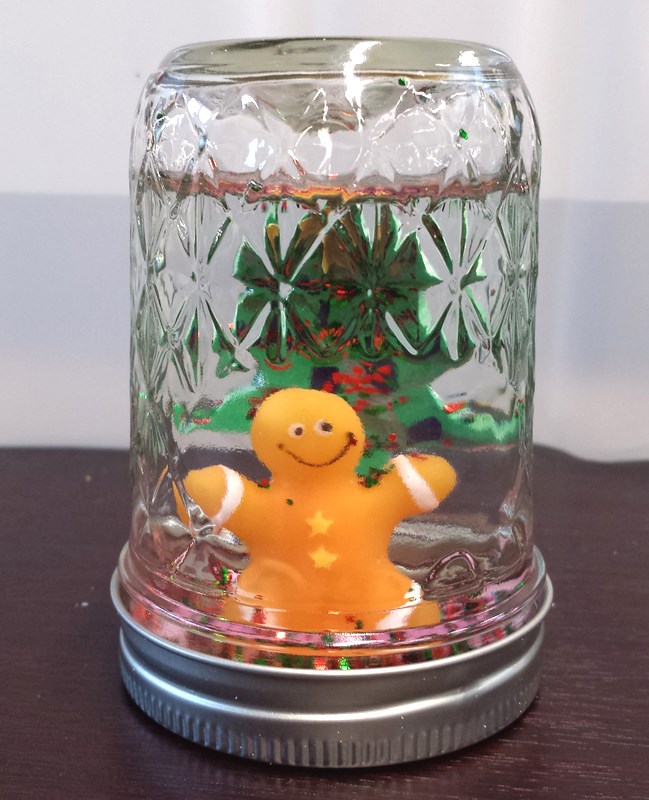
Gingerbread man by Yolanda S., age 15
Gingerman by Jessi S., age 12
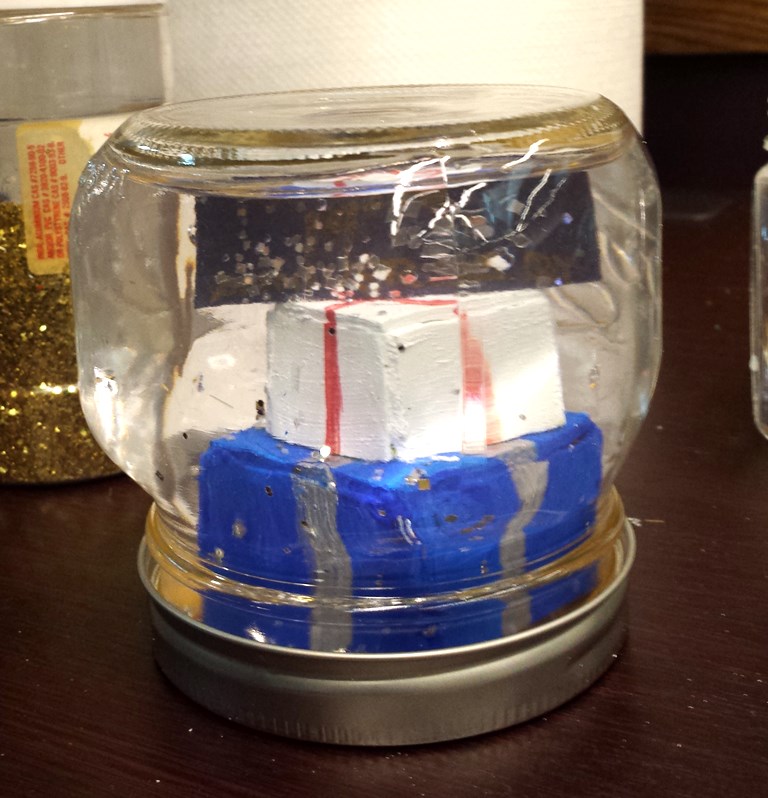
Happy Anniversary by Mariah D., age 16
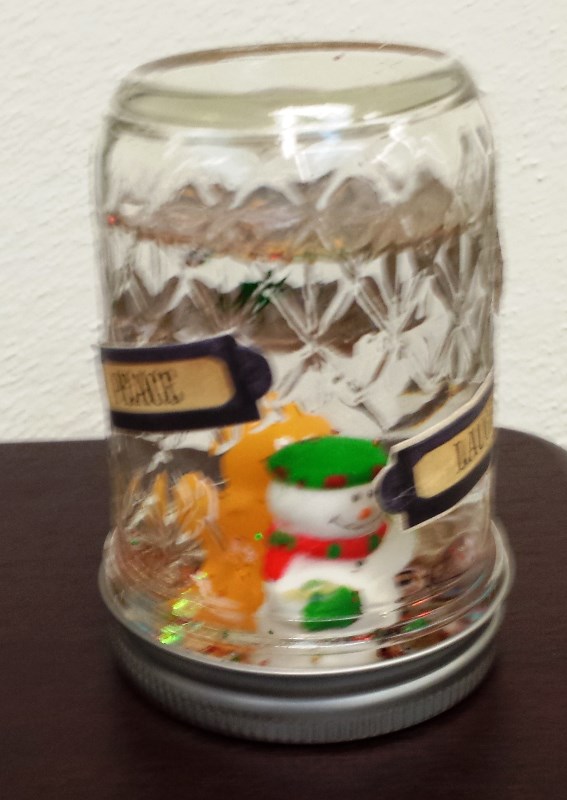
Peace and Laugh by Michael M., age 14

Minnie by Jessi S., age 12
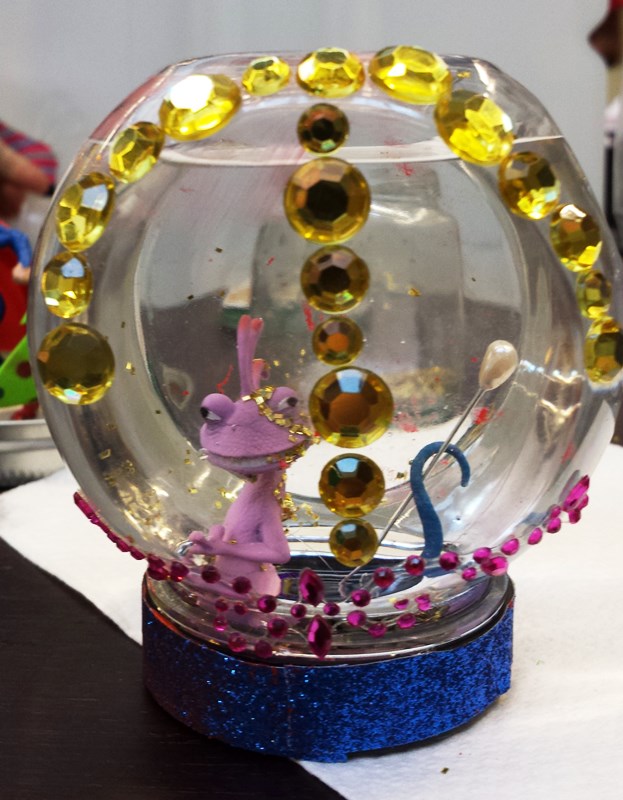
Monster’s Inc. by Rebecca B., age 13
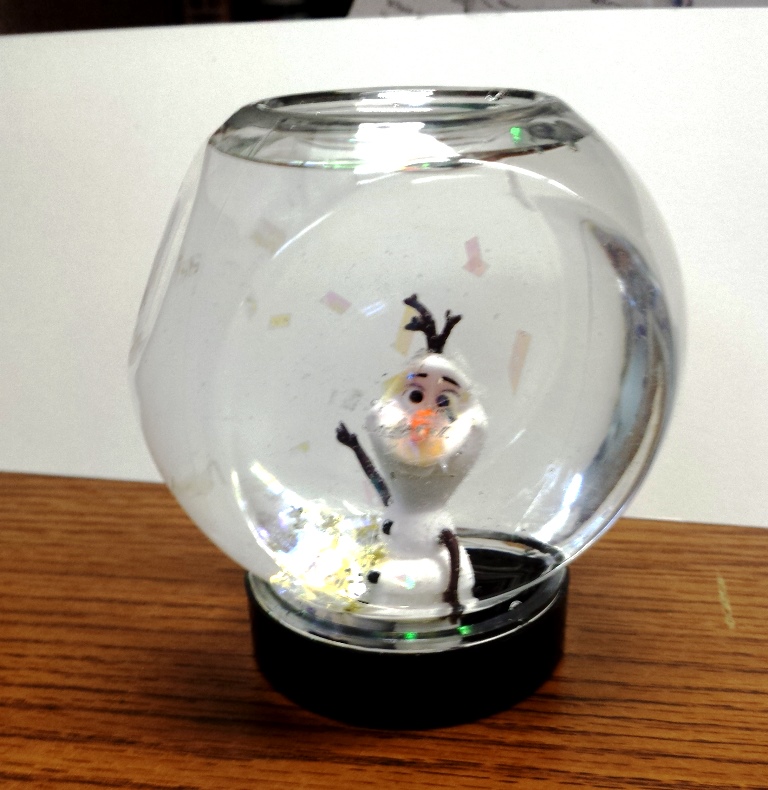
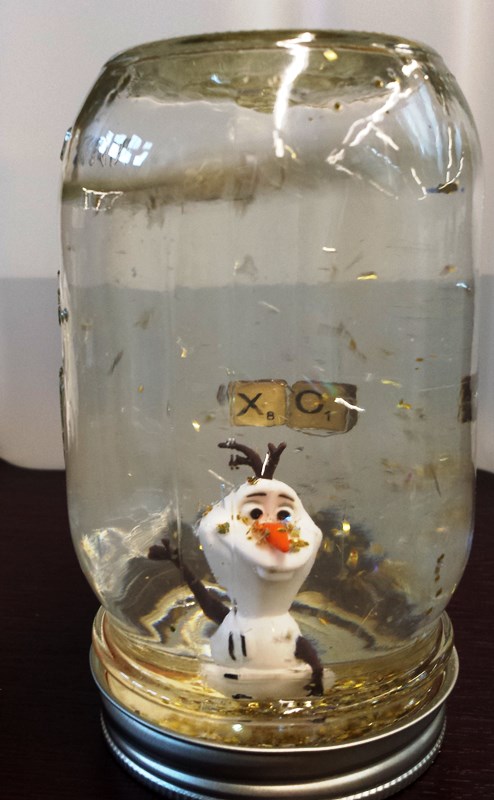
Olaf XO by Alexis K., age 15
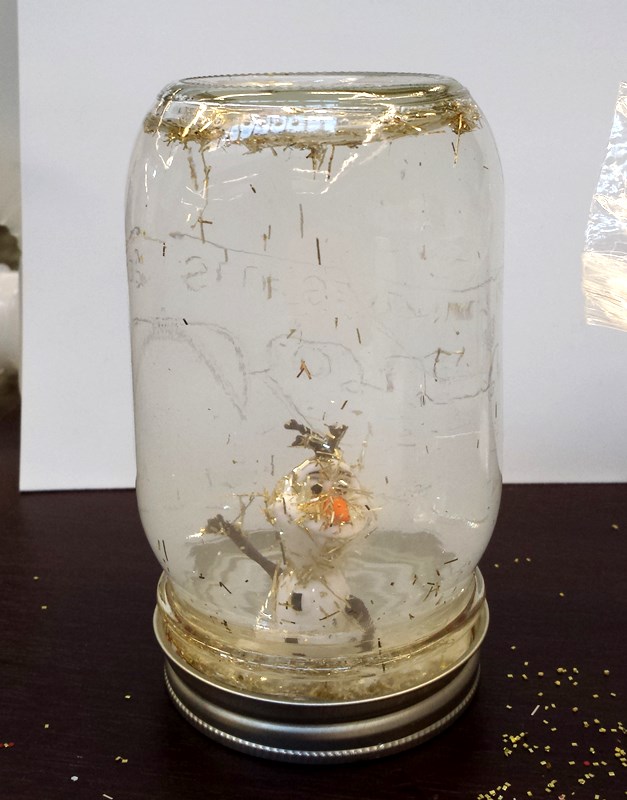

Olaf by Simone L., age 16

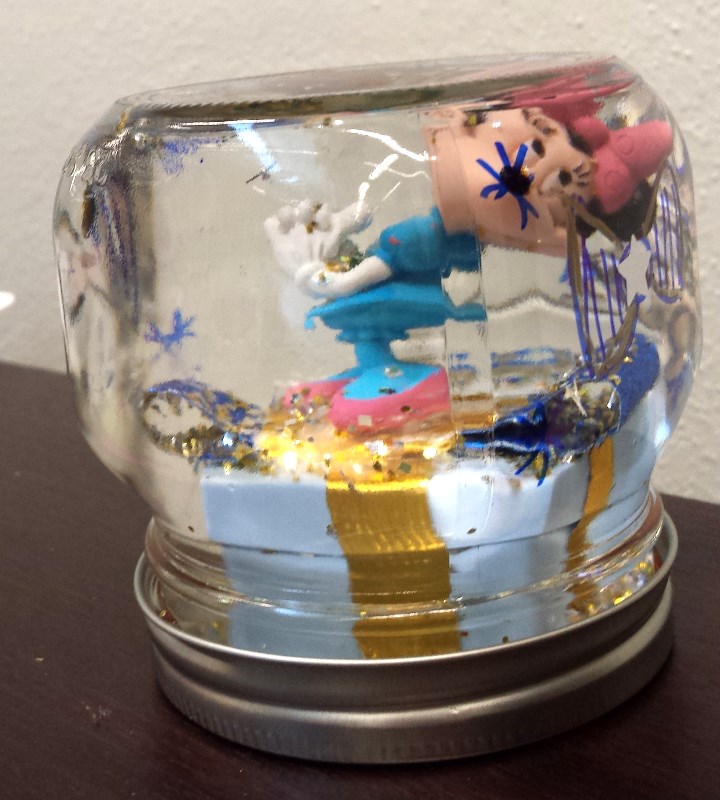
Princess Christine by Amy S., age 15
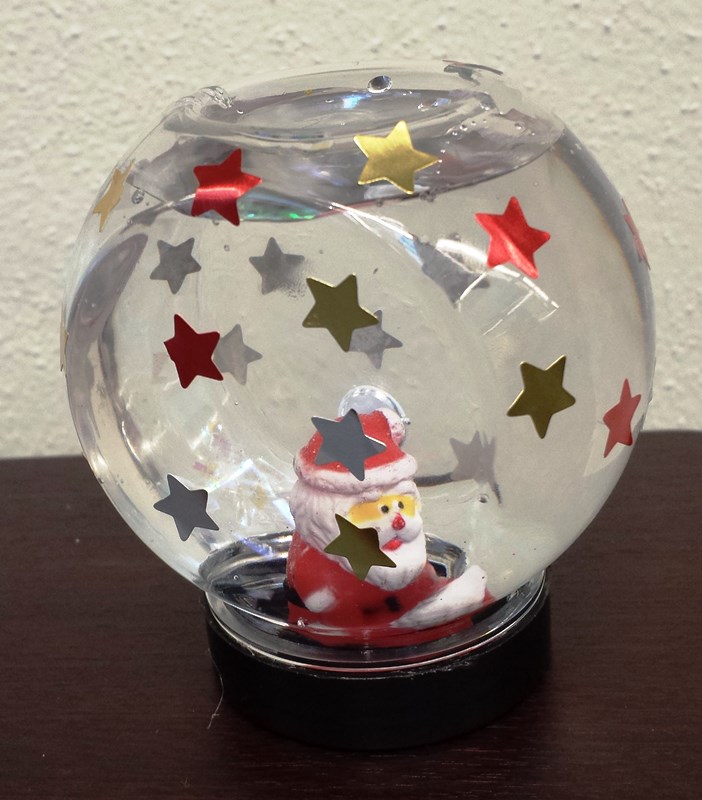
Santa by Angelina O., age 14
snowglobe by Julia S., age 16