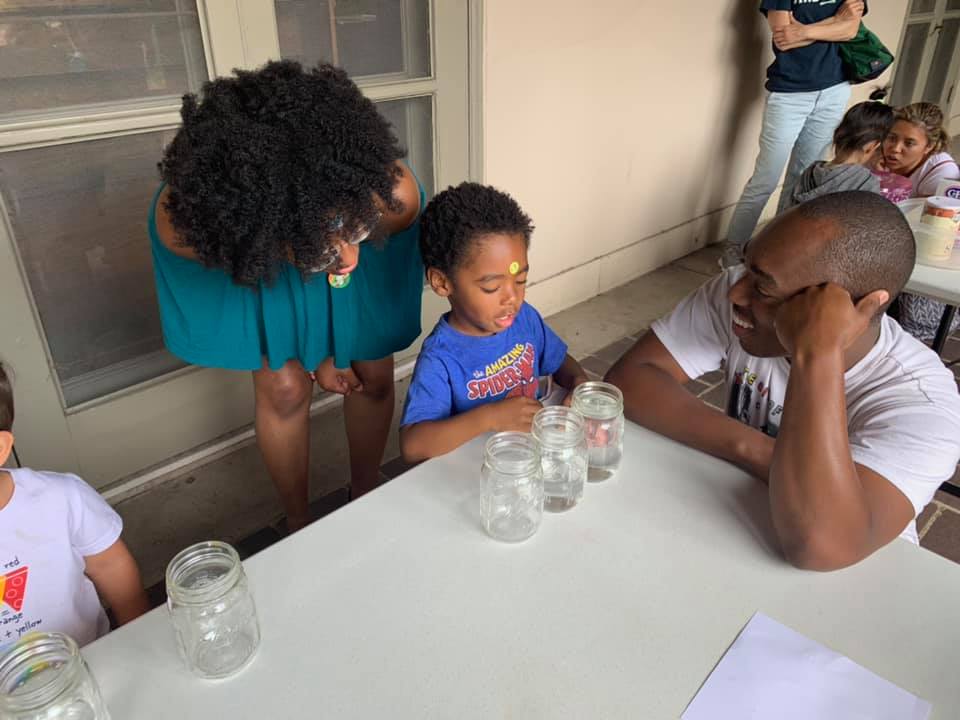
Preschool STEAM (for children ages 2-6) is all about having fun with science, technology, math and art! There is no right or wrong way for children to experiment – the fun and learning comes from the doing! Early childhood research shows us that little hands and minds learn best when at play.
We took a break in May but came back in June with the Science of Sound! Take a look at how we explored sound waves, vibrations, played some music and created our own instrument!
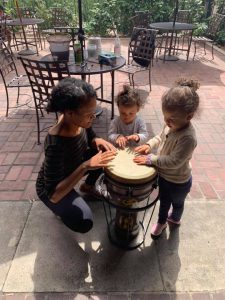
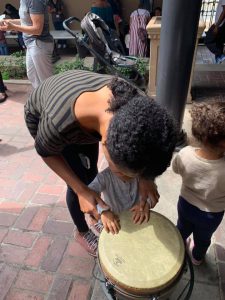
Listen to this budding musician explore the science of sound on the djembe drum!
Exploring How Sound Travels:
Supplies:
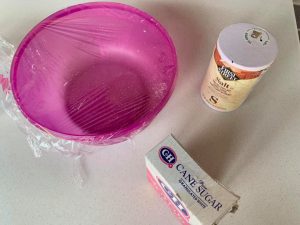
Three bowls of varying sizes
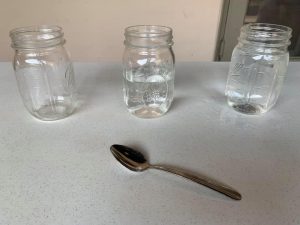
Three jars of the same size
Sugar
Water
Metal Spoon
Plastic Cling Wrap
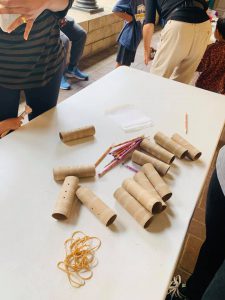
Exploring Sound: Making a Kazoo
Supplies:
Credit: buggyandbuddy.com
Tempera paints
Toilet paper or paper towel rolls
Wax paper cut into 4″x4″ squares
Rubber bands
THE SCIENCE BEHIND OUR EXPLORATION
Our everyday world is full of sounds. But have you ever stopped to think about what sound actually is? Sound is the energy that things make when they vibrate. These vibrations force the air around them to vibrate too, making waves, until eventually even the air inside your ears begins to vibrate. Your brain interprets that sound energy into words, music, or other noises. The volume and the pitch of the sound you hear depends on the source and how much energy it produced.
Sound waves travel pretty quickly. When someone speaks to us, our ears feel the vibrations and our brains interpret them into words almost instantaneously. But sound can only travel to our ears if it has something to travel through, such as air, water, or other materials. In space, where there is no air, sound can’t travel!
Credit: Little Passports
Experiments to Illustrate the Science of Sound
Directions:
Fill the first jar most of the way up with water. Fill each of the remaining jars with less water than the glass before it.
Tap on each jar again. What do you notice? Each jar now produces a different tone. The empty jars made the same tone as each other, so the different water level causes the tones to change. This is because the sound waves are altered as they pass through the water. What is the relationship between the amount of water in the jar and the pitch of the tone? You should notice that the more water in the jar, the lower the pitch. The jar with the least water has the highest pitch.
Credit: Little Passports
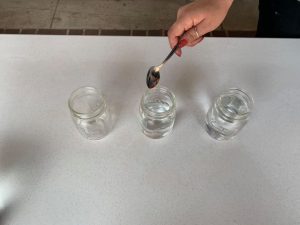
Musical Jars
Jar 1 – no water
Jar 2 – the jar was filled halfway with water
Jar 3 – the jar was filled to the top with water
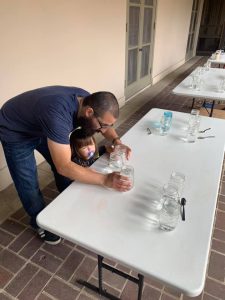
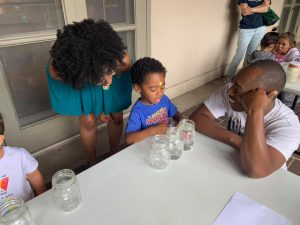
Children were instructed to use the metal spoon to tap the jars to hear the sounds each made. The participants were very surprised to observe that the jars, though the same size, made different noises because of various water levels!
The kids were able to witness one aspect of the science of sound – the fact that the more water in the jar, the lower the pitch. The jar with the least water had the highest pitch!
Directions:
Good Vibrations
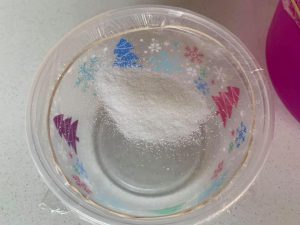
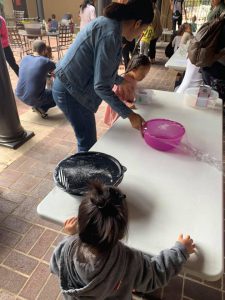
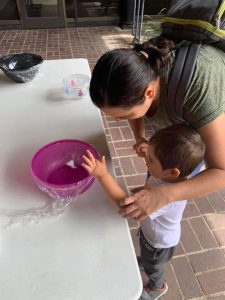
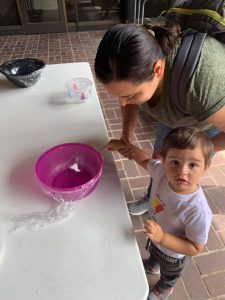
We covered some plastic bowls with cling wrap. Everyone was instructed to put a small handful of salt or sugar on top of the cling wrap. Then each child hummed or said a word out loud to make the salt and/or sugar particles move on top of the cling wrap! This helped illustrate that visual sound is really a wave vibrating. Here’s some footage of what transpired!
Oh man did that sugar hop when this mom and her son said a few words. The pattern of movement mimics the pattern of the sound waves.
Making a Craft Kazoo
Step 1:
Take a toilet paper roll or paper towel roll and cover one end with wax paper.
Secure the wax paper to the roll with a rubber band.
Step 2:
Blow into the open end of the roll to see what type of sound it makes – experiment by blowing hard, then soft. Can you see the paper move?
Step 3:
Paint your Kazoo with tempera paint; let dry then take home to play and experiment with the sound it makes! You’ll see the wax paper vibrate!
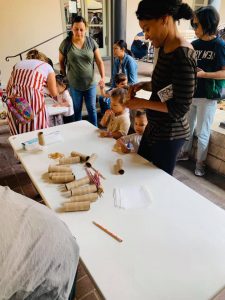
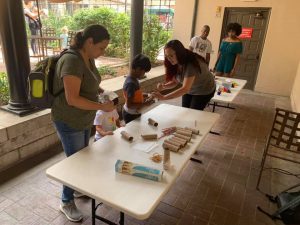
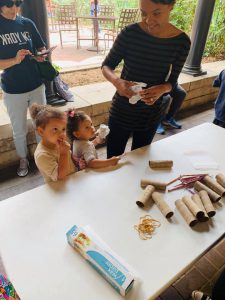
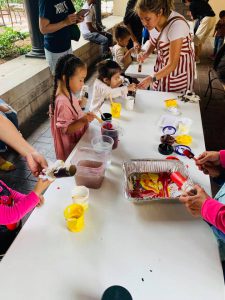
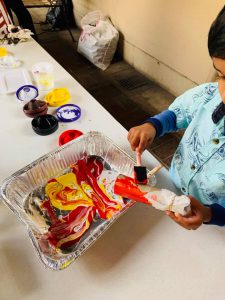

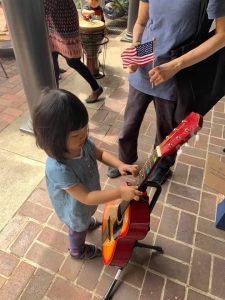
Who doesn’t love experimenting with the sounds instruments make? It’s all about the vibrations!
Join us on Monday, July 22 for our next Preschool STEAM adventure!