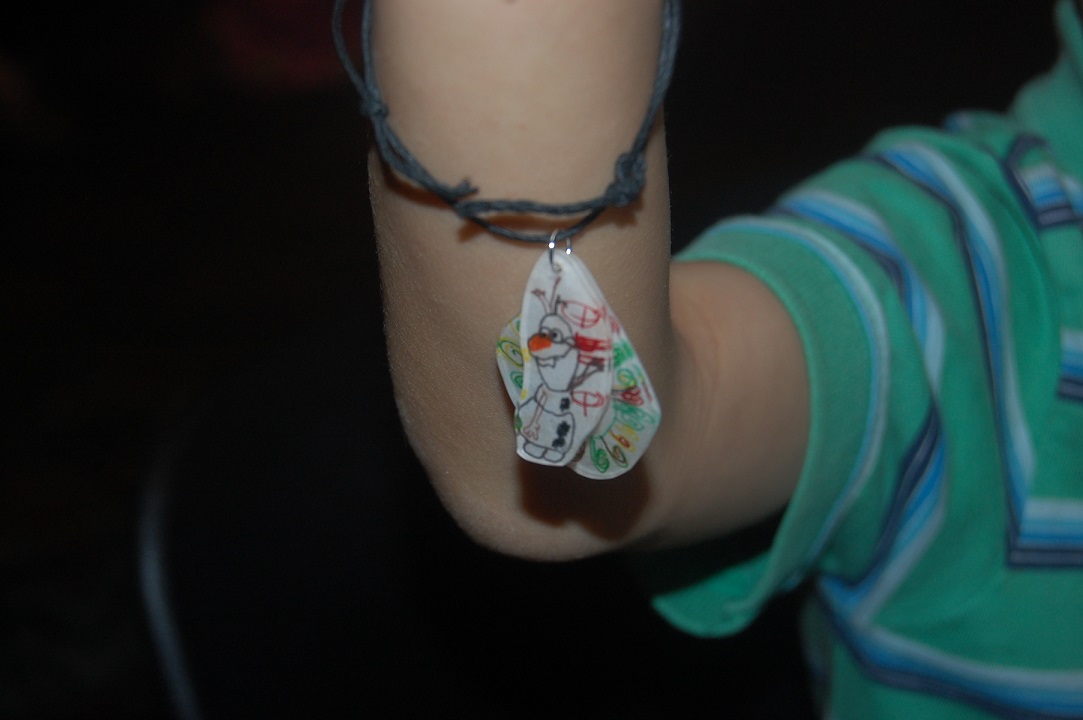
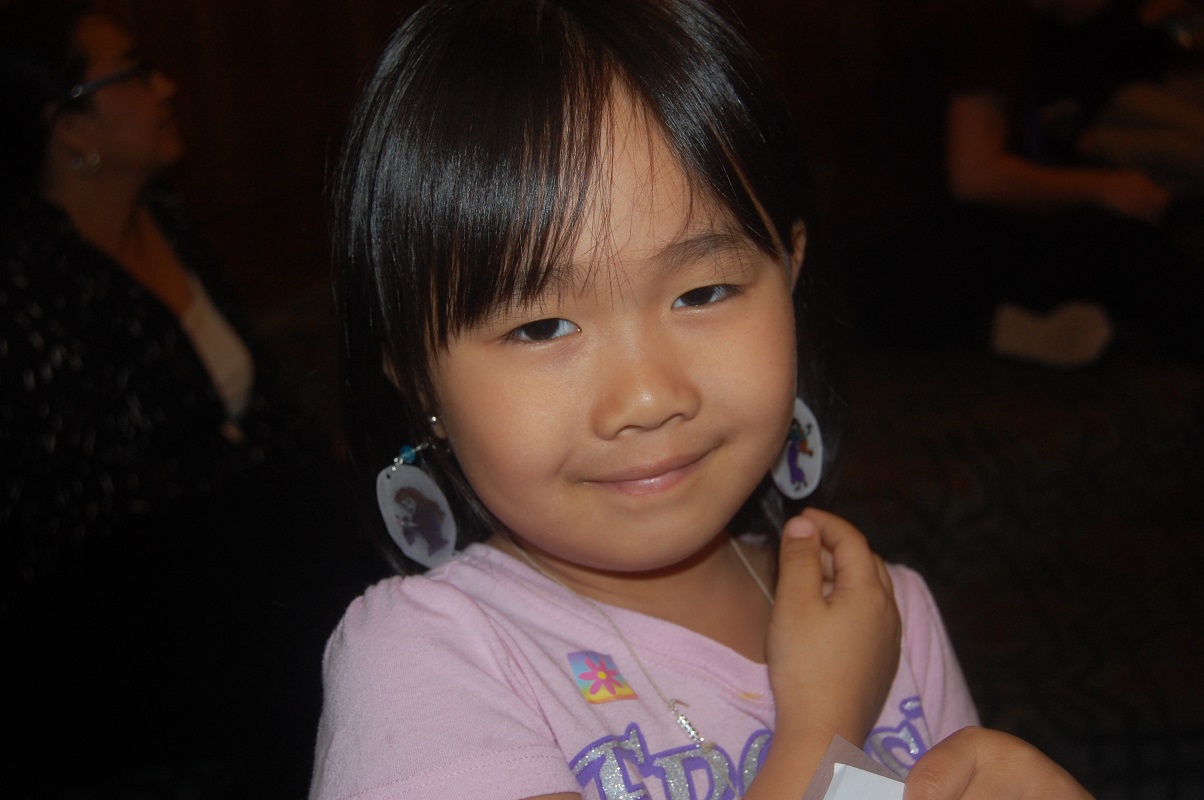
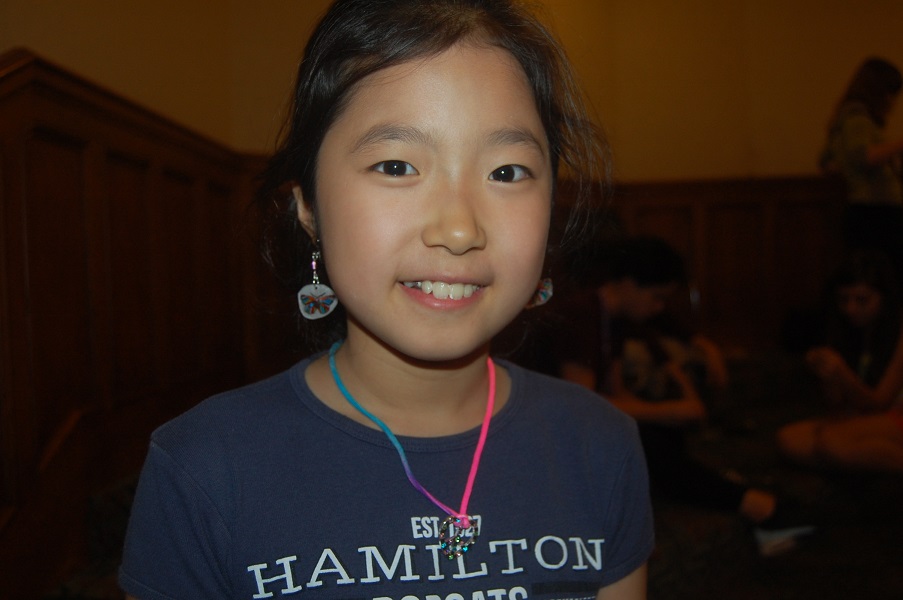
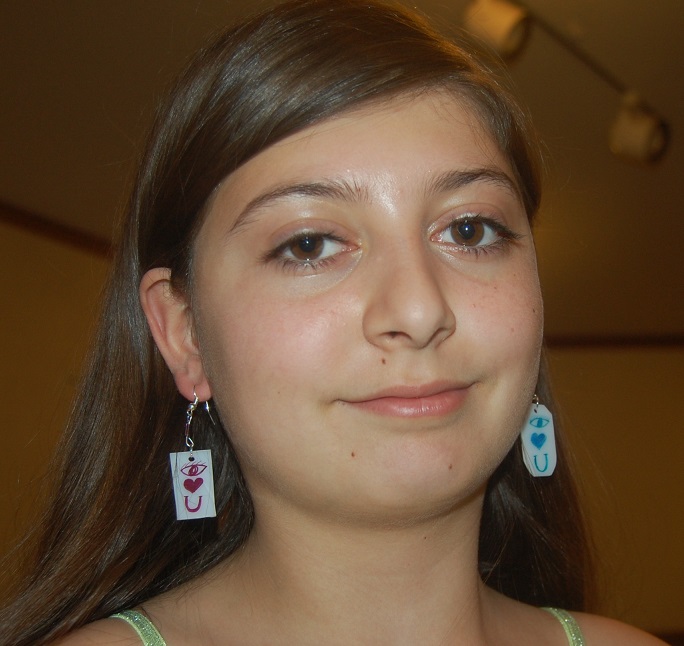
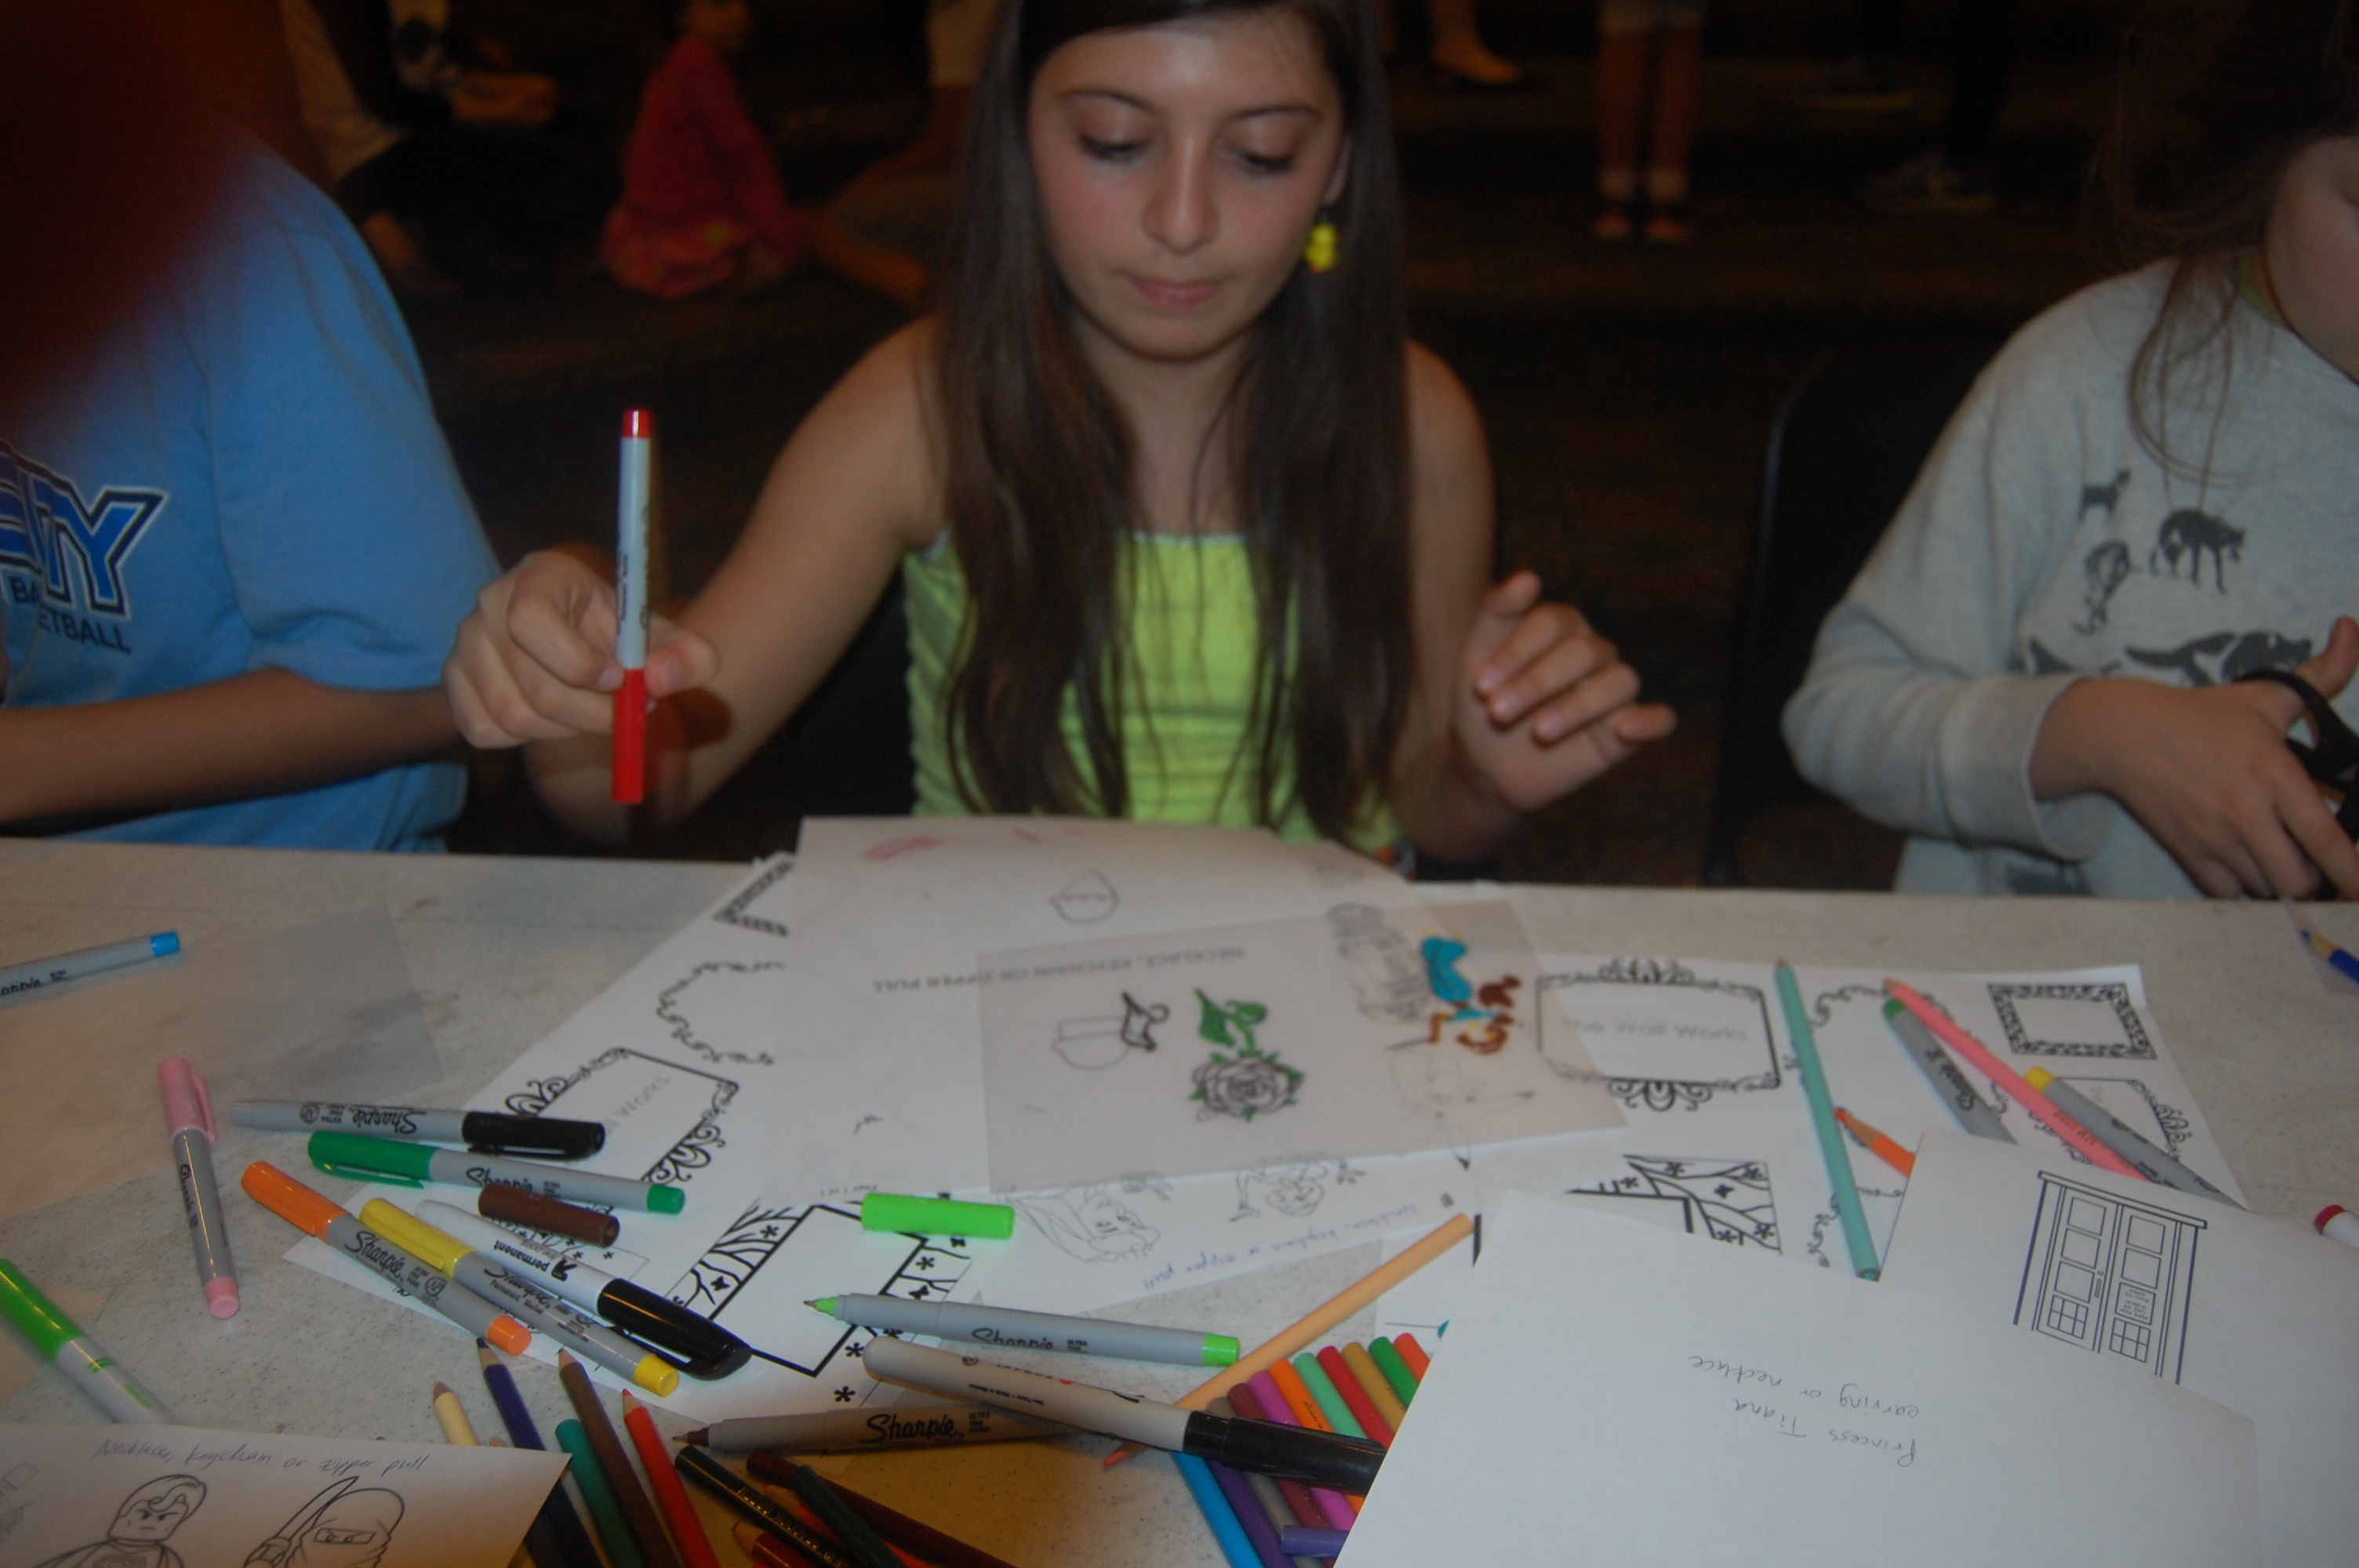
Kids packed the Story Room at Central Library last Wednesday to make their own jewelry by drawing it on shrink plastic. They made bracelets, earrings, necklaces and keychains. The bracelets were a surprisingly popular option, particularly for boys, and I think I’ll need to buy some bracelet chains next time we do this! Everybody had a good time and most got to make at least two items.
How do you make shrinky dinks? It’s very easy to find shrink plastic in craft stores like Michael’s–I’ve even seen it at Target. Some kinds of shrink plastic are “matte,” which means that after it’s cooked it will come out opaque. Other kinds are glossy, and will be rough on one side and glossy on the other. Depending on which kind you have, your drawing and writing may be flipped–if you choose matte plastic, your drawing will appear on the top, but if you choose glossy plastic, your drawing will be done on the rough side and will show through the glossy side, ergo it will be “flipped.”
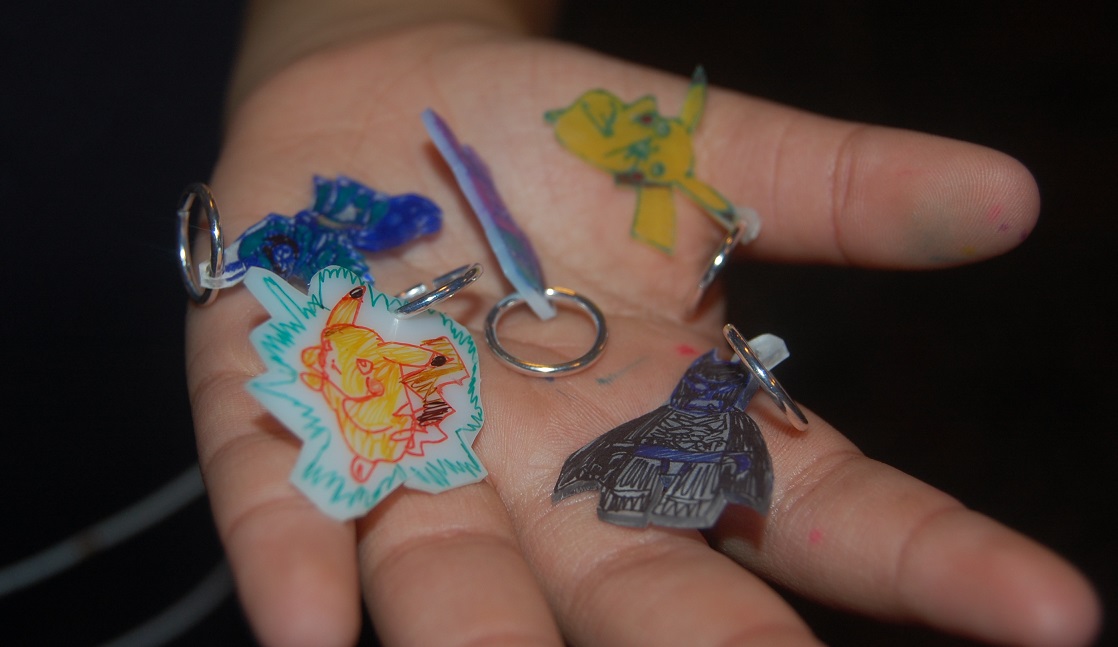
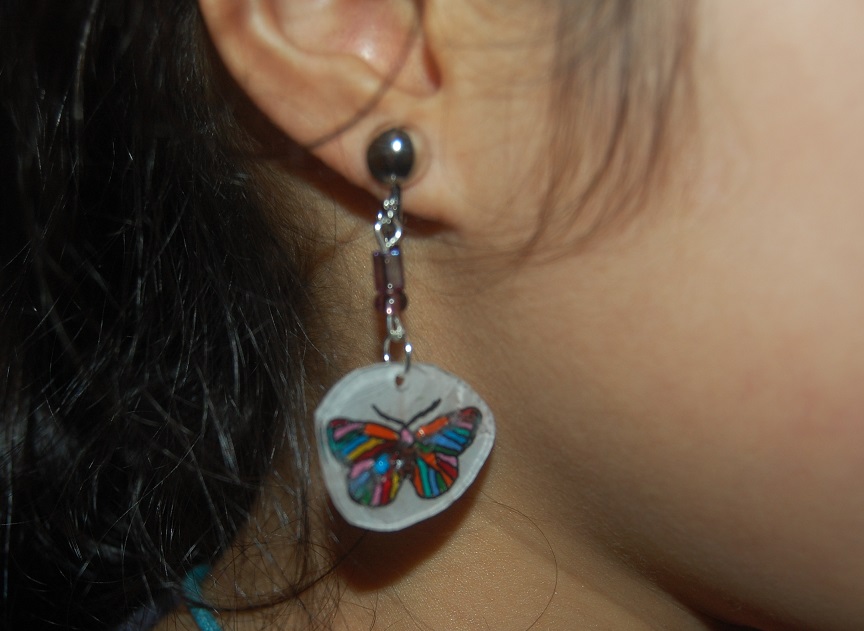
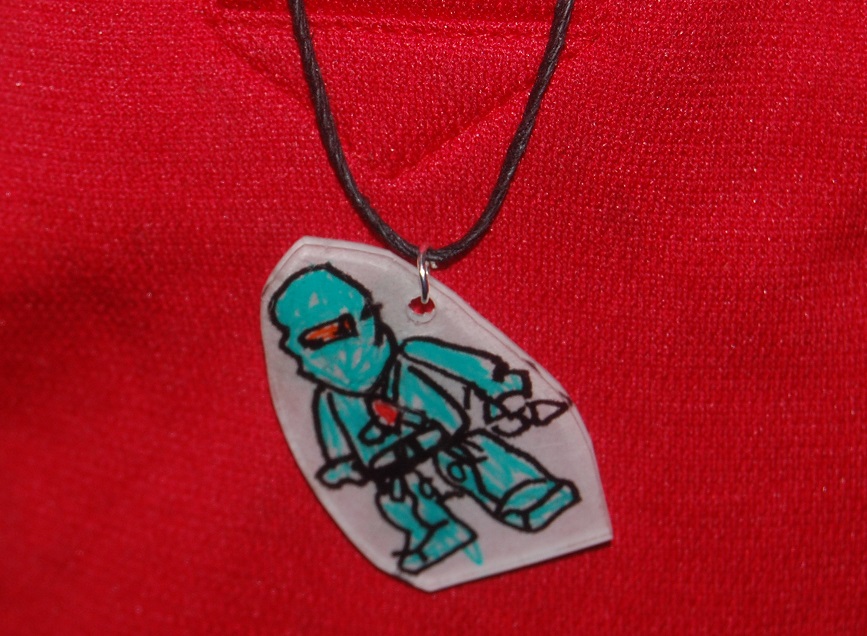
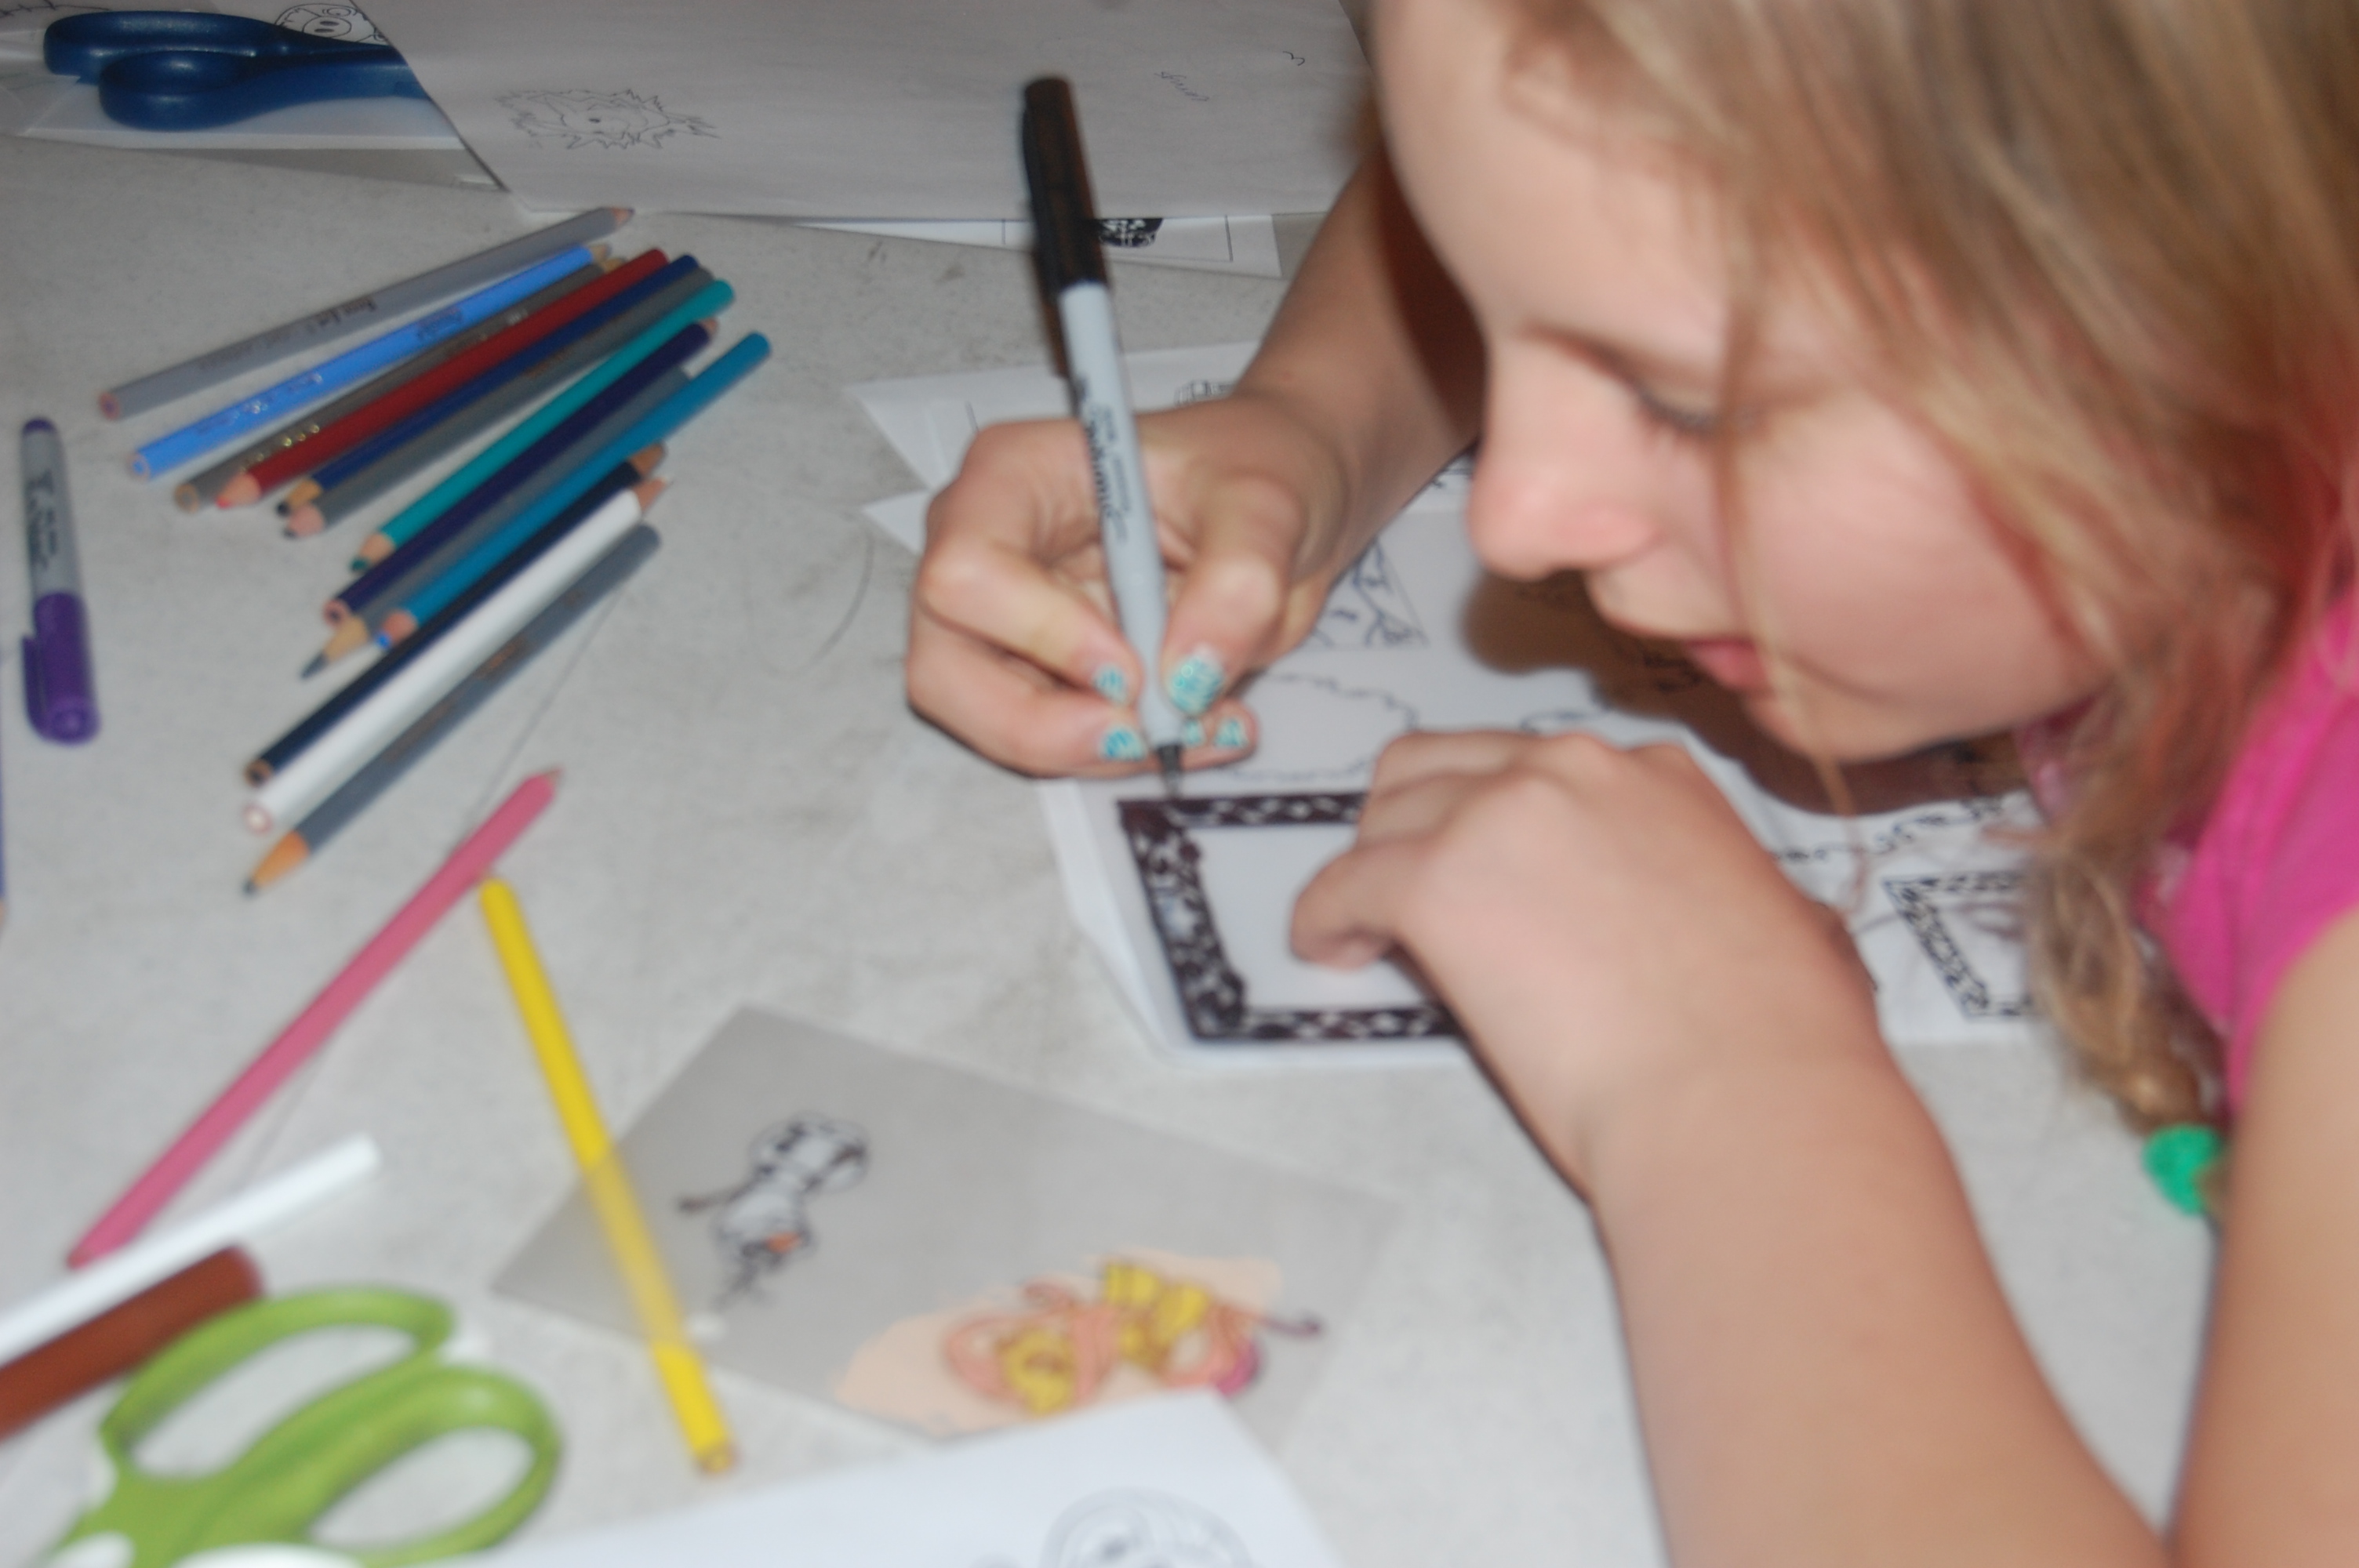
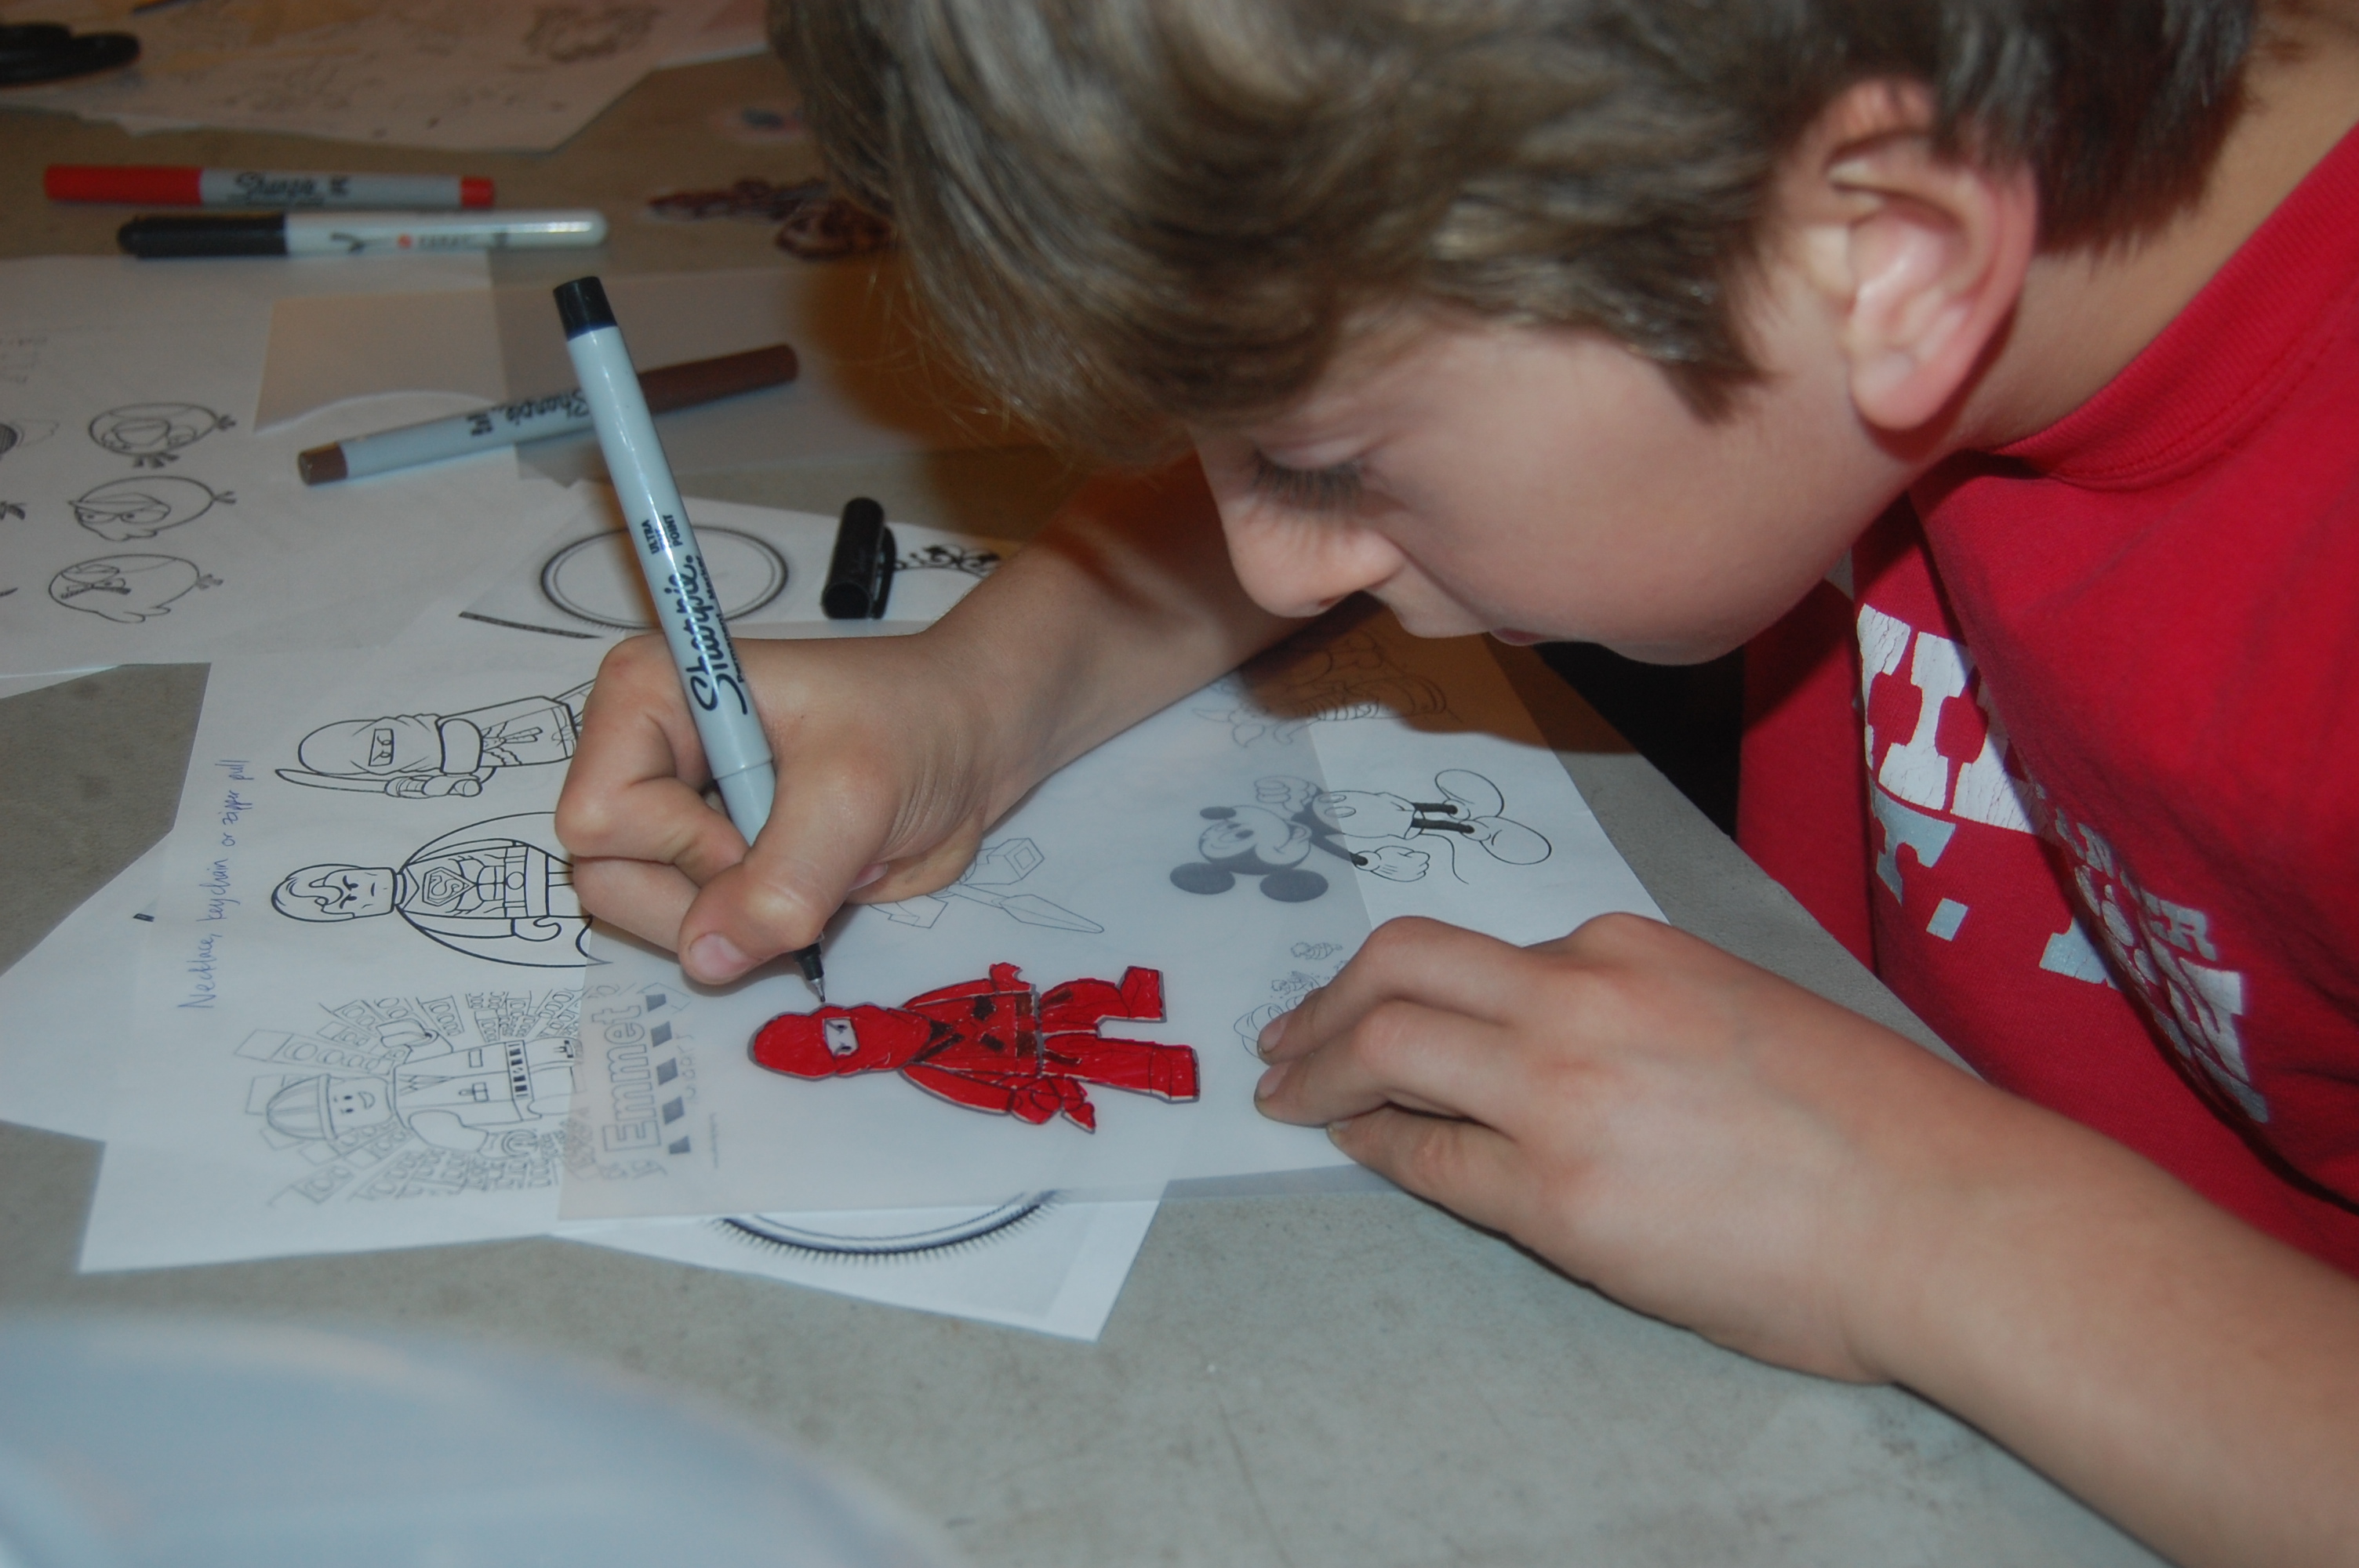
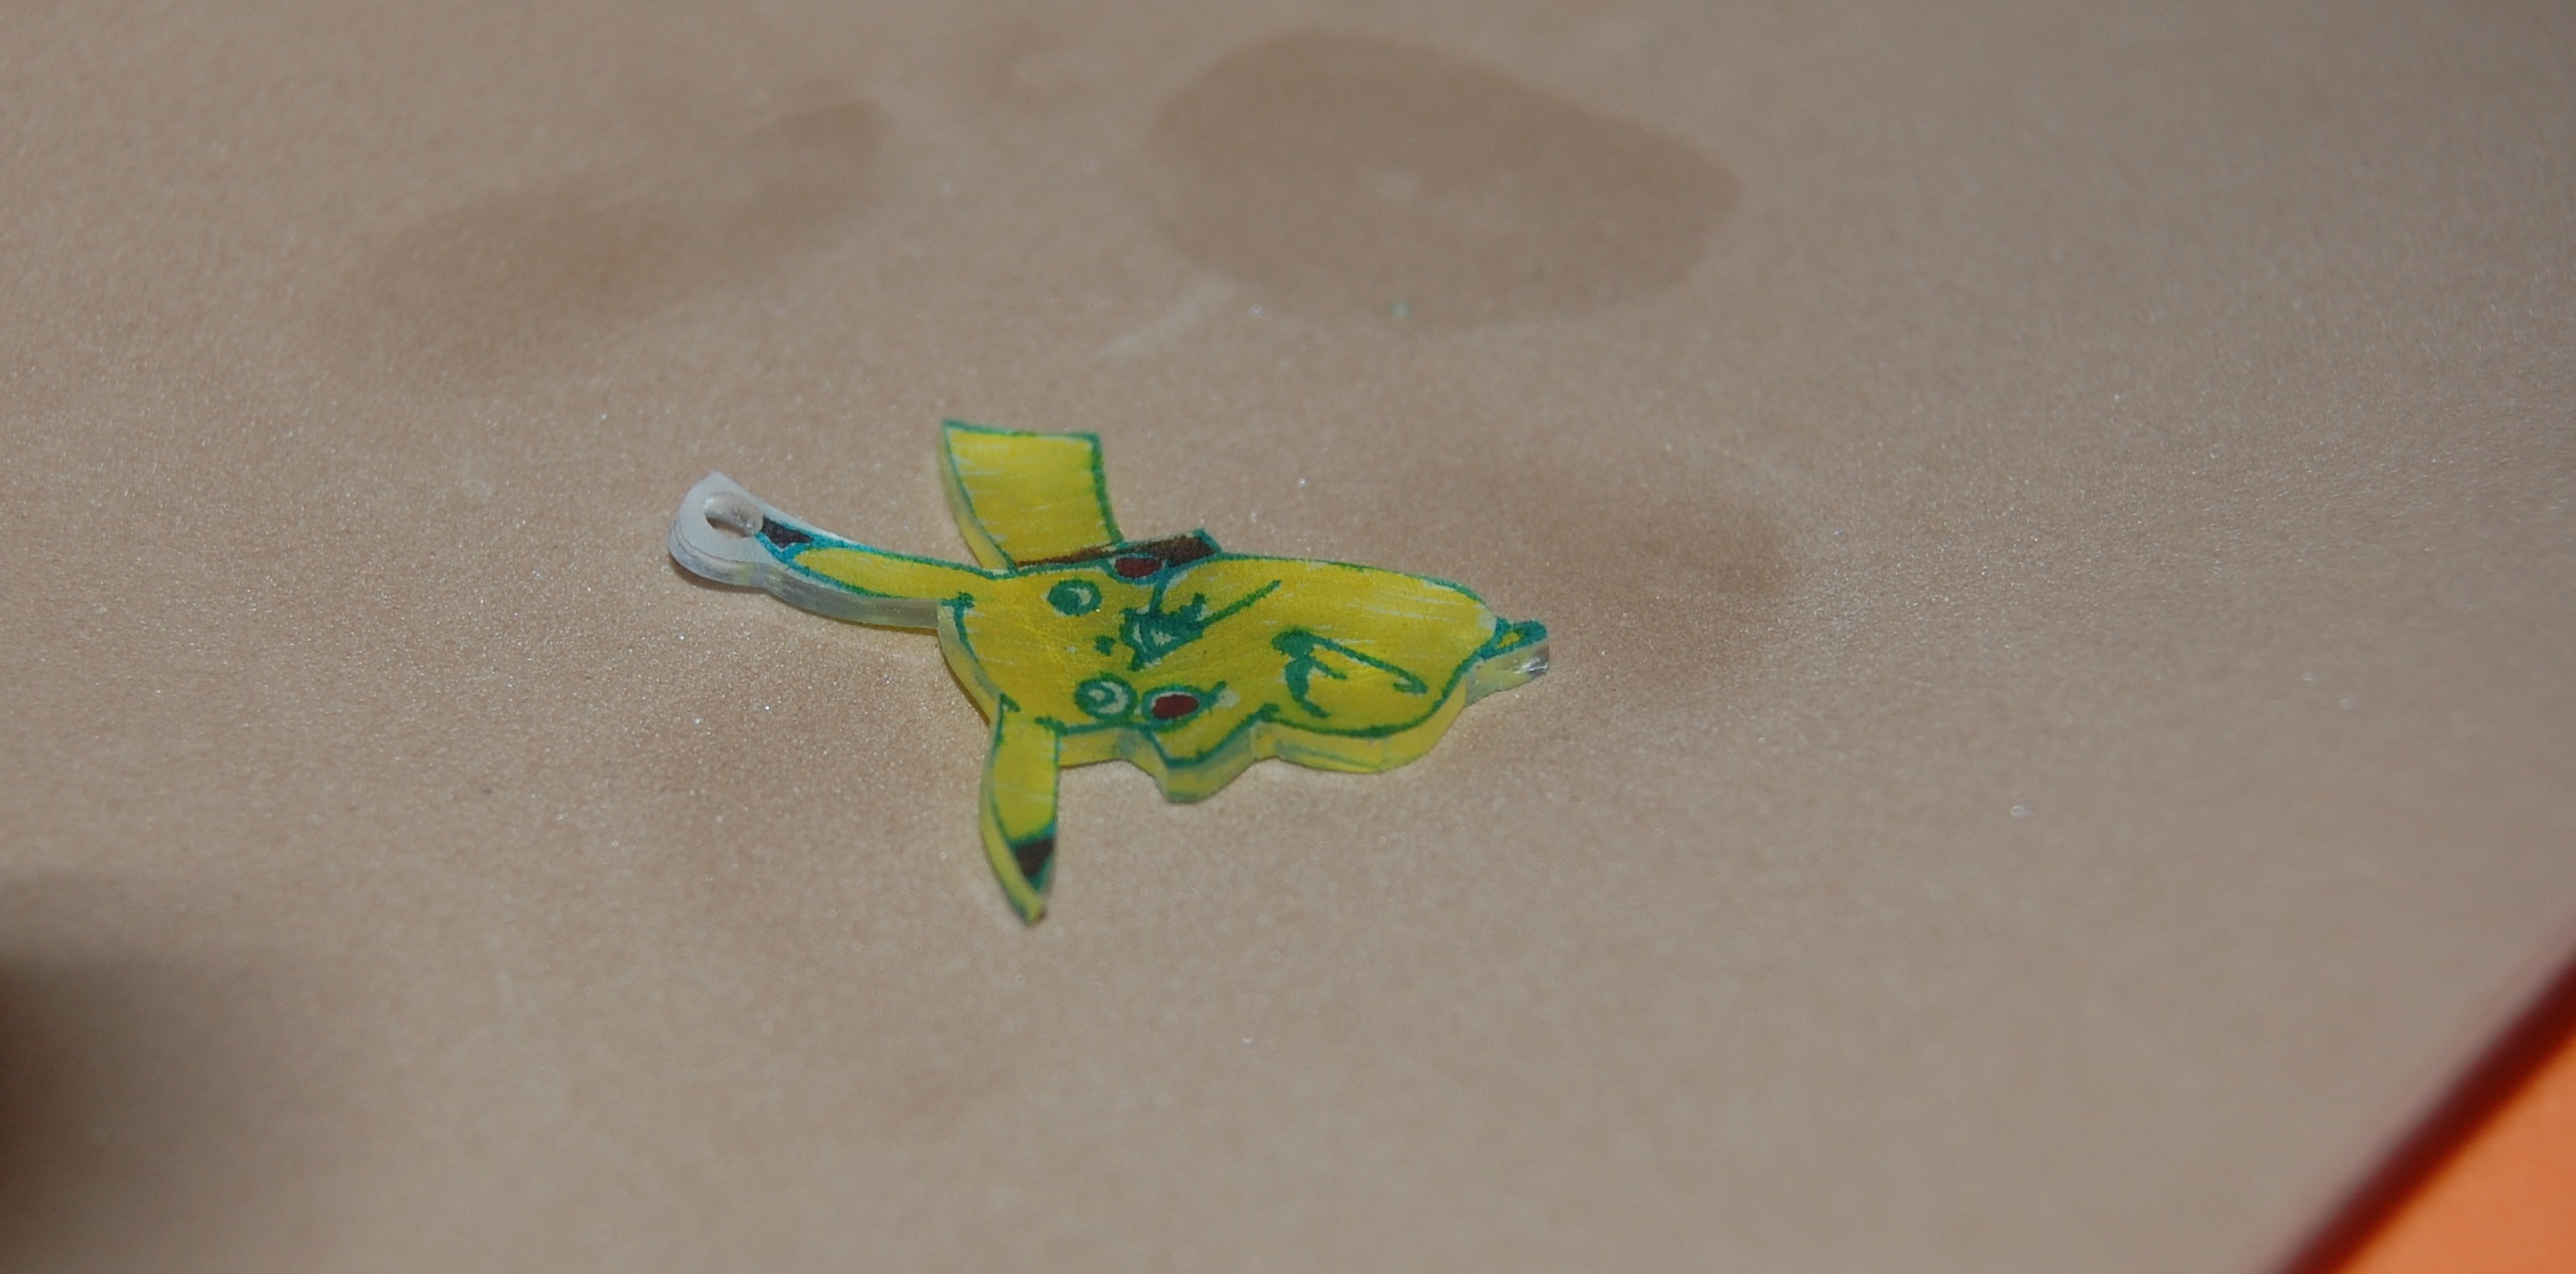
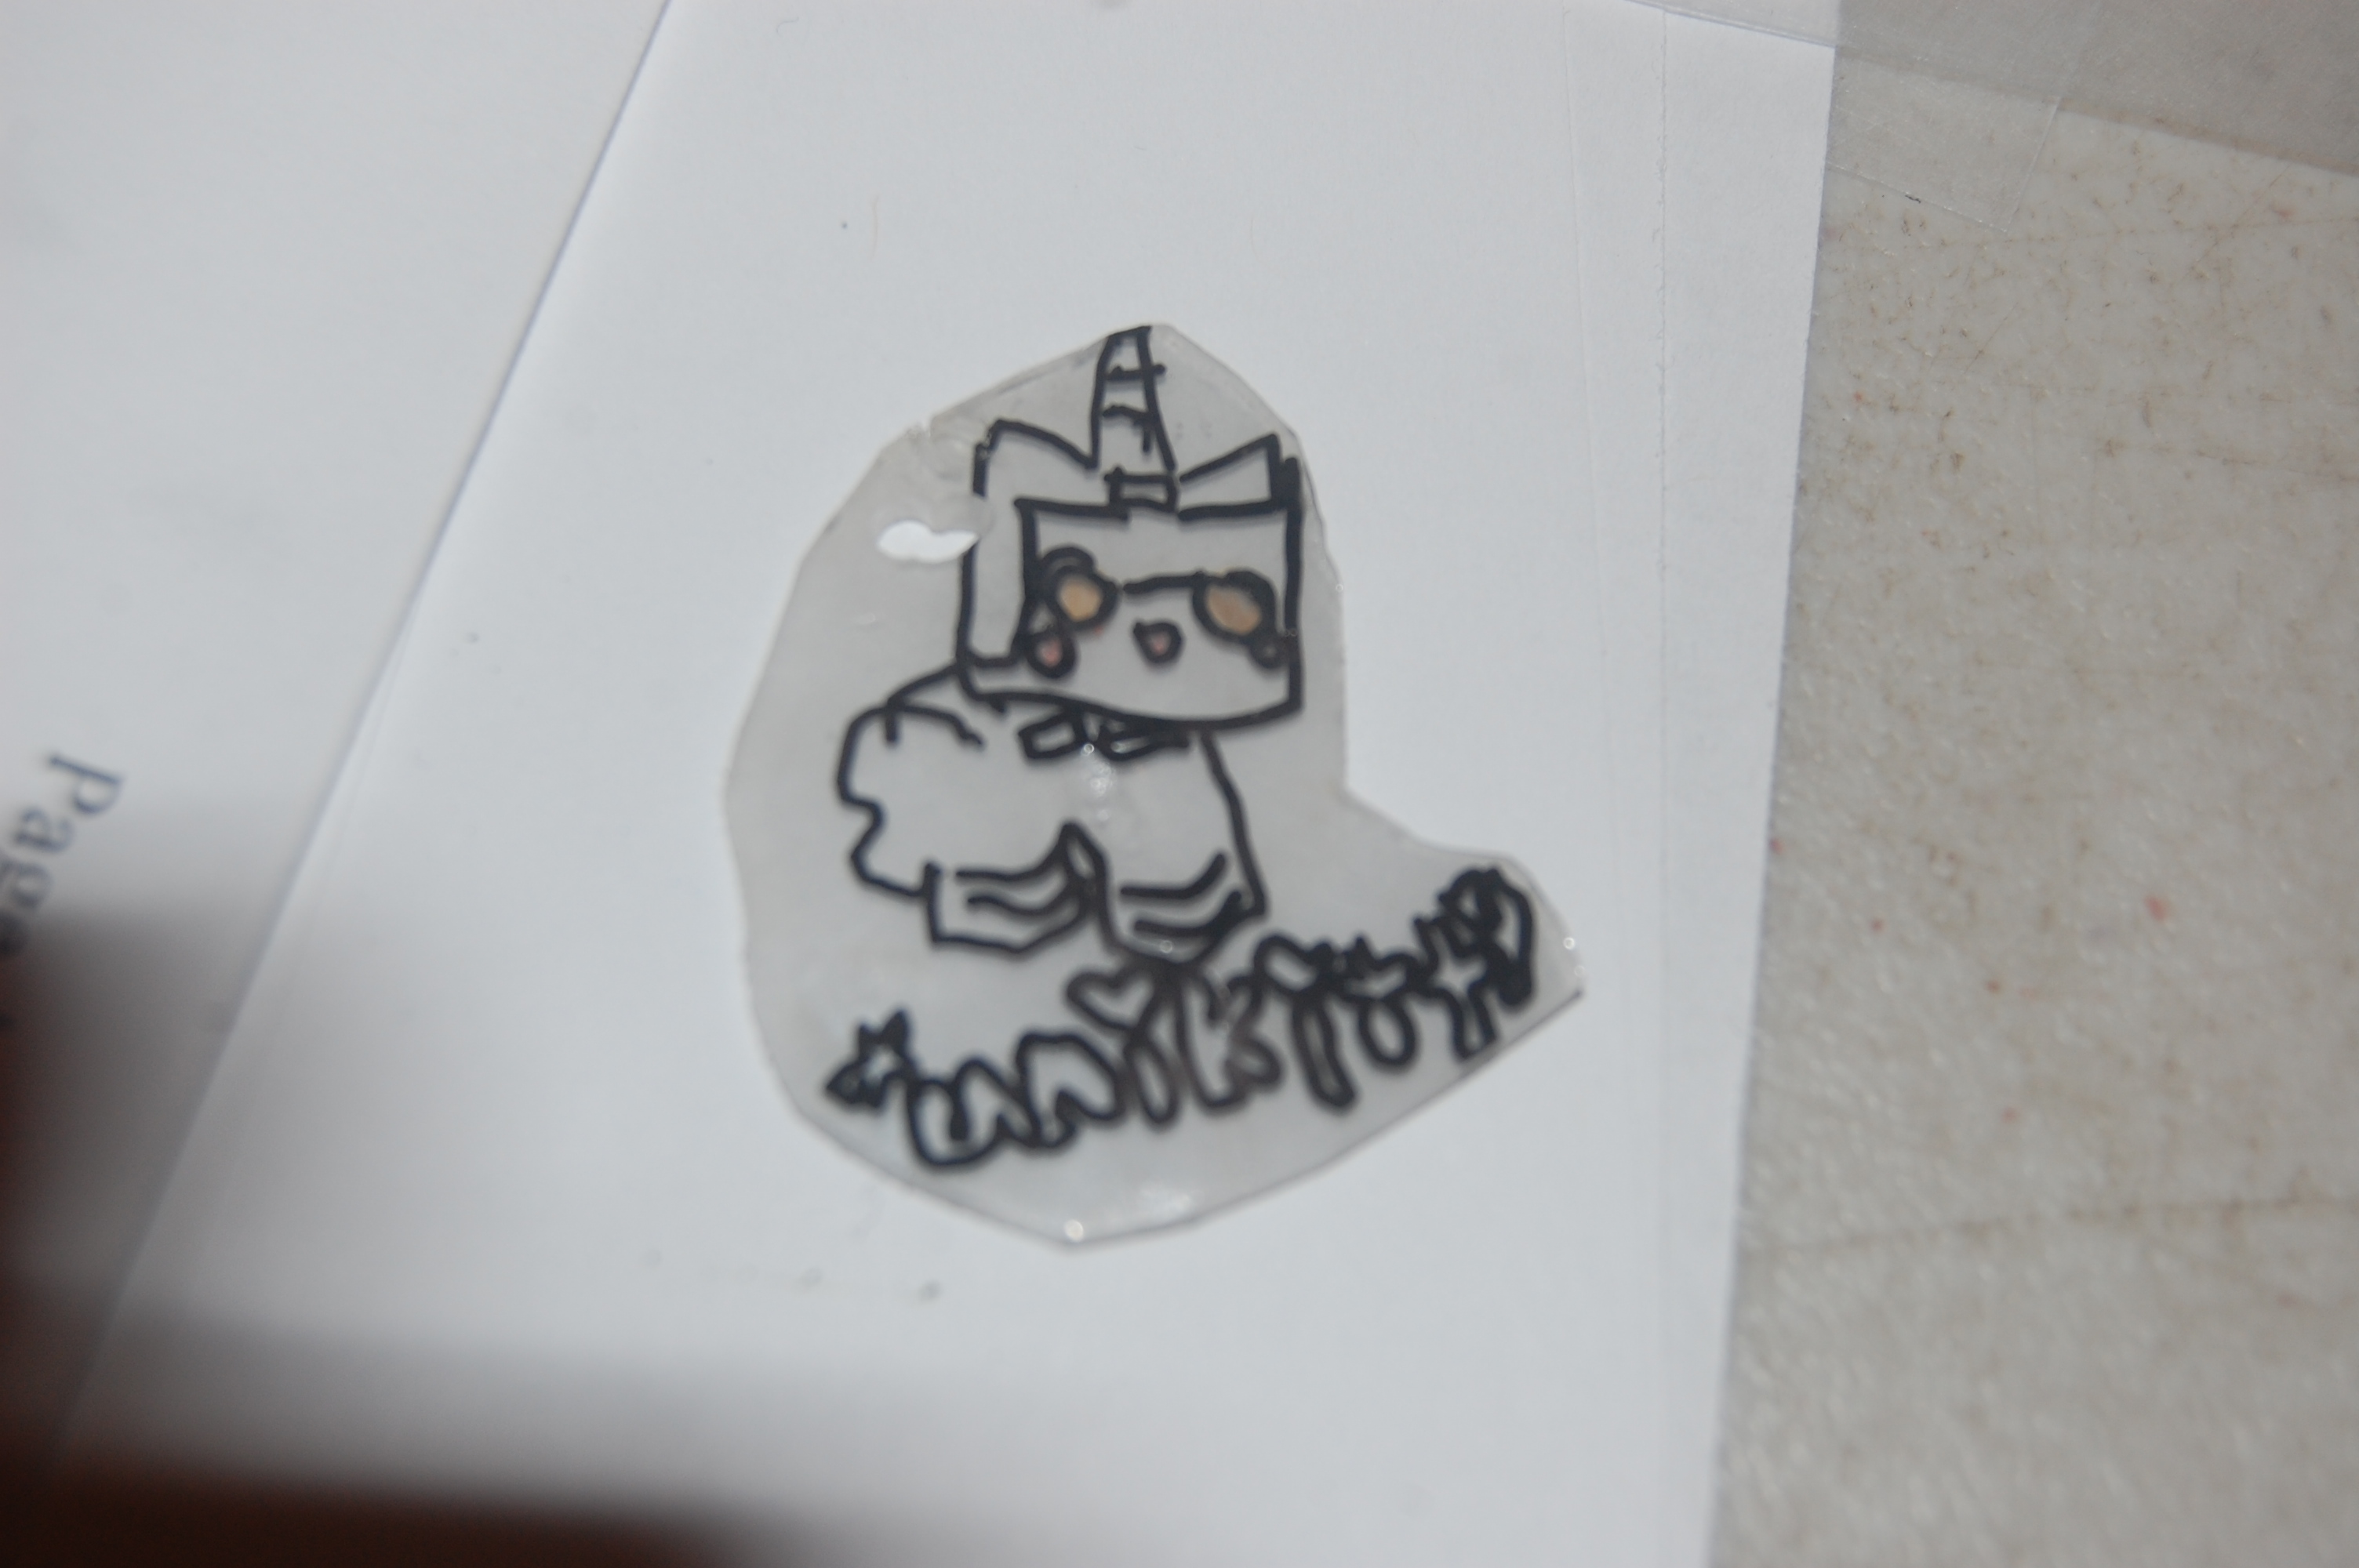
First you draw on your plastic and cut it out. I usually provide fun pictures of TV and movie characters for kids to trace, as well as pretty frames and sayings.
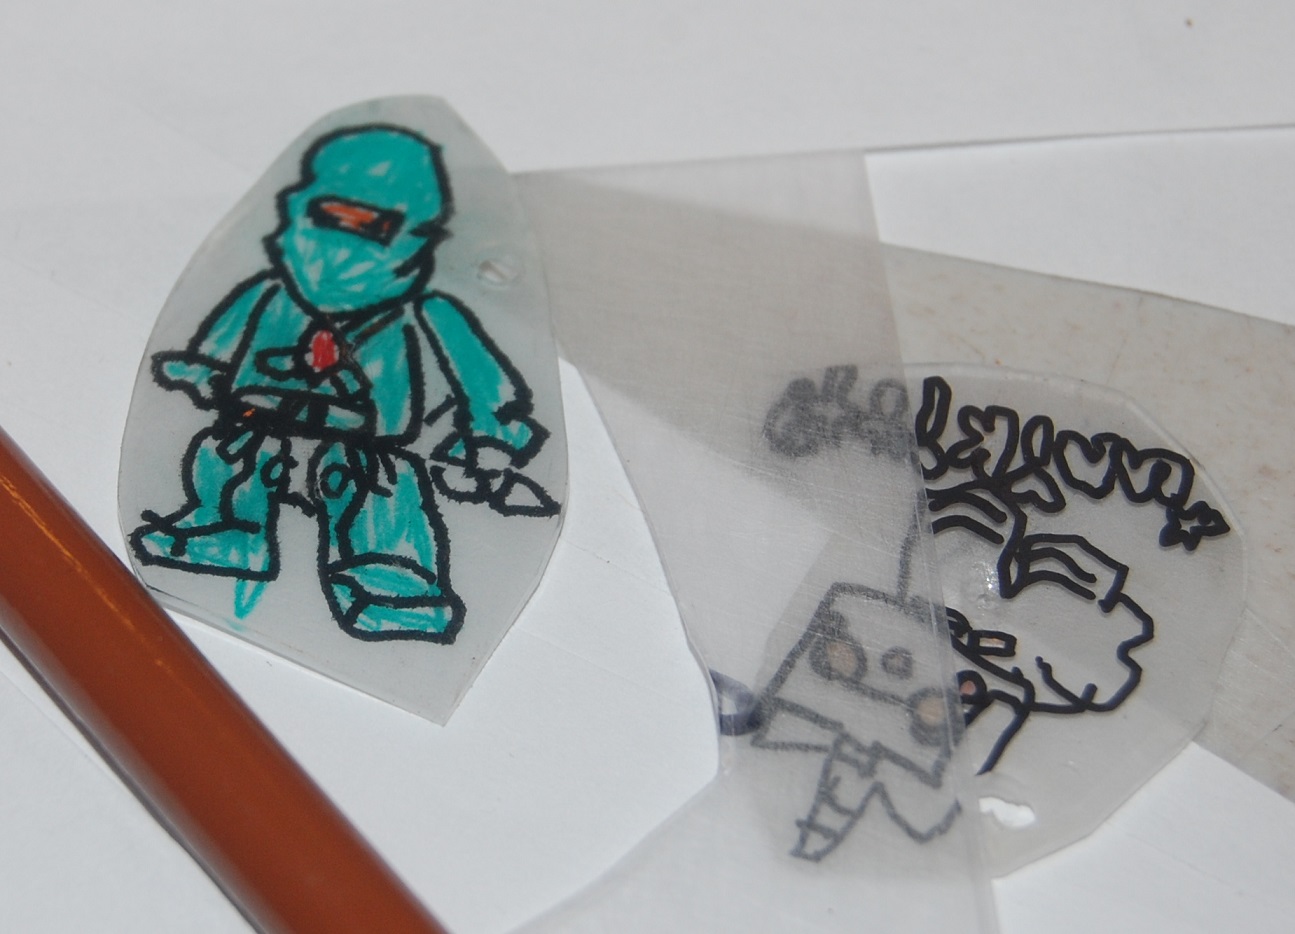
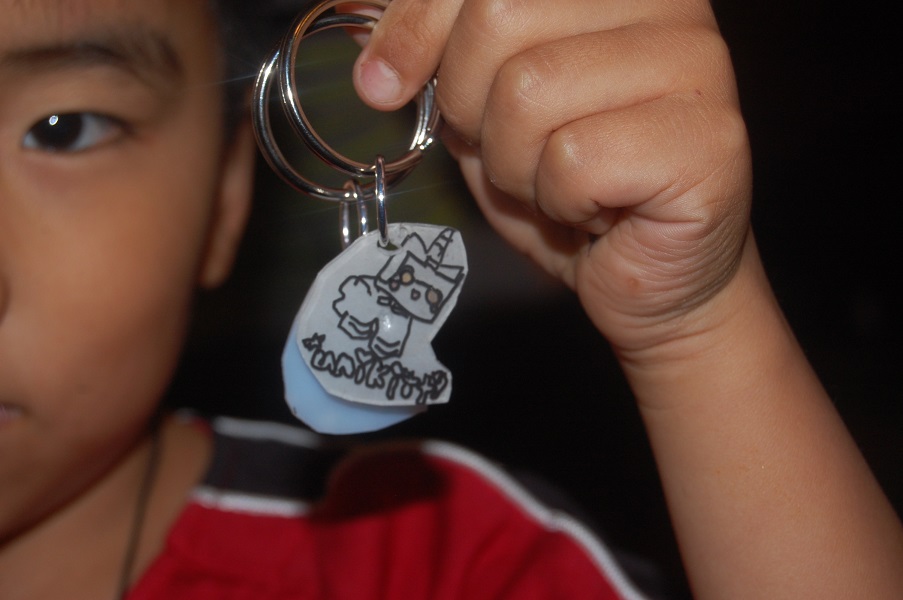
Make sure you punch a hole somewhere for your charm to become a pendant that can hang from a metal loop! Then when it’s all cut out to the shape you want, you bake it in a toaster oven at 375.
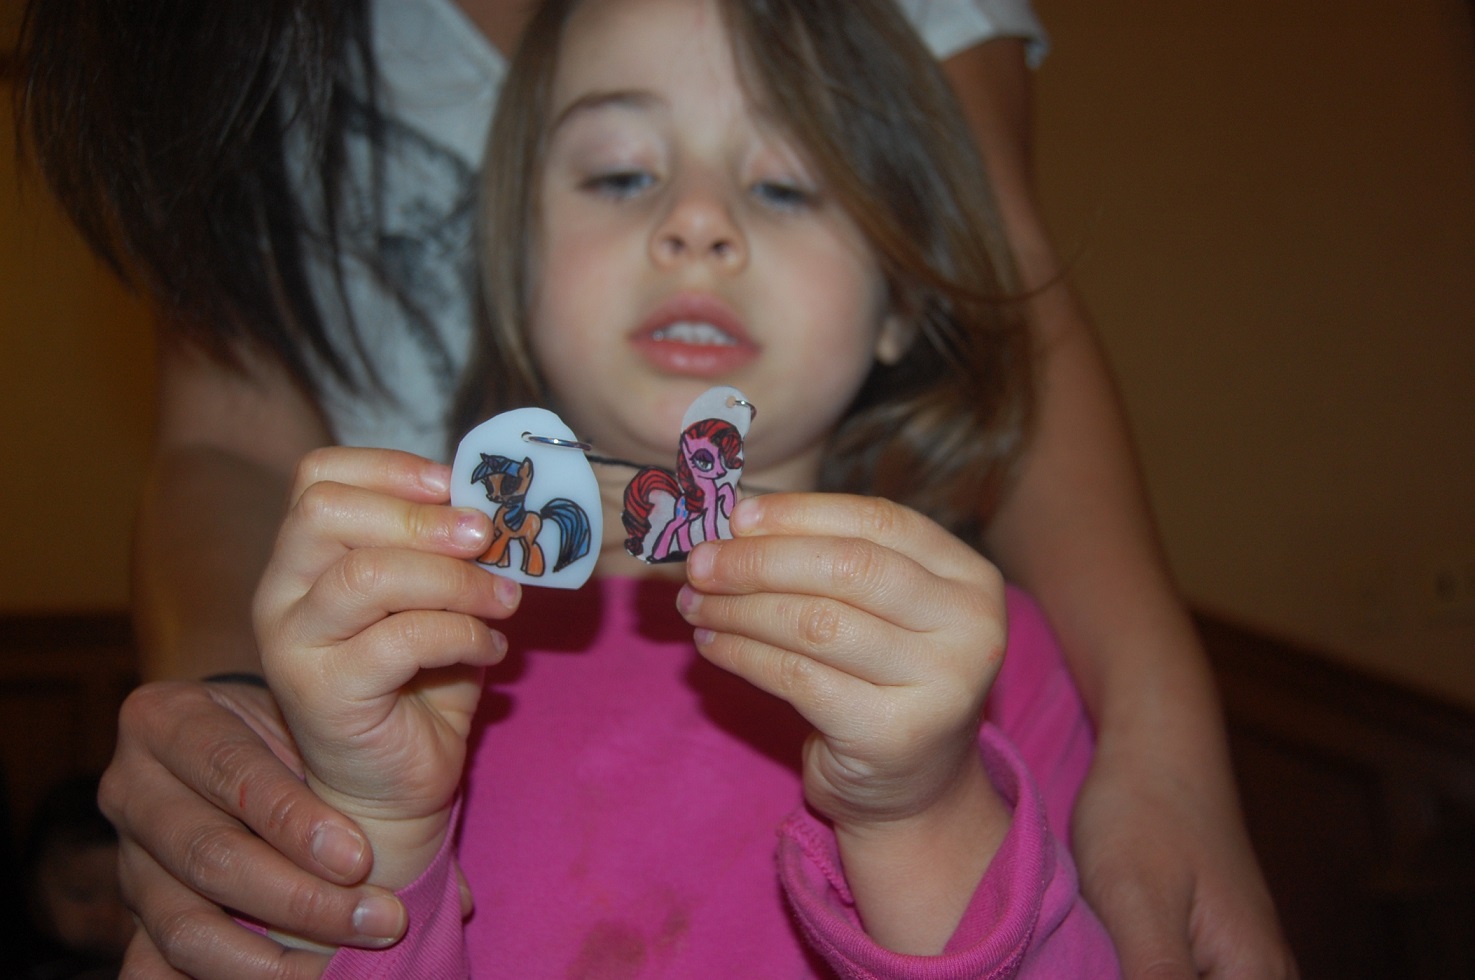
The last step is making everything into jewelry. I usually provide all the jewelry hardware and some pretty beads. This is hard for many kids and involves using pliers for opening and closing metal rings. I had great teen volunteers help the kids make necklaces and keychains while I helped them make bracelets and earrings. Everything came out lovely!