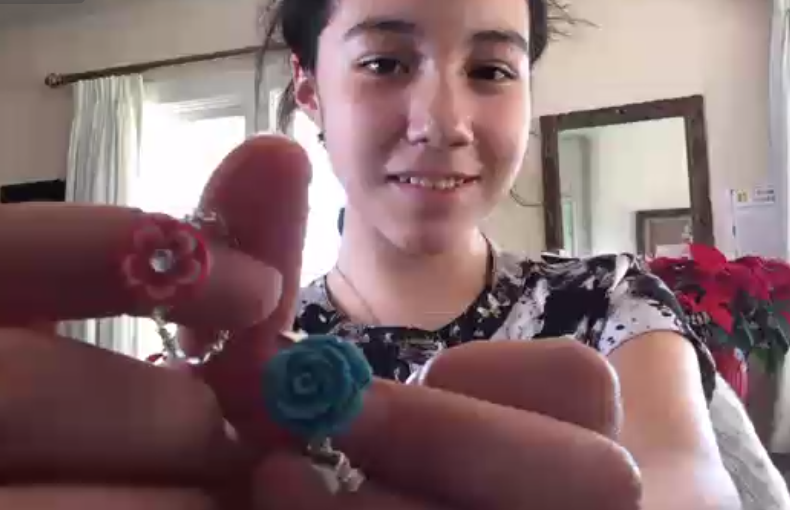
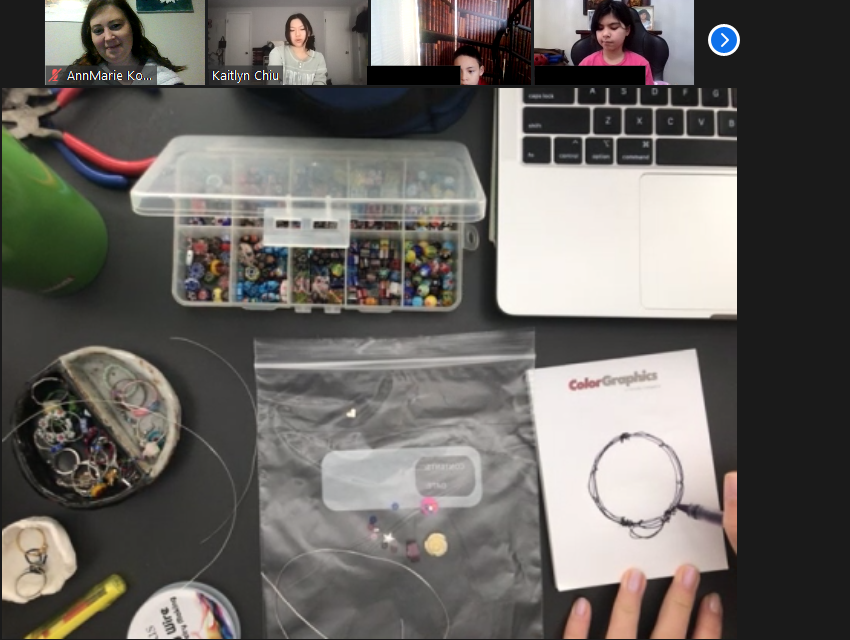
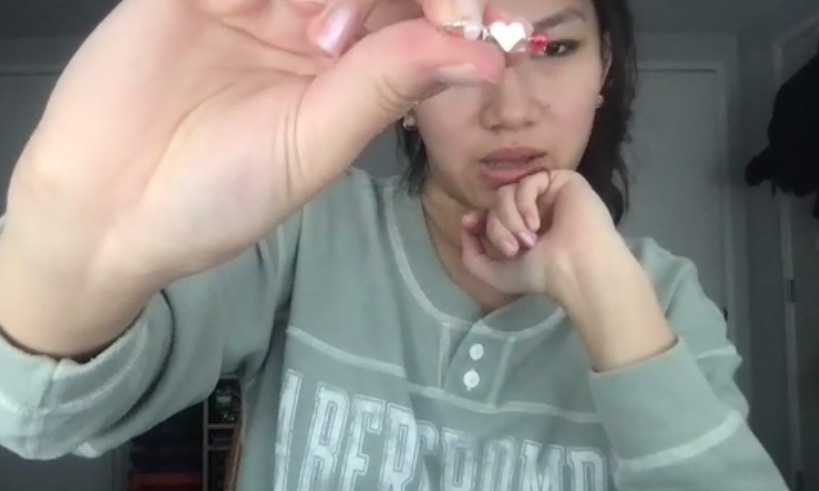
On Saturday, February 6, 2021 Pasadena Public Library had a craft program with Kaitlyn Chiu instructing us how to make beaded wire rings. The library provided a Take and Make kit to participants who registered in advance in January. The kit included two 18-inch lengths of 26 gauge silver wire, several decorative flower beads, a star bead, a heart bead, and six seed beads. Each child made two rings, and each one was unique!


Materials were purchased from Michael’s, which has a store in Pasadena on Colorado Blvd.
Here’s how to make them:
First Kaitlyn drew out a diagram on paper to show us the steps and how the finished ring would look:
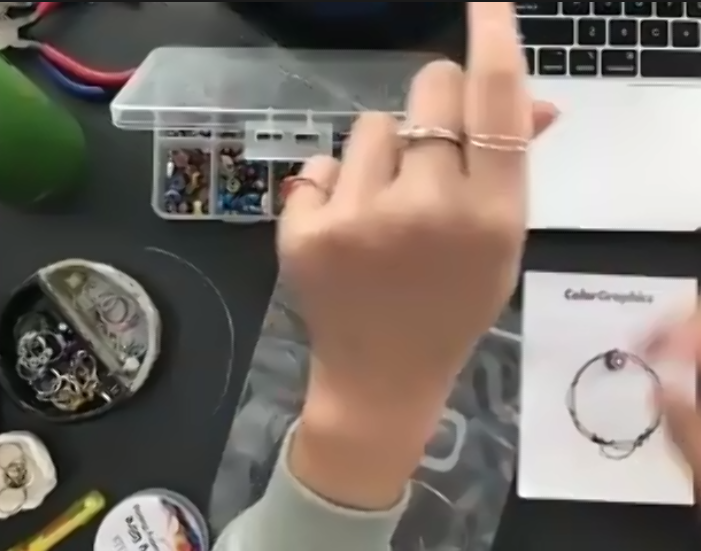
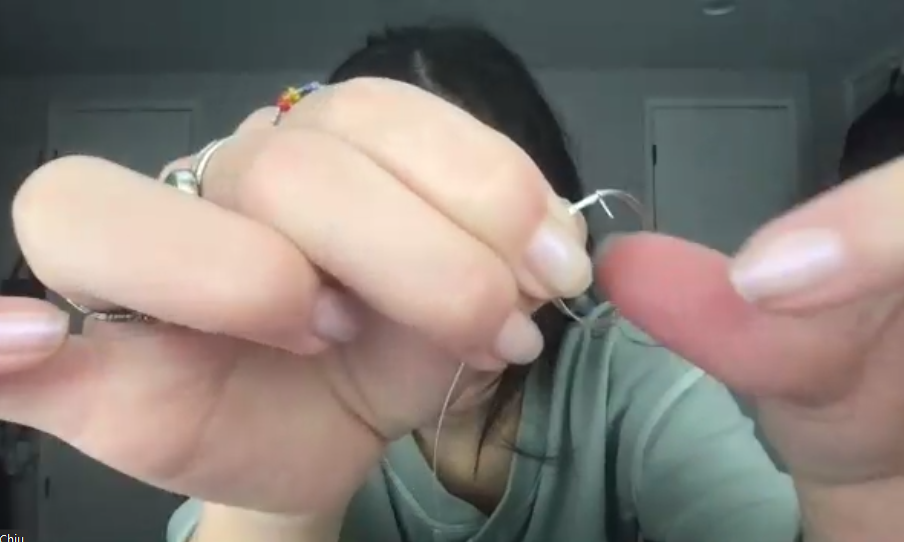
Take your wire and wrap it around your finger very loosely, to make a ring shape, and leave one end of the wire very short, and the other end very long.
Take the short end and wrap it tightly around in a coil at least two times to secure the shape of your ring. That small tight coil will be the bottom of your ring.
Take the long wire and wrap it like a vine all the way to the other side (which will be where your decoration will go).
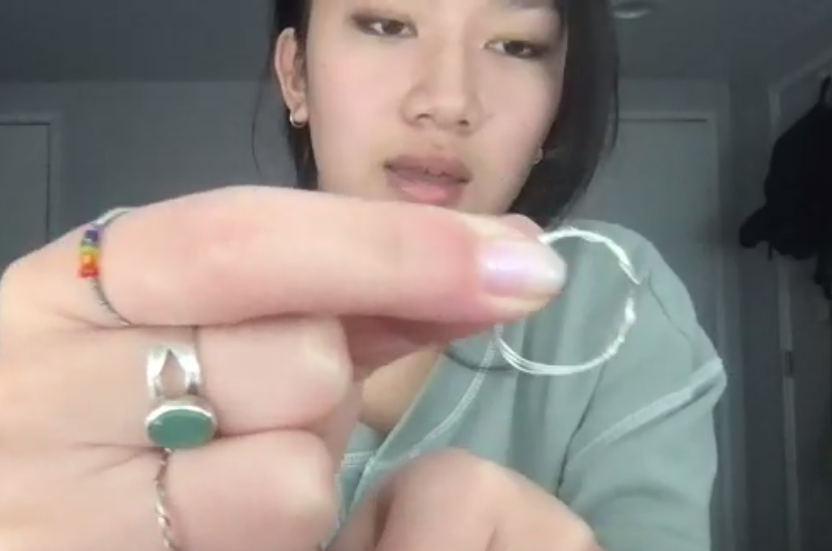
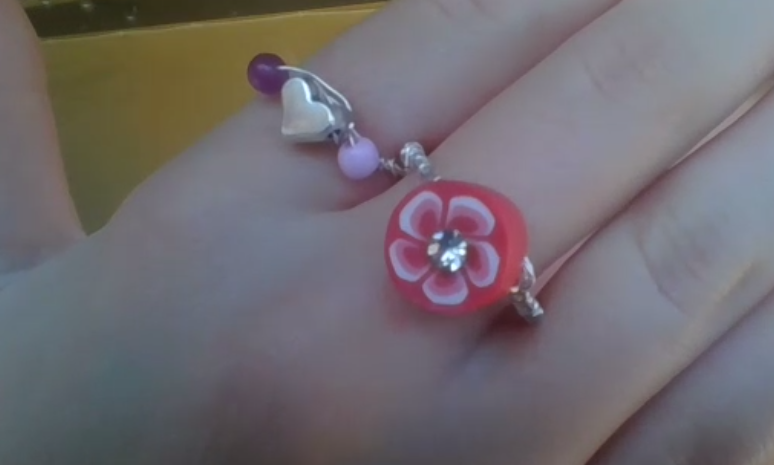
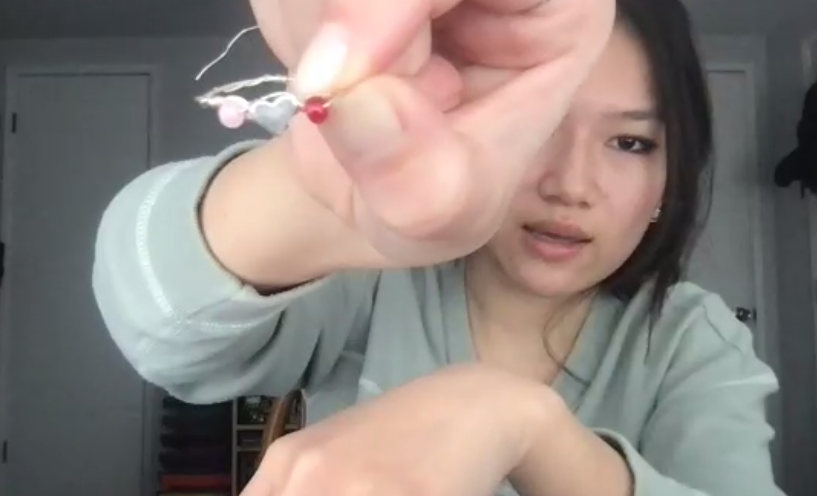
Now wrap it very tightly, coillike or springlike a few times. Then you can start adding beads. You could add a seed bead, if you’re doing a design with seed beads, or just your large bead. For the purposes of this blog post I’ll be talking about the seed beads.
Add your first seed bead, then do one tight coil.
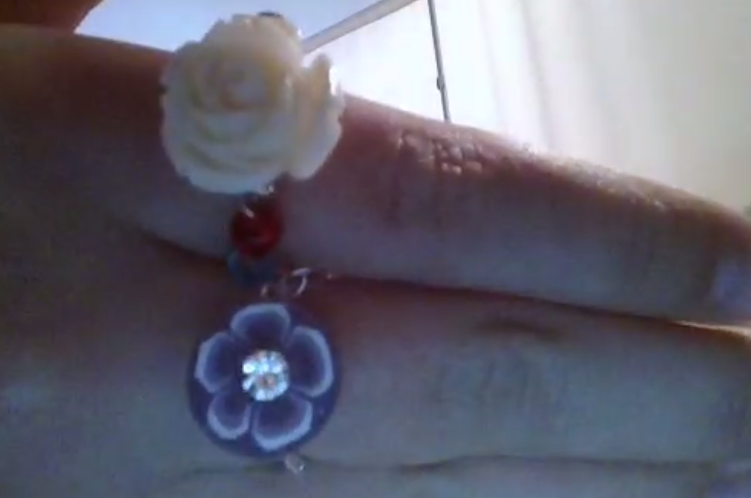
Then add your big statement bead, and do a tight coil.
Take your wire and wrap it around the underside of your big bead several times, to give it a firm base to sit on. This will help keep it from moving around too much.

Do another tight coil, add another seed bead, and do a tight coil to secure the 2nd seed bead.
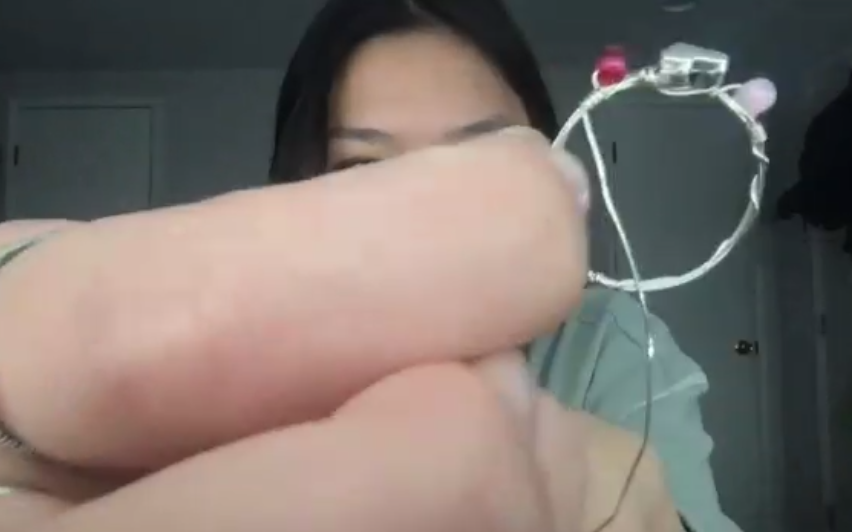
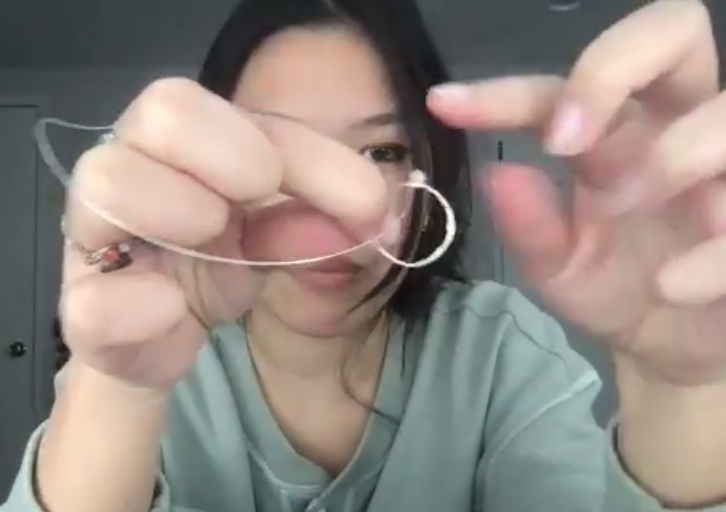
Then you’ll start making a vinelike wrap around the other side of your ring. When you come to the bottom where you had your starting coil, you will finish it off with a tight end coil.
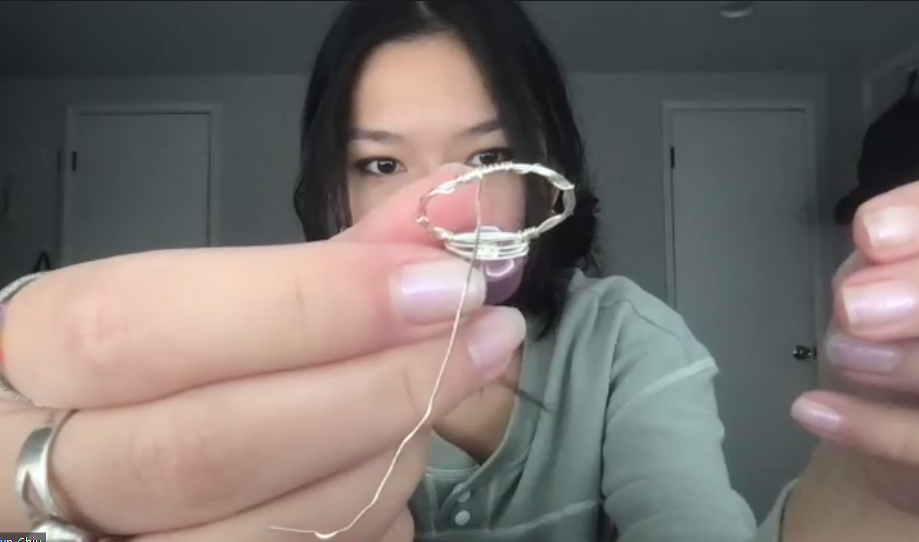
Trim any remaining wire. You’re bound to have some poky bits, and you don’t want them poking into your finger. So, take your scissor handles (or pliers, if you have them) and pinch that poky part and twist it, until it is rounded a bit to be more flush with the body of the ring.

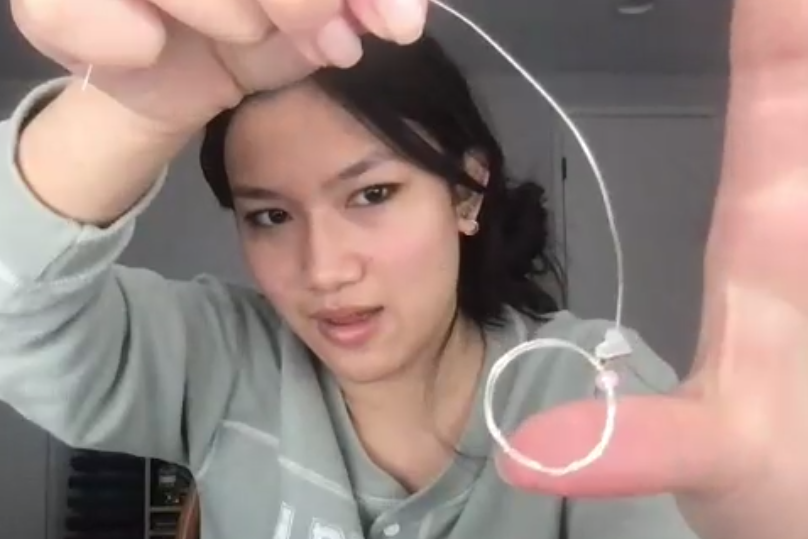
And that’s it, you end up with a beautiful ring! Remember you can always play with the wire, and bend it to where you want it to go so that the beads sit the way you want them to.
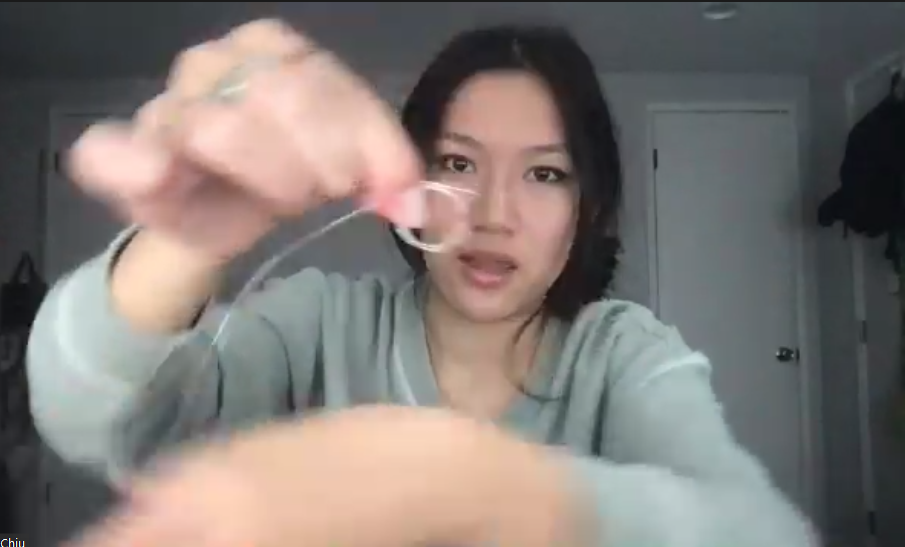
We have a video up on your YouTube page: https://www.youtube.com/watch?v=a1j1rnWlzj4 We prerecorded it, demonstrating how to do two different rings, step by step.
Happy crafting!!