Preschool STEAM (for children ages 2-6) is all about having fun with science, math and art! There is no right or wrong way for children to experiment – the fun and learning comes from the doing! Early childhood research shows us that little hands and minds learn best when at play.
For our March STEAM adventure, we explored magnets. The children had a great time trying to figure out which items in their basket were magnetized and which were not.
The Questions
Which of the objects in the tray are magnetized?
What materials need to be in an object in order for the magnet to be attracted to it?
Items we used:
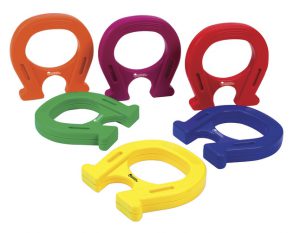
magnets
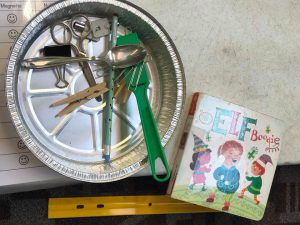
various items: paper clips, board books, rulers, pencils, keys, preschool scissors, clothes pins, spoons
aluminum trays
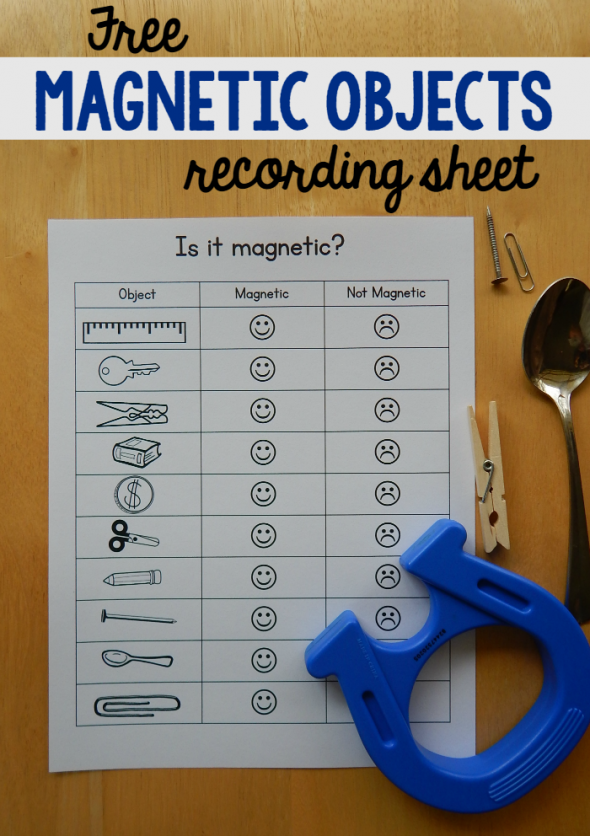
magnetic objects recording sheets (see below)
The Process
First we gave each child a magnet, a tray of items (some items were magnetized and some were not) and a laminated “Magnetic Objects Recording Sheet” which we obtained from The Measured Mom website. If you want a copy of this recording sheet to recreate this experiment at home, click onto the link or the image below.
Credit: The Measured Mom
MAGNETS
OBJECTS
The Science
SIX things to know about magnets
-
A magnet has two ends called poles, one of which is called a north pole or north-seeking pole, while the other is called a south pole or south-seeking pole.
-
The north pole of one magnet attracts the south pole of a second magnet, while the north pole of one magnet repels the other magnet’s north pole. So we have the common saying: like poles repel, unlike poles attract.
-
A magnet creates an invisible area of magnetism all around it called a magnetic field.
-
The north pole of a magnet points roughly toward Earth’s north pole and vice-versa. That’s because Earth itself contains magnetic materials and behaves like a gigantic magnet.
-
If you cut a bar magnet in half, it’s a bit like cutting an earthworm in half! You get two brand new, smaller magnets, each with its own north and south pole. (This is, of course, a joke. You don’t get two worms if you cut a worm in half. But you do get two magnets.)
-
If you run a magnet a few times over an unmagnetized piece of a magnetic material (such as an iron nail), you can convert it into a magnet as well. This is called magnetization.
Credit: Explainthatstuff!
SOME MORE FUN FACTS!
Ferromagnetic metals are strongly attracted by a magnetic force.
The common ferromagnetic metals include iron, nickel, cobalt, gadolinium, dysprosium and alloys such as steel that also contain specific ferromagnetic metals such as iron or nickel.
Ferromagnetic metals are commonly used to make permanent magnets.
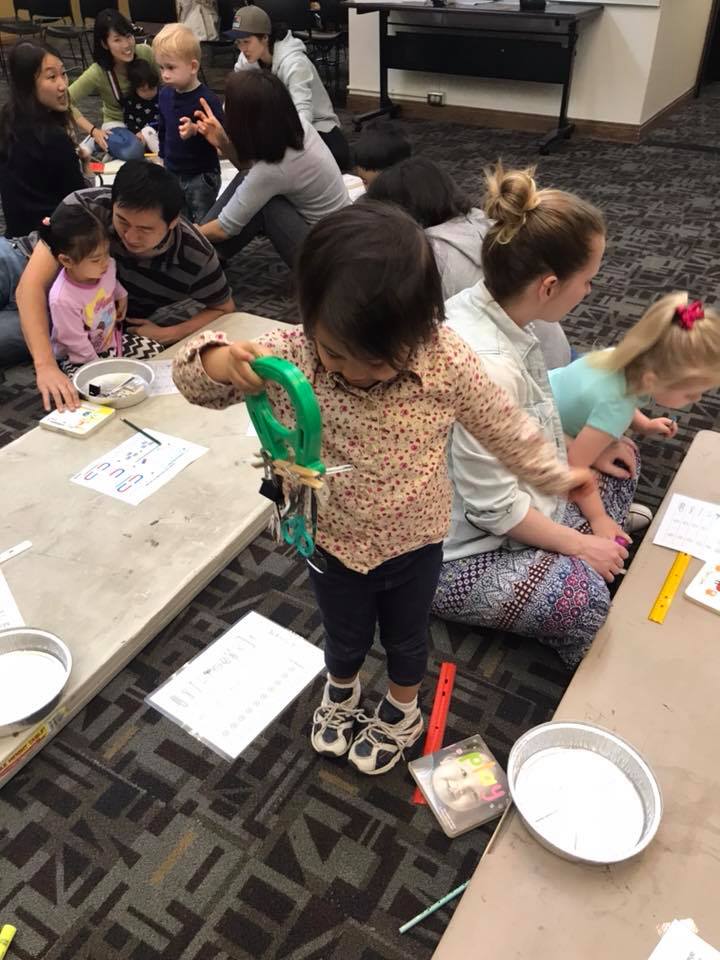
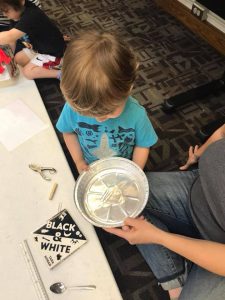
Budding Scientists at Work
Harvey is exploring magnetization. He noticed that his magnet wasn’t attracted to the aluminum container but when he put a few paper clips in the container…voila! The paper clips moved with the magnet. (Harvey placed the magnet underneath the aluminum container and moved it around – the paper clips followed!
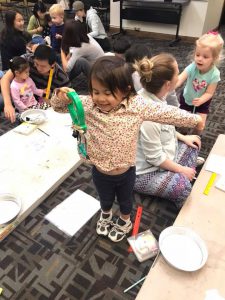
 One of our scientists noting which objects were magnetic.
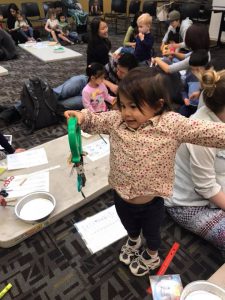
More Exploration & Fun!


Remember to check the Off the Shelf Newsletter for our next Preschool STEAM program. We meet from 10:30-11:30 a.m. on the fourth Monday of the month. Location: Central Library’s Studio on 4th. Hope to see you next month!